Wiring With Painless Performance
Wiring up a car is never a fun task. Often tedious and never seen, it’s not a fun job. If you have an issue it can be a real nightmare to track down as well.
Most people can build an engine blind folded but struggle with wiring – us included. Wiring is something we can do but have to scratch our heads and think about what’s going on. There’s nothing worse than a tail light that just won’t work or being stuck on the side of the road because the coil isn’t getting power.

On our Project WayGone build, we knew that it was going to need wiring. When we bought the body, it was a body only with almost zero wiring in it. With a blank slate in mind, we called up and chatted with Painless Performance to see what options we had.
In the past in order to keep things easy we used factory replacement wiring. This allowed us to have factory colored wires that we could somewhat easily identify with a factory wiring harness diagram. While still a good option we realized we had to hack it up quite a bit between the LS engine, air conditioning, aftermarket gauges, stereo and fans. What we were left with was basically a skeleton of the original wiring – what was the point of that again? On top of that if we were stuck on the side of the road and didn’t have a factory wiring diagram laying around, what good did it do us?
We started looking at universal harness’s with updated circuitry, but we’ve heard stories where there’s no connectors on the wires and you have to reuse the old connectors. For starters we didn’t have them and two they would most likely be toast. So what’s the happy medium?

Painless Performance has a plethora of options for us to choose from. They do have direct-fit harness’s for a lot of the popular applications but we wanted something better for this wagon. They have some Chevelle harness’s, but none for a ’66 Chevelle Wagon. Talking with Painless we realized that what we actually wanted was something in between a universal harness and a direct-fit harness.
“We have a ton of different wiring options for your Wagon,” stated Painless Performance’s Andrew Erichsen. “I would suggest our new Pro-Series harness. Based off your concerns, this is a great compromise that offers some features that are nice about an original harness, combined with the benefits of a universal harness,” continued Erichsen.
Pro Series
With the Painless Performance harness’s, the wires are left long and un-terminated. At first this was somewhat of a negative for us, but in reality we realized it’s a positive thing. This allows us to run wires and tuck them away how we see fit and make sure they are exactly the right length. When we used a OEM replacement harness in the past sometimes we would have to extend wires to move them out of site or shorten them up in other instances. For example the original wiring had a harness running to the passenger tail light then outside under the bumper over to the drivers side tail light. With the Pro-Series harness we were able to split the wires up inside the car by the rear seat to their respective sides.
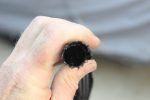
The Pro Series has it’s own options as well such as how many circuits, where the key is, and how the wires pass thru the firewall. In our case we decided on the 23 circuit since we won’t be installing power windows. The key on this car is also in the dash and we opted to use a grommet to pass the wires through the firewall so we can choose where to keep them tucked out of site.
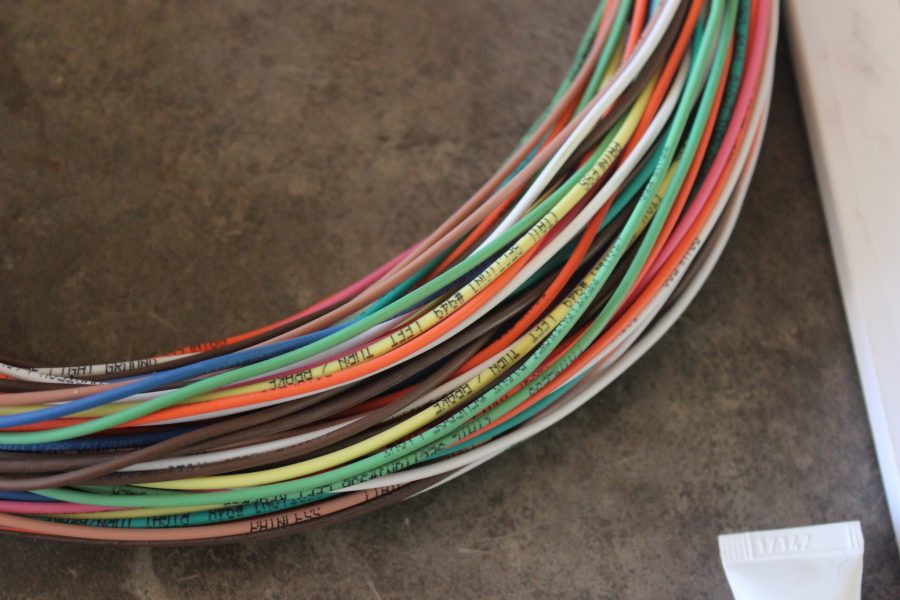
Just like all Painless Performance wiring harness’s, the Pro-Series has all the wires labeled with their intended usage. The wires aren’t just labeled with a paper tag, it’s printed on the wire about every foot making identification easy as pie. This will help make installation much easier since we won’t have to reference an old wiring diagram and makes it easy to figure out what wire is what. On top of that, everything is made in the USA, right in the heart of Texas.
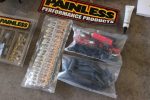
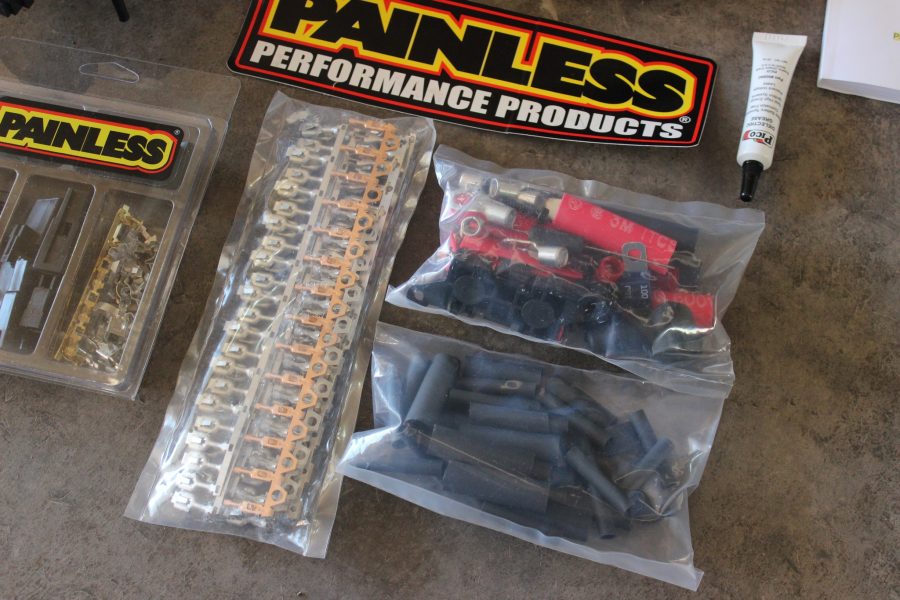
The last part we liked is that this kit comes with everything, including all new ends. When we mean everything, we mean everything: terminals, heat shrink, even electrical tape! As we mentioned we didn’t have any wiring but that also means we didn’t have to reuse the old junked fittings.
Our favorite part was the manual for this kit. It’s not just a wiring diagram and good luck – it’s a half inch thick manual that gives you a ton of information about each wire along with diagrams. It’s honestly the best instructions we’ve ever seen for any car part. The manual is broken into sections and tells you where the wire is going and what it does along with a diagram. With factory wiring and a factory manual you have to trace lines on a page and think about what’s happening to that wire – not with the Pro-Series from Painless.
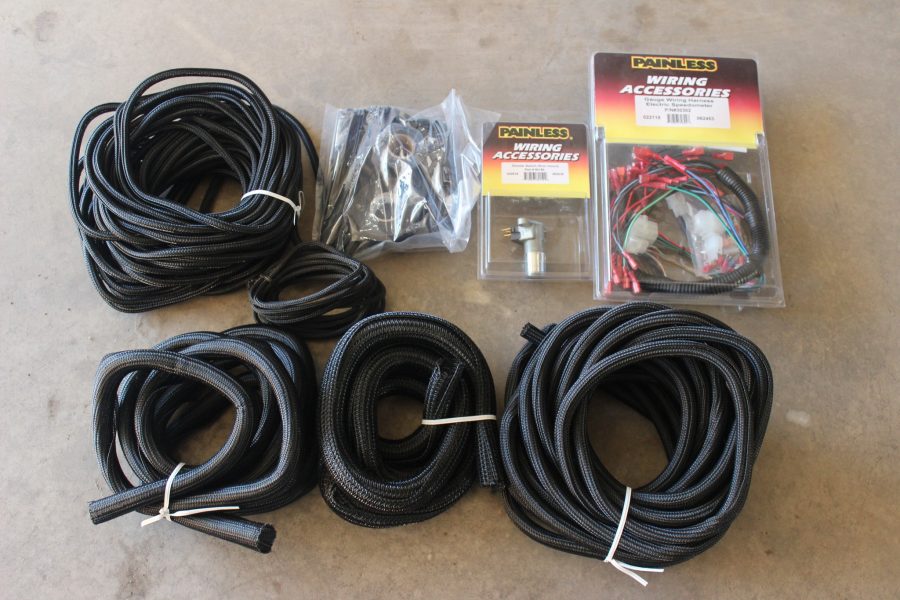
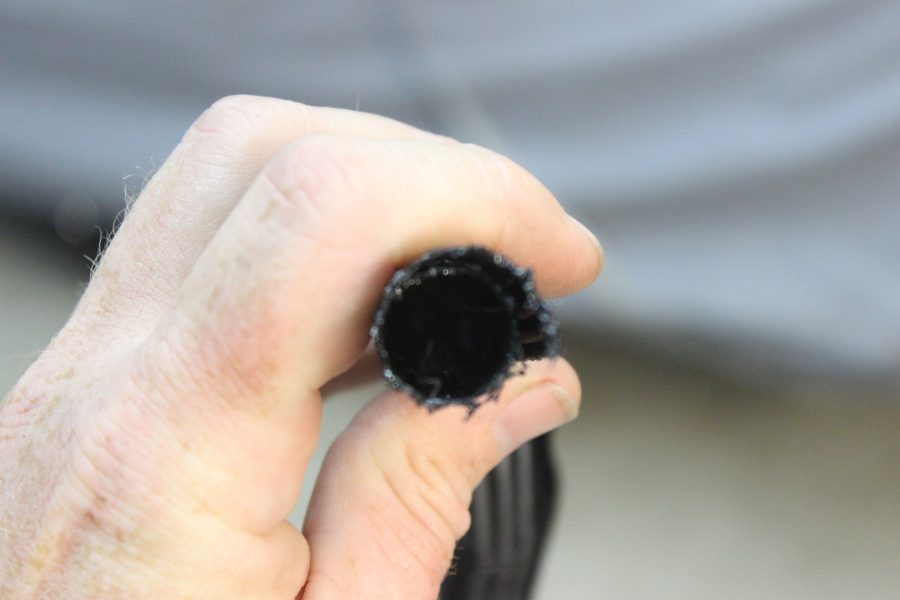
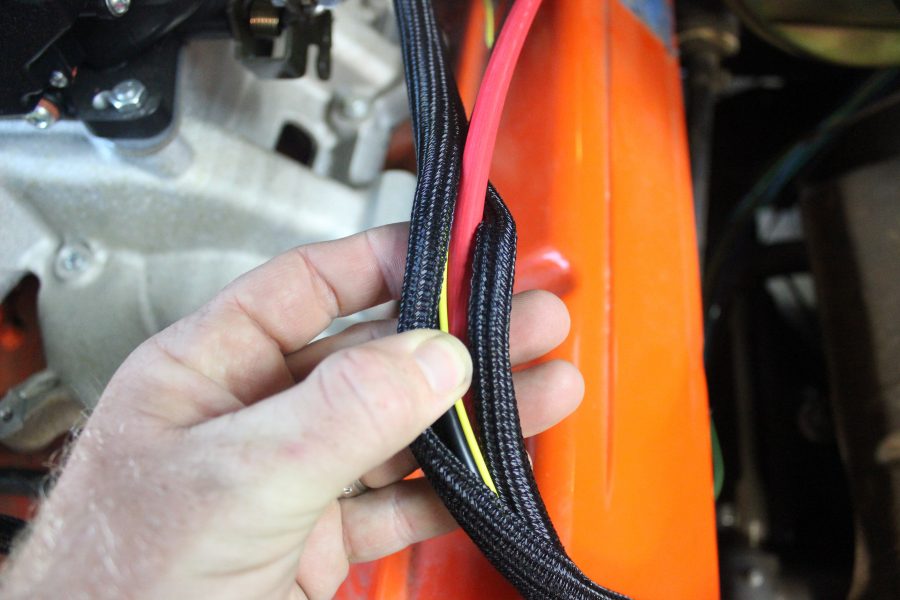
While we were ordering up the Pro Series wiring harness we picked up a few other items that we will need as well. Their Power Braid is this amazing cloth covering instead of that cheap split loom, along with a kit to mount the battery in the back and a proper set of crimpers.
Installation
Before we started the installation of this wiring harness, we asked Erichsen if he had any tips to make the wiring process truly painless.
“One of the biggest misconceptions is the best way to connect wires. It’s widely accepted that soldering with heat shrink is the best. Yes that’s a great connection but solder can be brittle and break. On top of that a lot of people overheat the wires which weakens the wires.


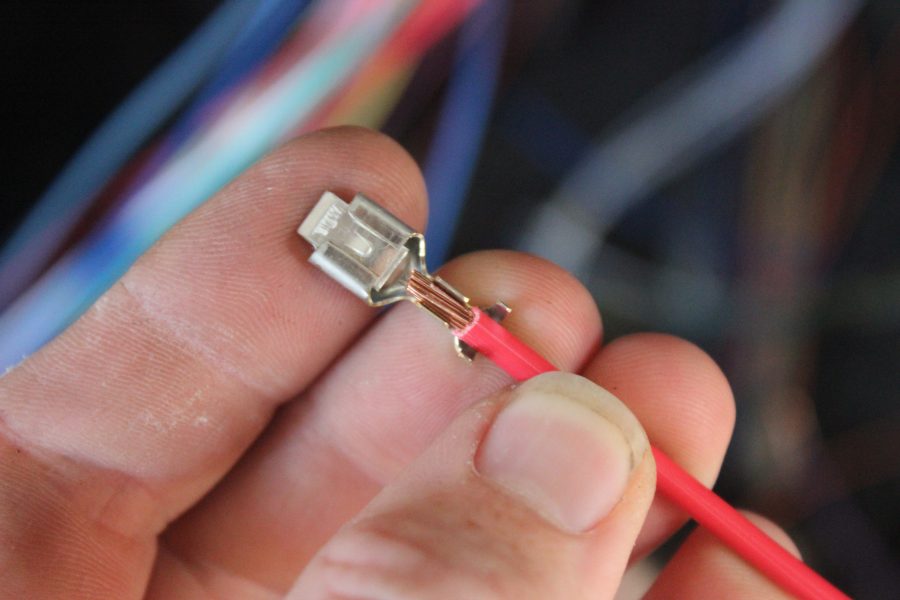

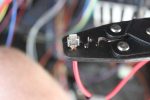
“We suggest crimping the wires as the best way. This ensures a tight connection without weakening the wires by overheating or the solder breaking,” explained Erichsen.
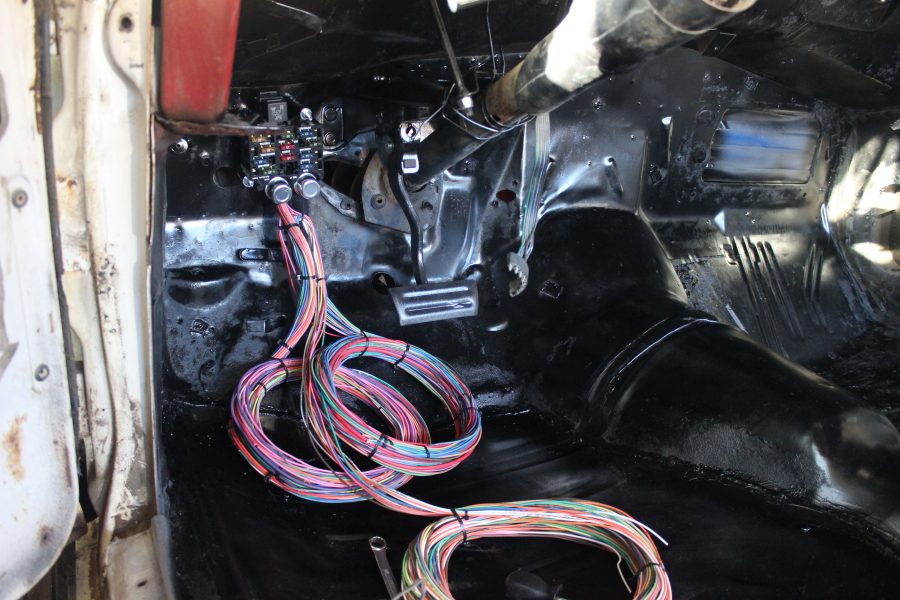
Our first step of the installation was to pull the harness out of the box and start laying wires out and see where things will run and end up. We took a lot of time during this step thinking about where hoses will be ran, where seats mounts, and anything else that might be in the way of the wiring. We want it all tucked away where nothing can cut or chafe the wires giving us issues later on down the road. When first pulling the wiring out of the box it’s a bit overwhelming. But Painless groups the wires together into three main areas; engine/headlights, dash and rear tail lights. Then within each grouping is more groups of wires such as ignition wiring. Everything is there laid out and easy to find.
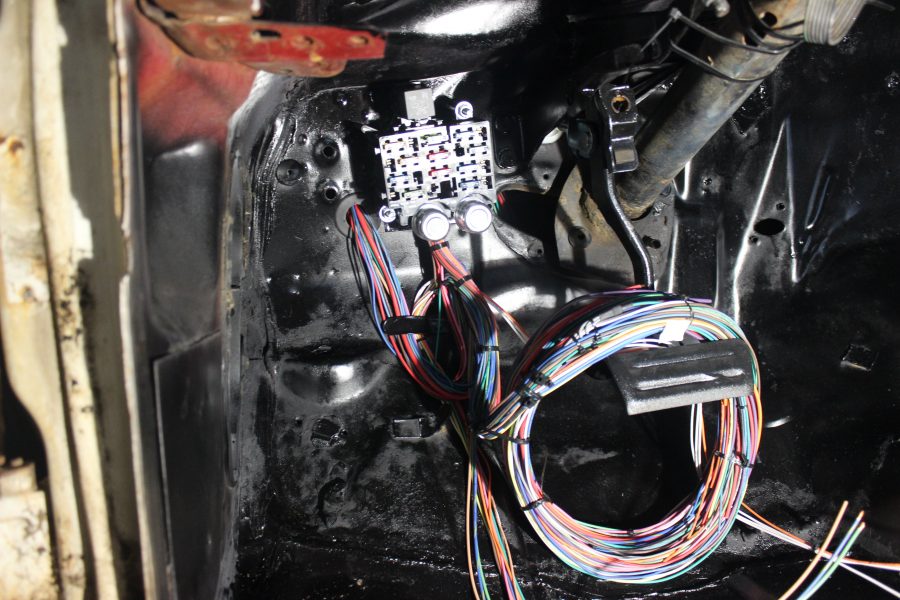
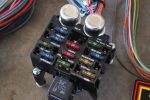
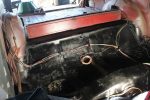
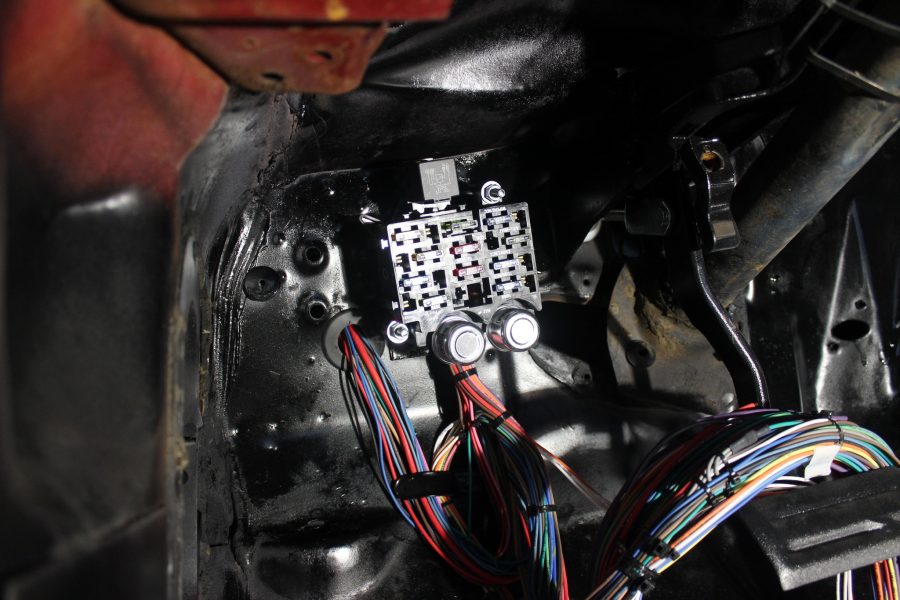
This helped us to break the wiring into chunks and start chipping away at each section. Our very first step of installing the harness was to mount the fuse box. With our smooth firewall we had a blank canvas but ended up mounting it fairly closely to the stock location. The fuse box itself has modern blade fuses with more circuits and mounts using two supplied bolts.
Then we started by breaking up the three sections and running the tail light/rear wiring along the floor board and to the back of the car. Using the supplied grommet, we then snaked the under hood wiring through the firewall. With the three different areas broken out, we started to focus on the under the hood wiring and getting that all ran and terminated.
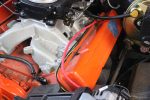
Under Hood
The under hood wiring is fairly straight forward on this Painless Pro Series wiring. While they do offer a bulkhead that has a separate harness for under the hood, we opted to just run the harness through the firewall. This gives us one less connection we would have to worry about.
Under the hood there are a group of wires to power up the headlights, turn signals, and marker lights. Even with our quad headlights, the Pro-Series harness was wired to handle that set up as well.

On the engine side there is everything you would expect in a harness. No matter if you were running the stock engine or upgrading to an LS like we did, the wiring could handle it with upgrades. We noticed upgraded wiring such as the larger alternator wiring to support better charging of the battery. On top of that the power wire that supplies the entire harness is larger than stock as well. There was already a dedicated tachometer wiring, electric choke, along with water and temp. As we mentioned before, this kit comes with all sorts of different terminals and connectors to work with your factory stuff or upgraded engines.
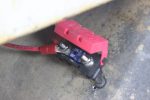
One other electrical demand we had was the big electric Flex-A-Lite fan for the radiator. What we needed was a heavy duty relay and we found out that Painless has different variations. They make a 70-amp kit specifically for the electric fans that will allow our Holley Sniper to kick on the fan. This kit comes with heavy duty wiring with the heavy duty relay for lots of trouble free operation. While order this one, we grabbed a few other relays, one of which will power our MSD unit.
Since we ended up installing Dakota Digital gauges, some of the wiring we didn’t need under the hood such as the oil and water temp wiring. Since the harness is zip-tied together, it was easy to pull out these extra wires and remove them for a cleaner installation. This is something that would have been a huge pain to do with stock wiring.
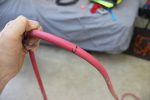
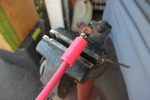
Now we originally planned on putting the battery in the spare tire wheel well of this car. But we decided to just keep the battery under the hood. Luckily we had already purchased the trunk mount kit as well as this gave us a ton of flexibility. With the extra length of the battery cables we were able to run the positive battery cable over the inner fender and snake it down to the starter. Then with the extra lengths of negative cable we were able to make up ground cables. We made one to go to from the battery to the block, block to frame, frame to body. Then we also used the supplied ground straps to go from the valve cover bolts to the body. We’ve seen way too many electrical issues result from insufficient grounding and we make sure that’s not going to happen again!

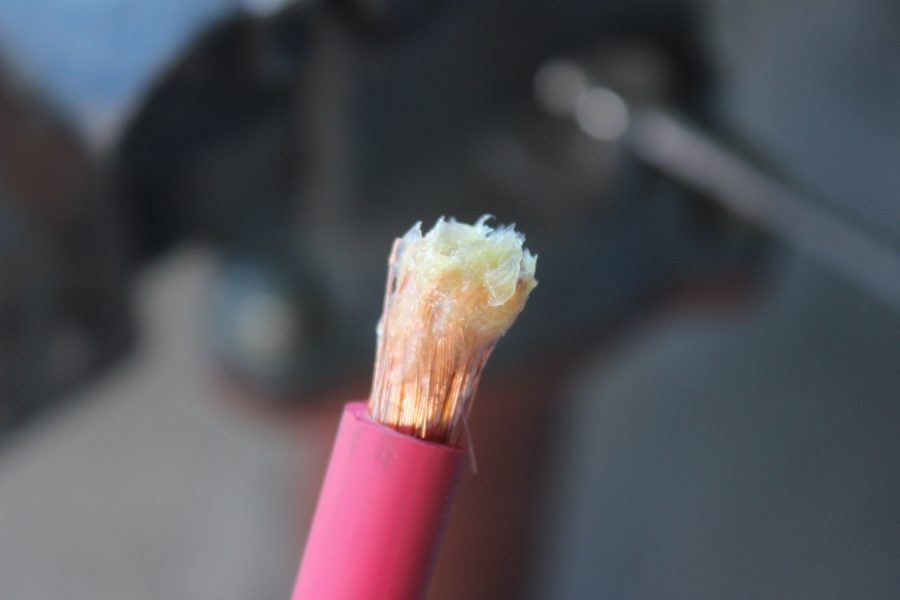
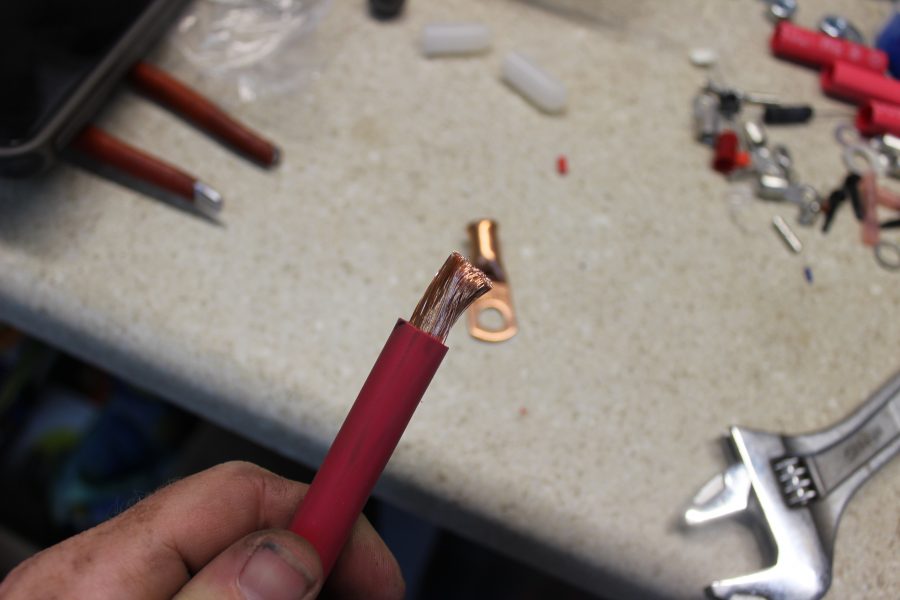
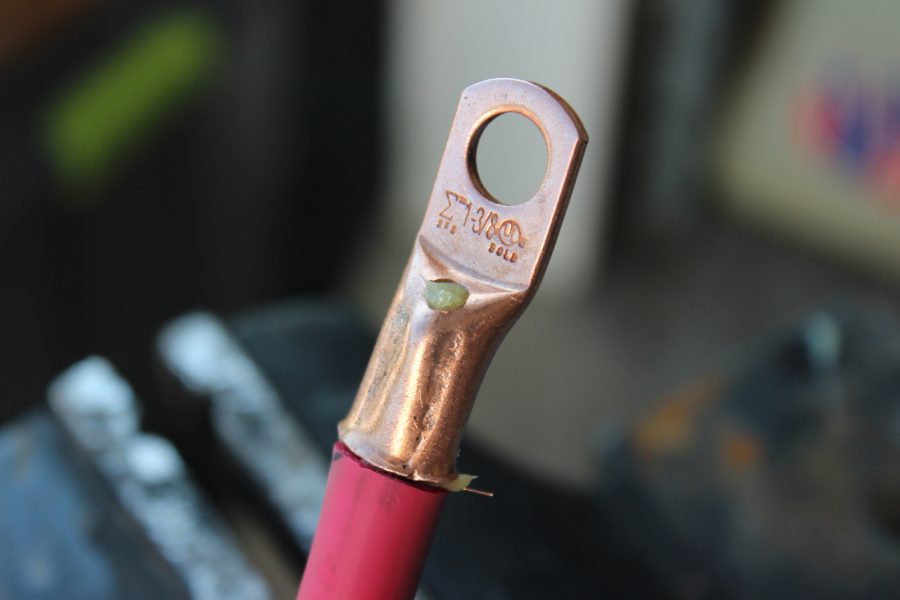
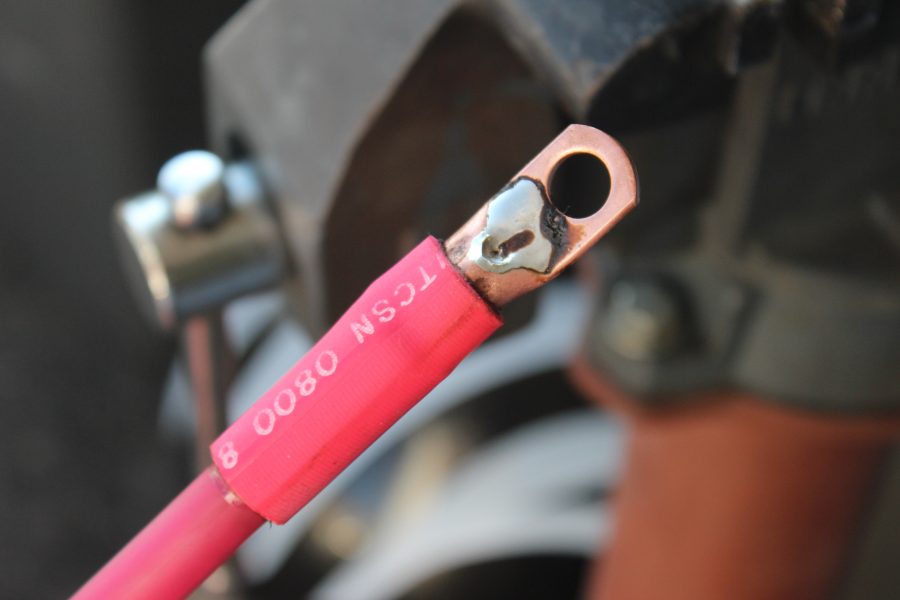
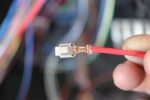
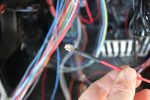
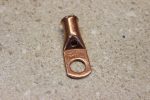
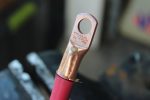
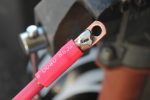
Connecting these huge battery cables can be a bit challenging but we learned a trick a few years ago we’d share with you. First we take the connector and drill a hole in the end of it. Then we cut the cable and apply a ton of soldering paste to it, and shove it into the connector. We then used our vice to crimp the cable itself to provide a great connection. Lastly we took our torch and heated up the end and poured solder through the hole we drilled earlier. Now in these pics we used too much solder, but you get the idea. The last step was to use the provided heat shrink. This provides an excellent connection. Now we know that earlier we said no soldering, but with the connector being crimped and soldered and on such a big cable we don’t have to worry too much about overheating and weakening the cable.
Rear Section
We moved to the rear of the car wiring next before tackling under the dash wiring. Just like the front there are provisions and instructions on how to wire up everything depending if you have marker lights or not. On this car from the factory there was a ribbon that ran from the fuse box till the back passenger side tail light. We scrapped all that and ran the Pro Series harness.
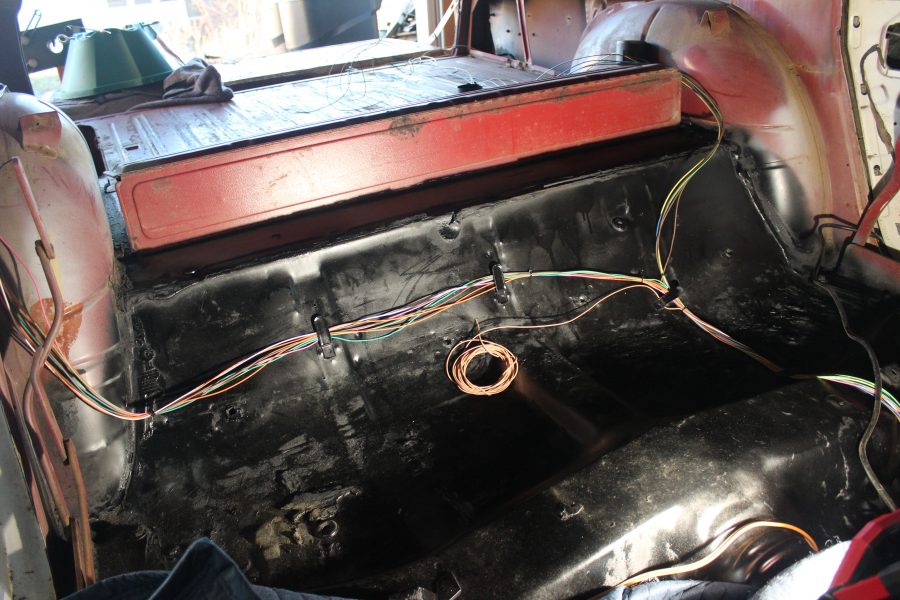
Originally the wiring was kind of funky where to supply power to the drivers side tail lights it was run outside by the bumper and back in. With the flexibility of this harness, we split it up. We ran all the wires back and under the rear seat they split to feed the two separate tail lights.
One upgrade that’s included in something as simple as the rear harness section is a wire to turn on an amplifier. An upgraded stereo system is a common upgrade on old cars and we were happy to see this little upgrade as it’s one less wire we have to figure out later.
Dashing Wiring
Our last section of wiring is the under dash wiring. Between the Painless, Holley, MSD, Dakota Digital and Restomod Air, we have a lot of wiring going on. The Painless wiring has provisions for everything. One issue on the ’66 and ’67 Chevelles is that you have to remove the entire dash in order to get behind it. On the earlier and later models you can remove the gauge panel and have great access to most of the dash.
The issue with the ’66/67 Chevelles is that when you drop the dash, the wiring isn’t long enough to allow the dash to swing down out of the way, meaning you have to reach your hand up behind the dash and fish around to connect and disconnect wires. Luckily with the Painless wiring we can extend the wiring so we can comfortably lower the dash in our lap to connect or disconnect wiring.
The under dash wiring is complete with wiring for ignition, headlights, brake light switch, glove box lamp, under dash wiring, door switches, and radio wiring. For items like the headlights or ignition, Painless includes typical GM connectors so we were able to use our factory ignition switch and headlight switch. As we mentioned earlier, each section of wiring is broke down in the actual wiring and in the manual. For example the ignition switch wiring is all grouped together. The manual explains what’s happening with each wire and what kind of power it needs from the ignition switch making it an easy install.
Overview
This was our first time using a Painless Performance Pro-Series kit and we have to say that it’s been a great experience. We were hesitant at first using something a little more universal, but it just didn’t make sense to use a stock harness that we would have to hack apart to work. We are really happy now that we chose the Painless Pro-Series harness. Honestly the only way it could have been any easier is if they came and wired it up for us!
The one great thing about we didn’t expect was the flexibility of the kit. With a stock kit we were forced to run wires where they did back in 1966. With this kit we were able to run the wires and tuck them away better because of the extra length.
Naturally we took our time wiring and did the entire job over a few month period while working on other projects – with every wire labeled every few feet identifying wires was a piece of cake, even when we walked away from the car for days or weeks at a time. The extra thick manual we found ourselves referencing and reading time and time again to make sure we had everything wired correctly. We we were extremely grateful for that manual instead of just working off a wiring diagram.
For more information or to place your order hop on PainlessPerformance.com or give them a call at (800) 423-9696