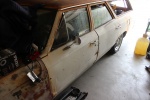
1966 Chevelle Wagon Door Rebuilding
With our 1966 Chevelle Wagon project up and running, we wanted to turn our attention to the interior. We knew that we wanted a set of cool TMI Products door panels and seats, but before we could go installing seats we have a bunch of work to do.

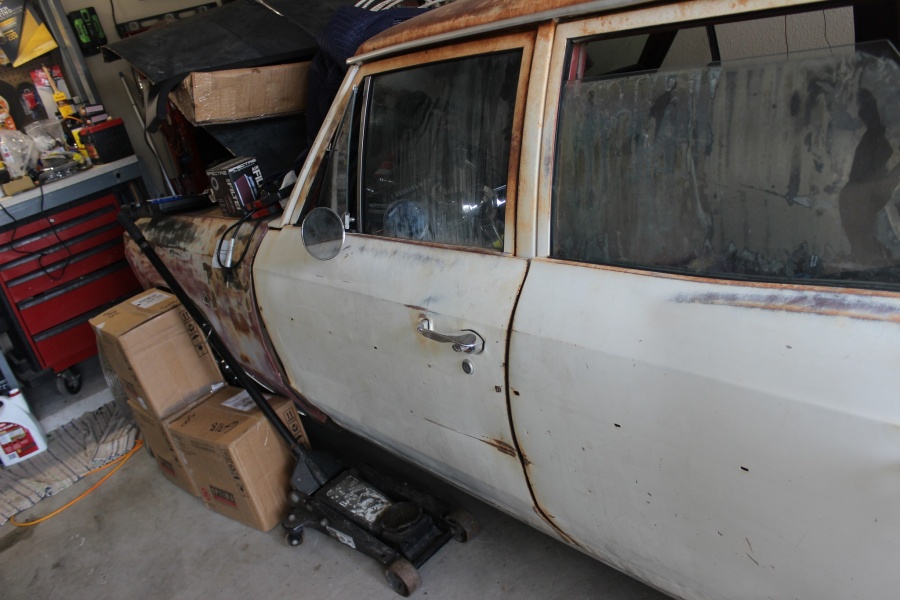
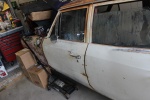
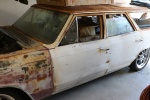
One of those tasks was to rebuild the doors. They didn’t latch, out of alignment and squeaked something fierce. Sure they sorta shut, but if we were going to be hitting the road with this car it had to be done and what better time than before we install all the soft trim. We took inventory and placed a few orders to get all the parts needed to get these doors back into better shape than new.
Swinging Open and Closed
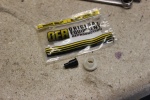
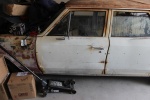
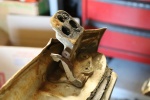
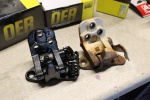
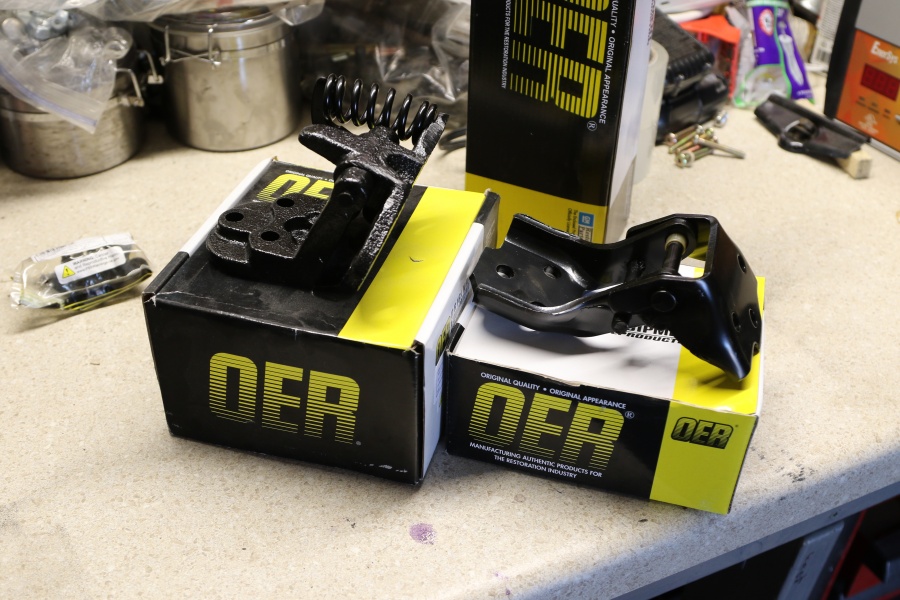
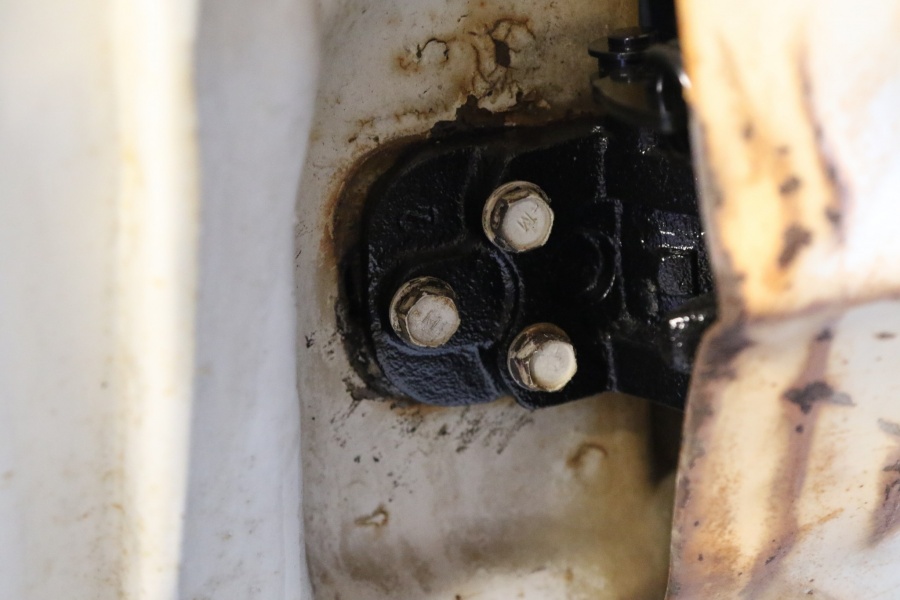
Our first task was to tackle the drivers door since naturally it’s the most used and in the worst shape. The hinges creaked, the detent was broke, and the latch wouldn’t even hold the door shut. We grabbed a new set of hinges from OER parts. These replacement hinges perform better than originals and look great too.


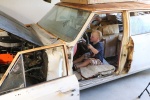
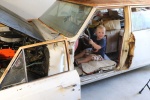
In order to access the hinges we removed the front fender. Using an impact driver we loosened up all the screws that hold the hinges together. After carefully setting the door on the floor we swapped out the hinges and bolted the door back up. This part does take a bit of finessing to get the hinges aligned so the door sits properly. We ended up having to take the door on and off a few times to adjust hinges to get it just right. With the new hinges the door swings open and shut like a dream!
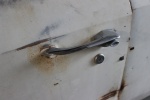
Billet Door Handles
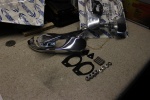
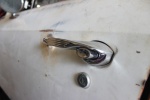
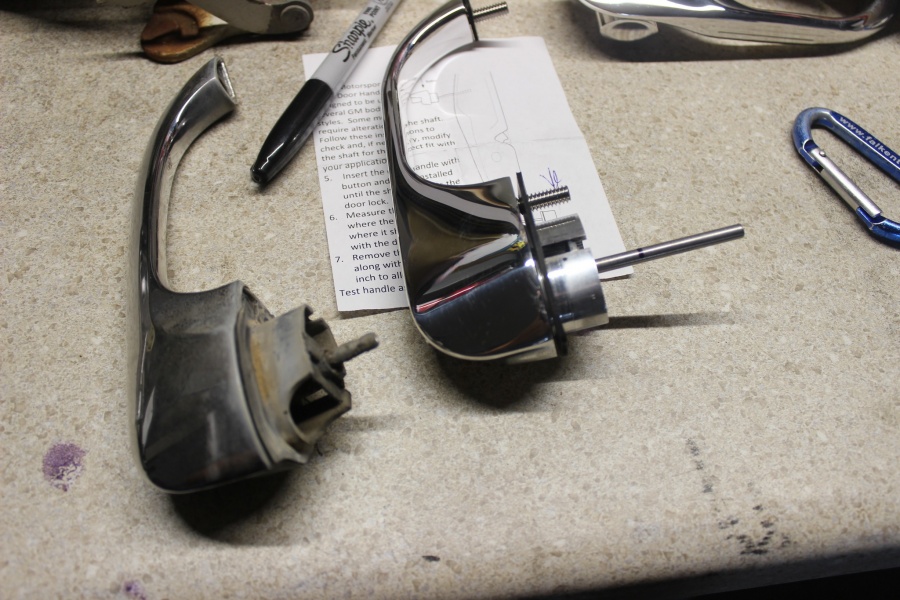
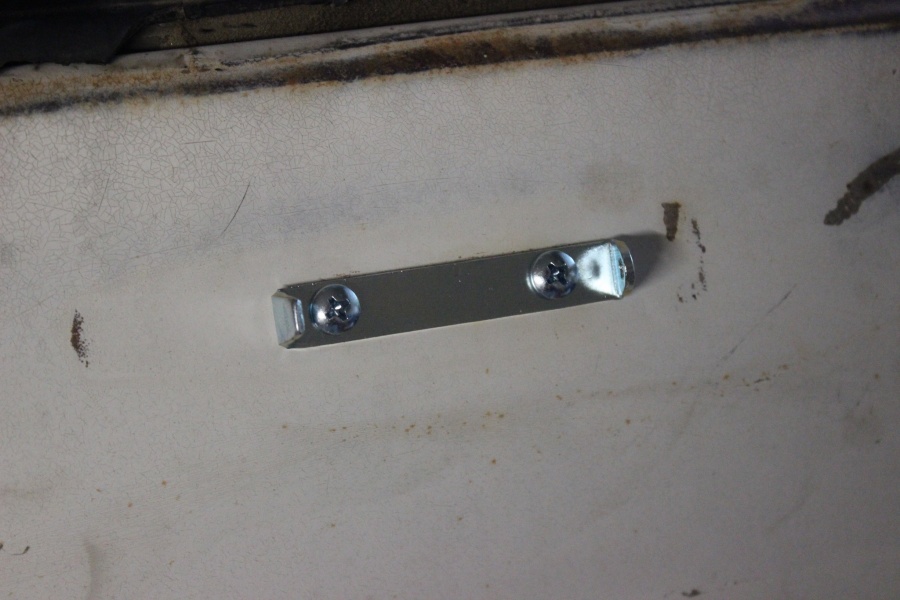
On the outside of the car though we decided to go aftermarket for a set of door handles. The factory ones are great, but we fell in love with a set of Eddie Motorsports door handles. They have quite a few different designs and options, but this set is ball milled so they look stock but have just a touch of custom to them – the perfect compliment for this car.
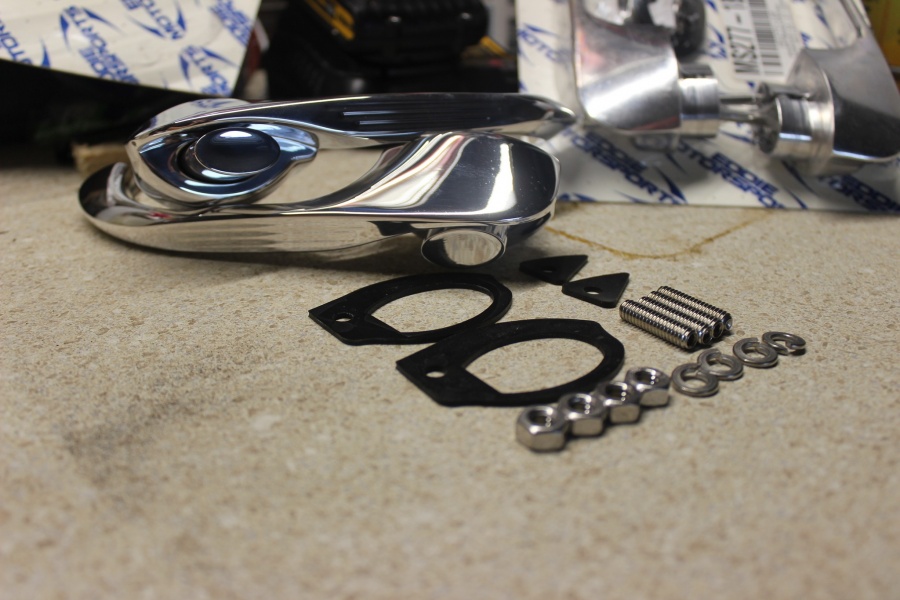
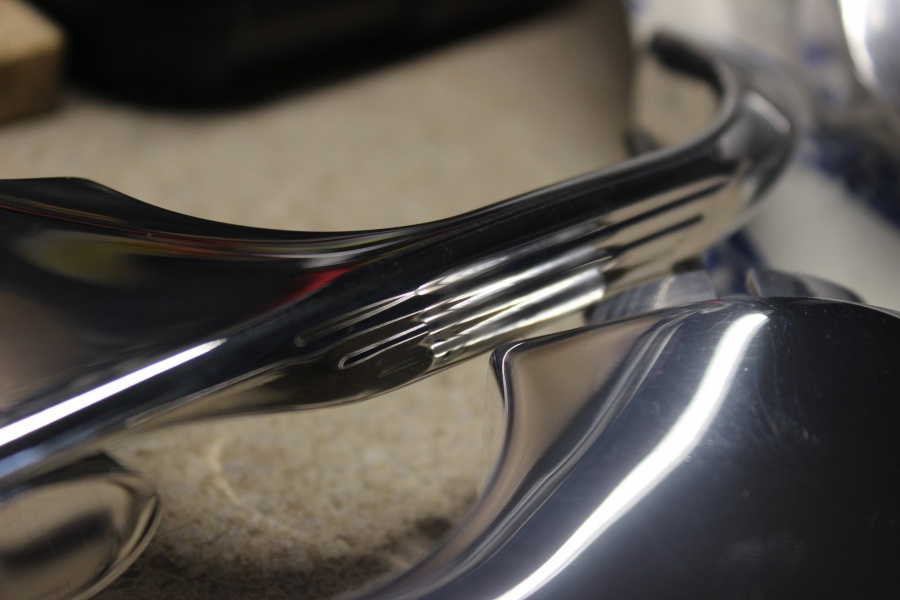
These door handles are machined from a solid chunk of 6061 billet aluminum so they are not only lighter than the original pot metal handles, they are stronger as well. They come with all new stainless hardware and rubber gaskets to make installation easy. We popped them out of the package, trimmed up the rod that engages the door latch and bolted them right on. Super easy and quite an upgrade over factory.
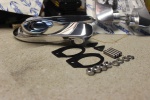
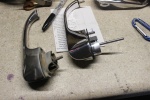
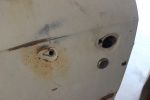
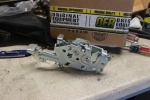
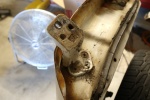
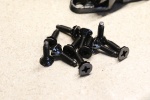
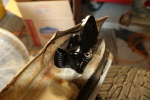
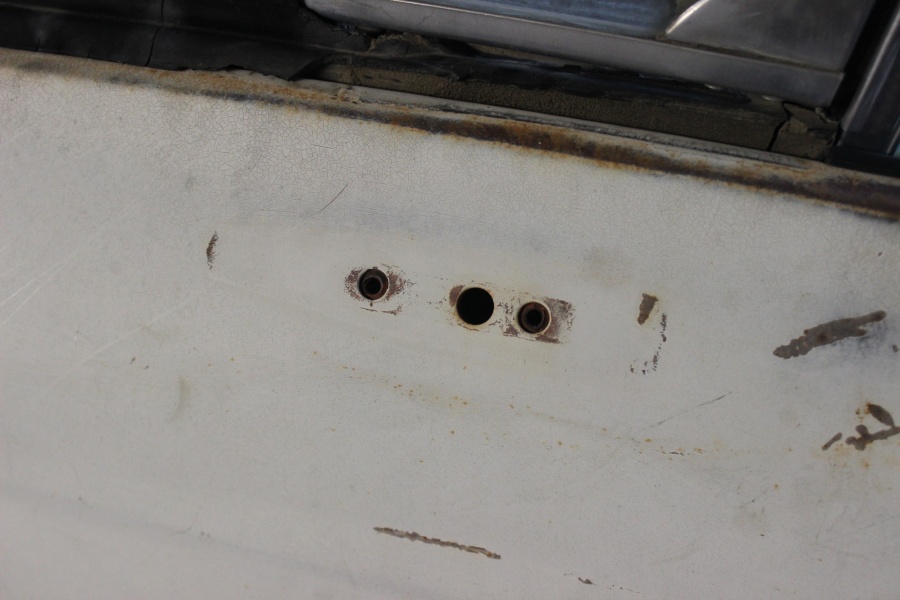
While we were replacing the outside door handles we also popped in the new latch assembly from OER as our original didn’t even latch anymore. With these pieces installed we removed the four screws and one nut that holds the wing window in place and gently slid it out of the door.

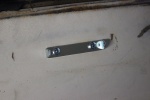
Looking In The Mirror
At this point we decided to pop on a new side view mirror. Ours was completely missing! One thing to note is to make sure you use a genuine OER mirror when replacing these. There’s a few different manufactures of mirrors and some of the lesser quality ones will start wobbling and moving on their own. 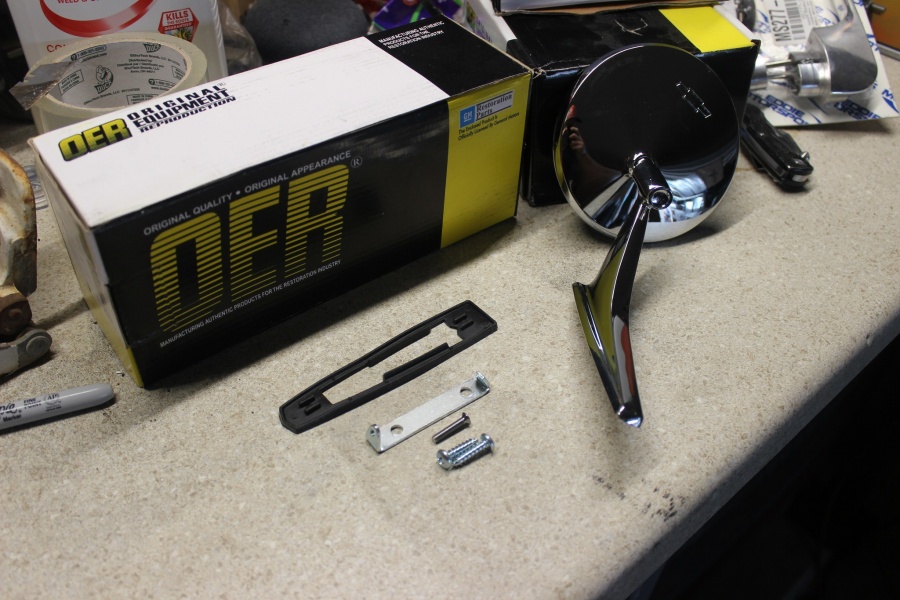
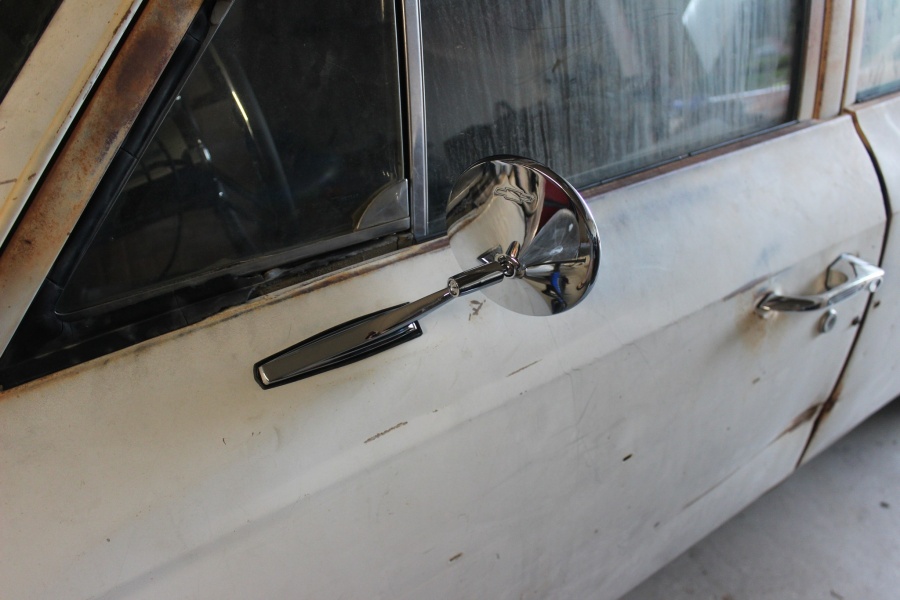
The process is super easy – screw down the mounting bracket then attach the mirror with the screw while holding the gasket in place. A five minute job to install a brand new mirror!
Sealing The Deal
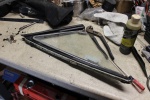
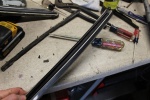
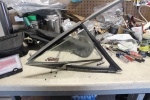
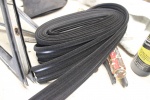
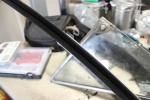
When we were ordering parts we had called up Matt’s Classic Bowties for the wing window rubber along with glass run channel. Taking the wing window apart is a fairly simple process but proved quite a task with the rock hard rubber on the track itself. We used a Dremel with a side cutter drill bit to break it apart and get all the rubber out. Once out we slid the new rubber in place. On the backside we installed new glass run channel along with around the door frame.
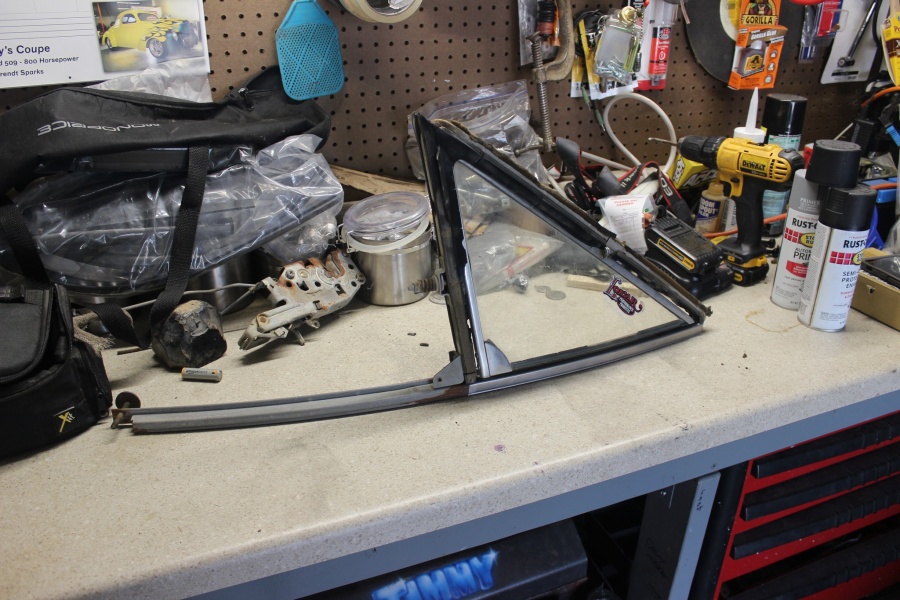

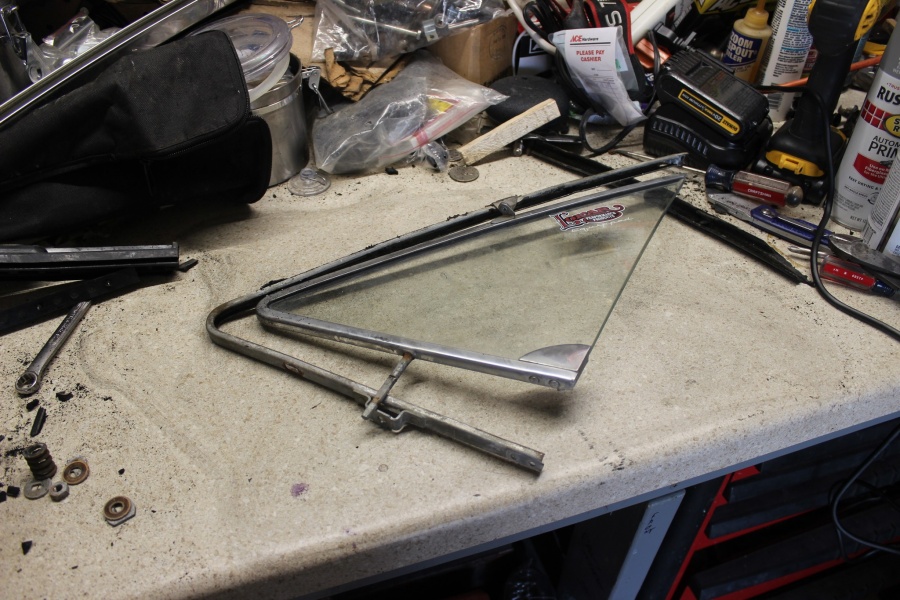
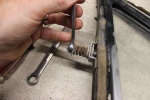
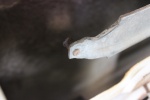
Before sliding our rebuilt wing window in place, we needed to replace the roller on the window mechanism. The metal stud was there but the plastic roller wheel was long gone. After drilling out the original, we installed a new roller wheel from OER then greased everything up for years of use.


The last step was to install the wing window back into place and then mount the glass back in the tracks. Overall the process took us a day or so tinkering around and taking our time. We still have a couple other details to finish up such as the wing window handle and window felts but for now the door opens and shuts like a dream! Onto the the other four doors to repeat the process.