Project Way-Gone Begins!
Last year we introduced Project Way-Gone, a 1966 Chevrolet Chevelle Wagon. We’ve always had a love for the Wagons – you can fit four people plus all their stuff and still cruise! When we saw this one, we knew it would make a great Pro Touring ride. The wagons are a little different than the norm and we’ve always had a bit of a infatuation with them.
Just like building a house, we had a vision and started to plan it out. With this car our vision is to cruise this car across the US, race it all weekend and cruise back. With this being a four door, we want to be able to throw spectators in the car and get them into the sport. However we didn’t want to break the bank while doing this. This is a true budget build – not the cheapest we can build it, but a small budget. The plan is to use great quality parts, but entry level. Think instead of putting a brand new LS9 in the engine compartment, we will use a junkyard LS.
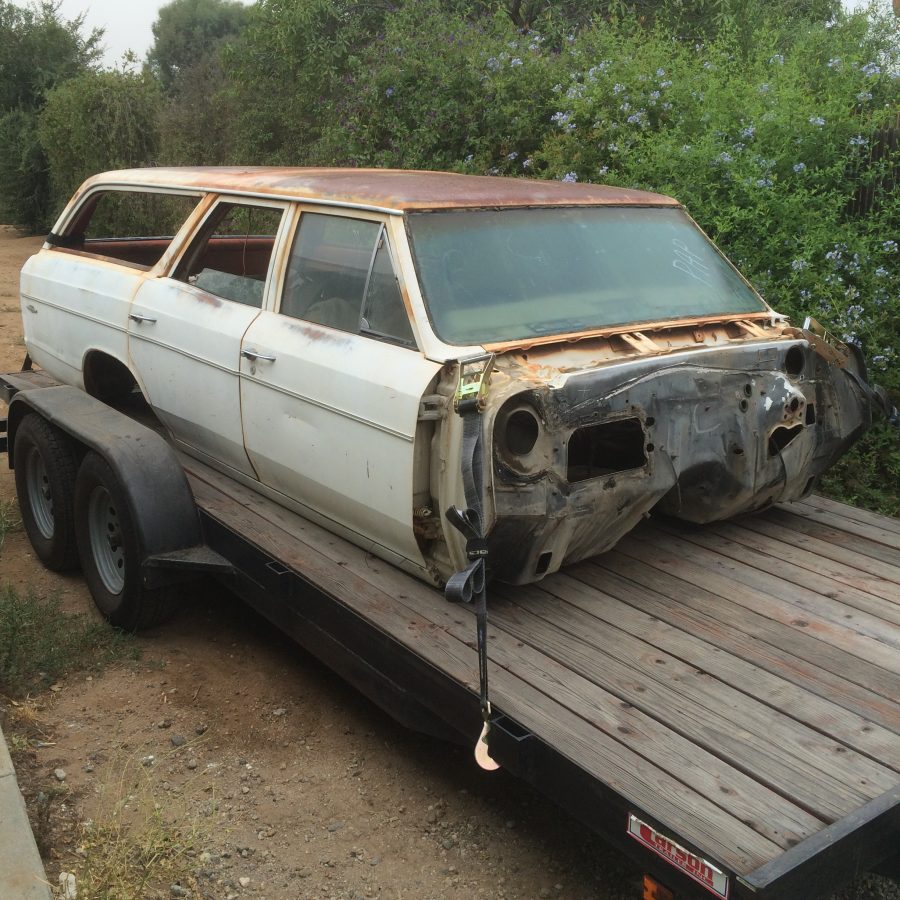
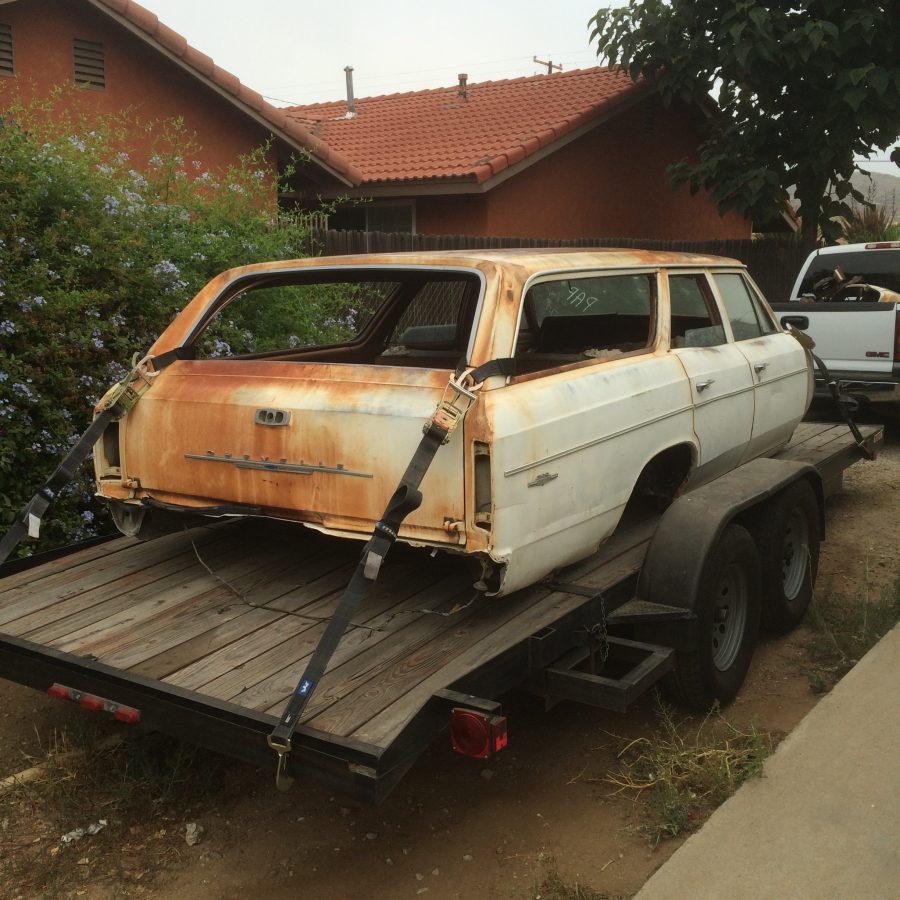
We started out with just a shell. One day searching Craigslist, we found a ’66 Chevelle wagon body for a measly $400. This was just a body with no engine, transmission, frame or much of anything else. The great part was it was cheap and since it had been in the desert most its life, there was very minimal rust. The only major piece of the body missing was a hood, which we found for $100 on Craigslist again.
Setting the Foundation
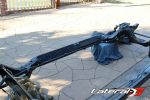
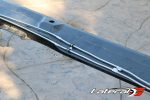
After figuring our the blueprints for our build, we started with the foundation. Keeping budget friendly in mind, we started with the frame. Now we could have boxed out the factory frame. Since we were working from just a body, we bought an El Camino frame. This is the same length as the wagon frame but is already boxed from the factory. This will give us a firmer ride and better performance when cornering. This saved lots of grinding and welding as well.
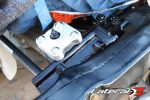
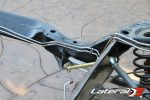
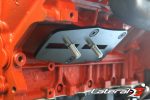
Before we took the frame off to powder coating, we needed to make a few mods. Mainly, the transmission mount tabs. We knew that we would be running a TH400 trans, which requires the cross member tabs to move back a few inches. We took our Miller Spectrum 625 X-Treme plasma cutter and cut them off. After grinding, we used our Miller Multimatic 215 to weld them back on. This will allow us to use a factory cross member instead of fabbing one up from scratch.
Powder Coating and Suspension
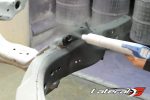
After stripping the frame of the factory suspension, we sent it off to Eddie Motorsports to get powder coated. “We start by sand blasting the entire frame so it’s 100% spotless. This frame had zero rust and didn’t require any repairs. From here we put the frame in the oven and bake it. This ensures it’s 100% dry and ready for powder coating,” explained Joe Rode. After baking, they shoot the frame and bake it again to finish off the powder coating process. The end result is a semi gloss black frame, with powder coat that will be durable for years to come.
While the frame was off getting powdercoated at Eddie Motorsports, we called up Chris Alston Chassisworks to handle the suspension for this car. They have a ton of different options for the A-Body platform. Anything from basic tubular control arms all the way to complete aftermarket frames.
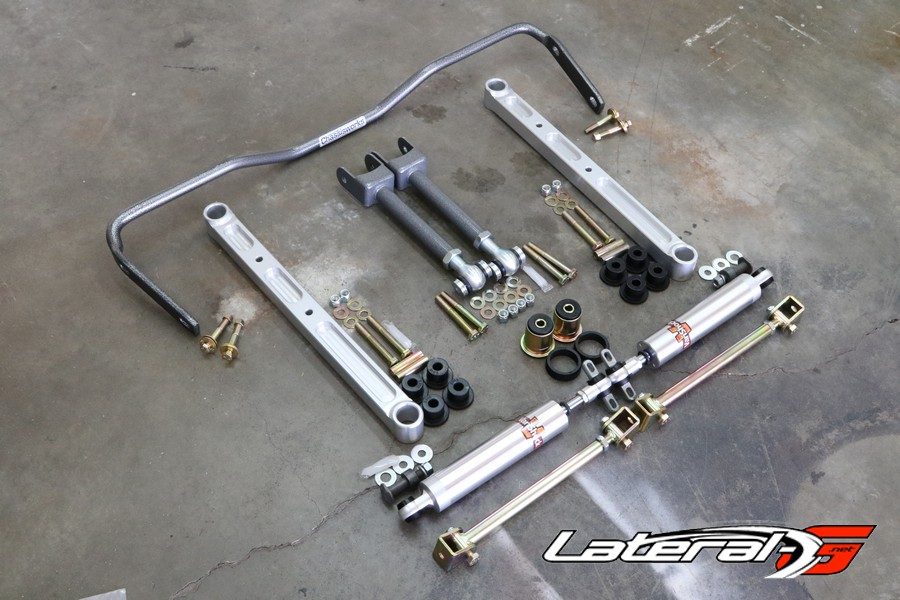
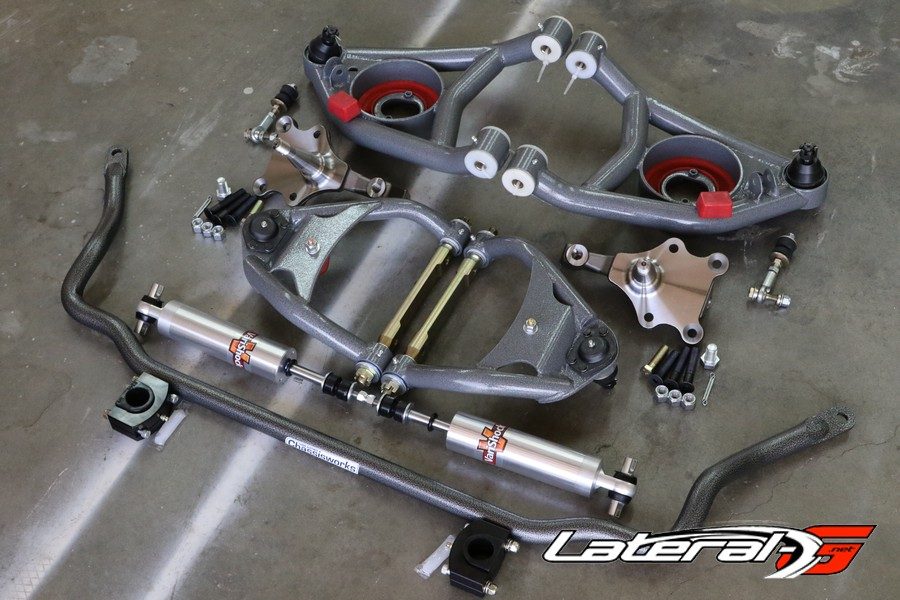
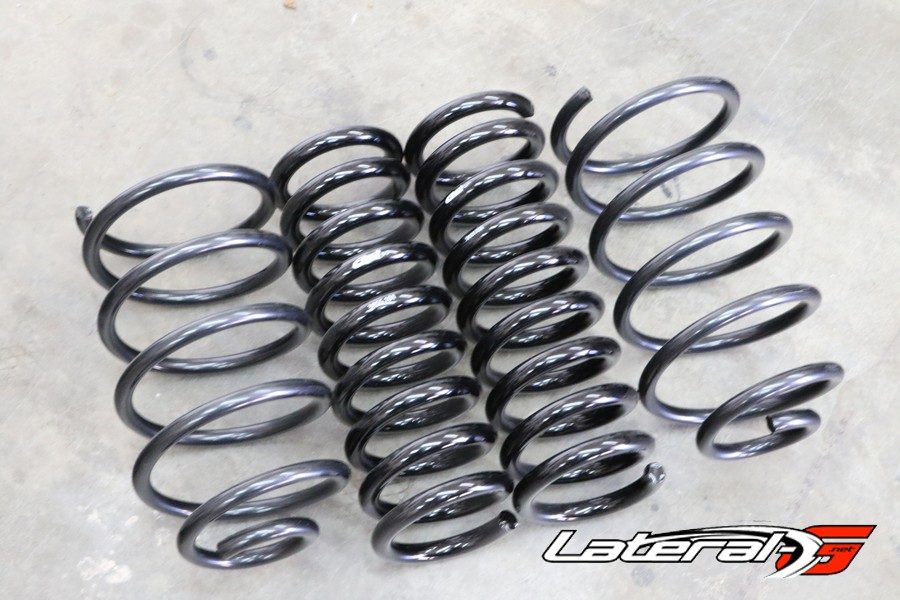
Keeping with our budget friendly build, we looked at their entry level suspension. This is still high quality components, Made in the USA, such as tubular control arms that correct geometry and a set of non-adjustable Vari-Shocks and sway bars. The control arms still use upgraded poly bushings instead of of the flexible stock rubber bushings for increased life and performance. In the rear we did spring for a set of machined aluminum lower control arms because we loved the way they looked and the lighter weight was icing on the cake. The rear kit includes the braces between the upper and lower controls as well for added rigidity. We combined this suspension with a set of 1″ lowering coil springs from Eibach. They will get the car down a bit but offer a more performance spring rate as well but staying in our budget friendly mindset.
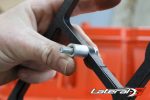
Installing the suspension components from Chris Alston Chassisworks is a piece of cake. They have very thorough instructions with lots of pictures for those who aren’t familiar with the process. We started in the front by bolting on the lower control arms with the two supplied bolts. The upper we bolted on with the two supplied bolts as well. This was completed on both sides. With the control arms in place, we slid the Eibach 1″ lowering coil spring into the pocket. Using a floor jack we raised the lower control arm up until we could install the spindle into place. After that we slid the new VariShocks in place and finished the installation. The last part was to bolt the sway bar to the frame and to the end links on the control arms.
In the rear we did a similar process as the front. We started by installing the lower control arms to the frame. With the rearend balanced on a floor jack, we slid it forward and bolted the lower control arms to the rearend. This positions the rearend and makes it square to the frame. One quick note though, while installing the arms to the frame we also slid the support braces in as well since they use the same mounting bolt as the lower control arm.
Then we bolted the upper arms in place using the supplied bolts as well. One really nice part about these uppers is that they are adjustable. This allows us to dial in the pinion angle to make sure the car doesn’t have driveline vibrations and to get maximum traction. From here we lowered the rearend and slid in the Eibach 1″ lowering coils.
We jacked up the rear a bit and installed the VariShocks at this point to hold all the rear suspension together. Our last step was to install the rear sway bar. There are several different designs, but we opted for the budget friendly version which bolts directly to the two lower control arms. Simple and effective, we like it.
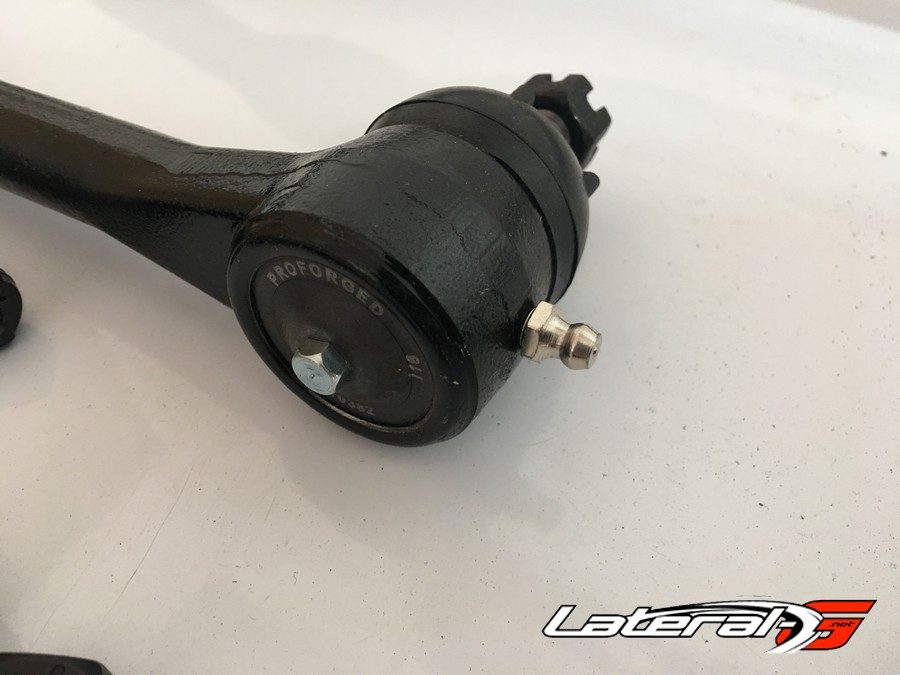
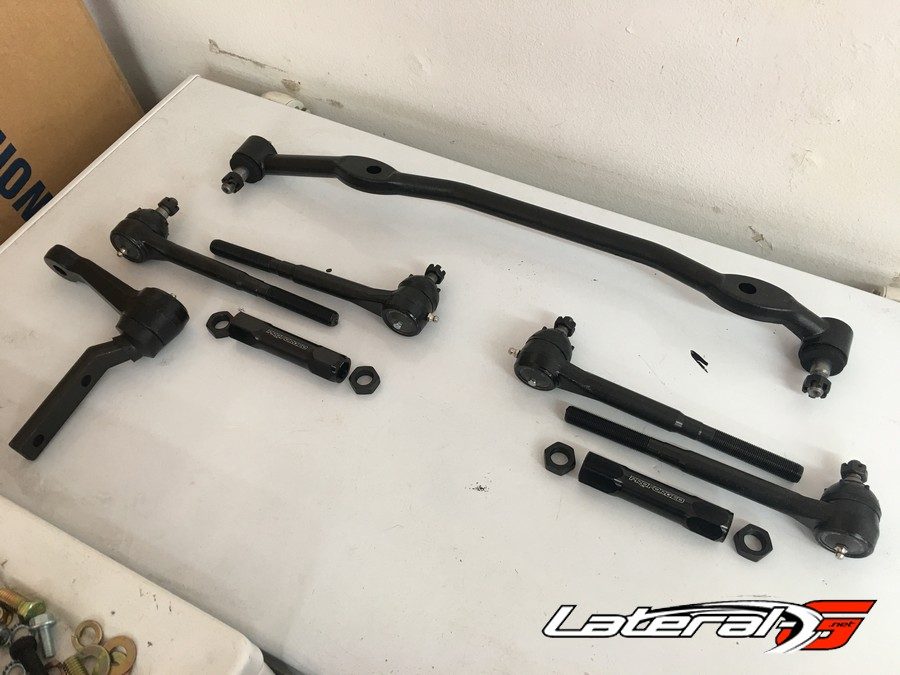
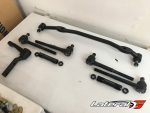
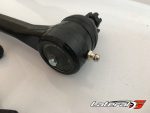
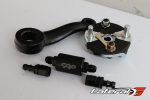
Steering duties are handled by a complete ProForged set up. This includes inner and outer tie rods, pitman arm, and center link. We went with ProForged since they are the best in the business. There are subtle differences too that really set them apart from the competition. One small thing is they already come painted black, saving hours of taping and painting. On these early A-Body cars, the zerk fittings are hard to reach on the centerlink as it’s right up against the front cross member. The other companies keep the zerks against the cross member where you can’t access them. The ProForged brand moves them to the outside for easy access. They also pre-tap the threads for the zerks making them easy to install.
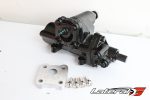
The gearbox to make the steering work is a Classic Performance Products unit. We wanted better steering than the factory box. “Our gearboxes are a direct replacement for either manual or power steering boxes. They offer a 14:1 ratio for excellent handling characteristics and road feedback,” stated Javier Nunez. Three bolts later, we had this gear box installed in a matter of minutes and bolted up to the ProForged steering parts.
Plumbing
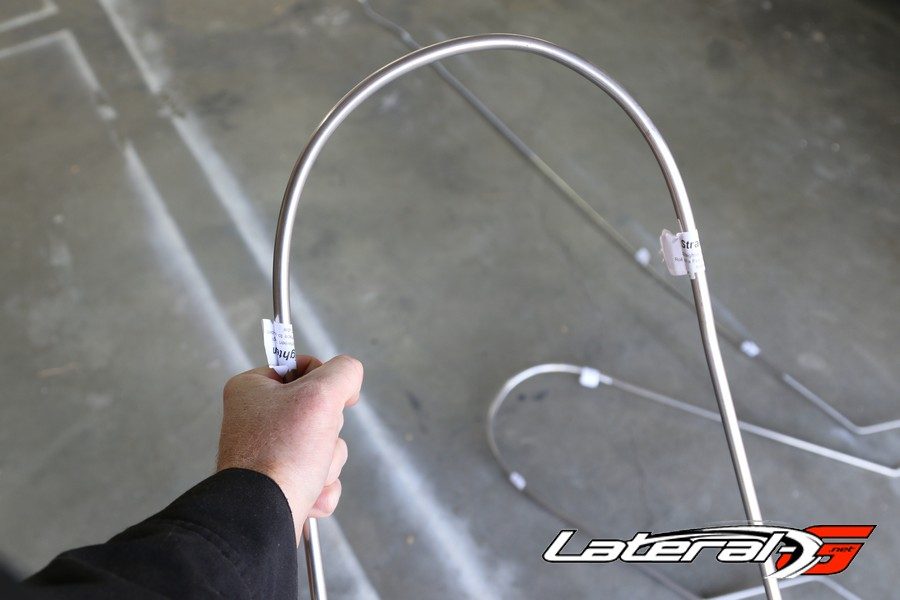
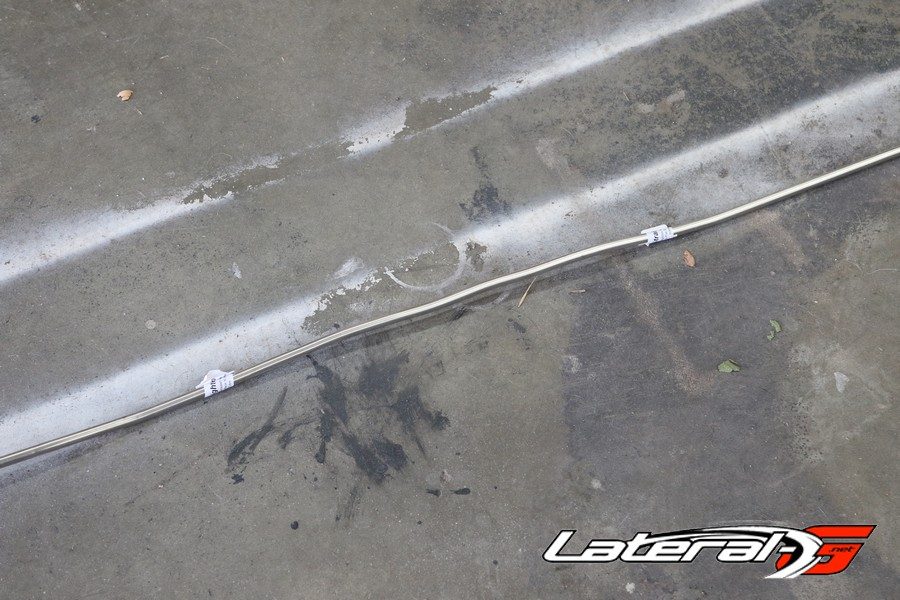
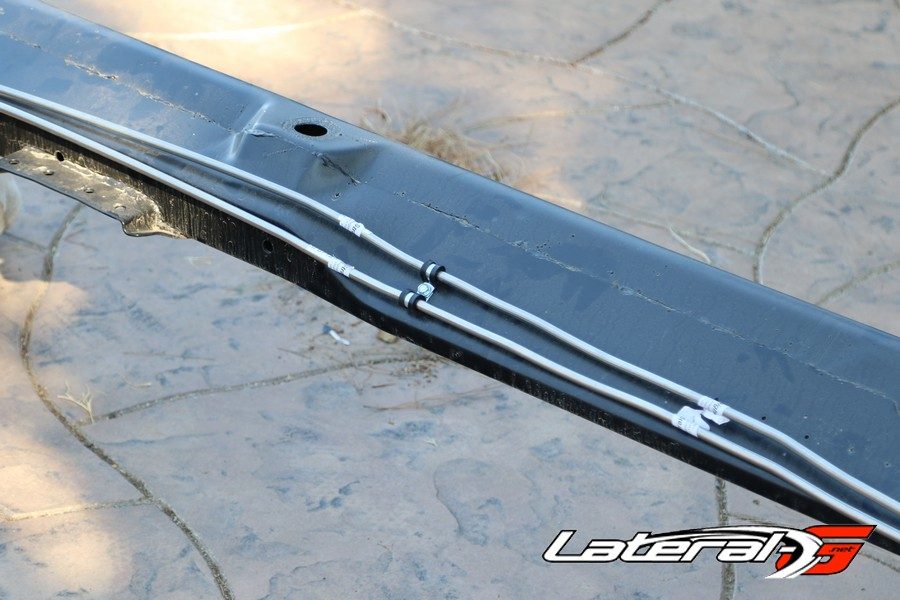
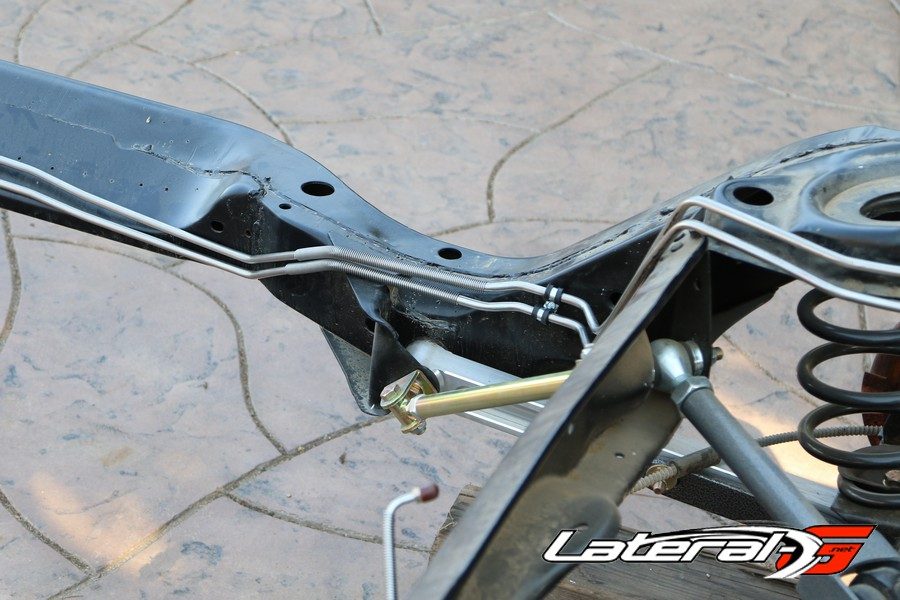
Before the body gets set on the frame, we wanted to get as much plumbing done as possible. For that we called up Inline Tube. “We have a full assortment of pre-bent lines for thousands of applications,” stated Pete Nicotri of Inline Tube. Instead of taking hours to figure exactly the right bends and get everything looking perfect, we went the easy route and ordered up pre-bent lines.
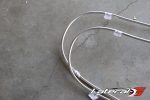
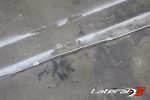
From Inline Tube we ordered up fuel and brake lines. On the brake line side, we ordered the front-to-rear line, axle lines and front brake lines. On the fuel side we knew that we would be installing fuel injection and need a supply and return line. To make that easy as possible we simply ordered two stock fuel supply lines. Installing all the lines was as simple as folding them out and using some rubber coated straps to secure them to the frame.
Power Plant
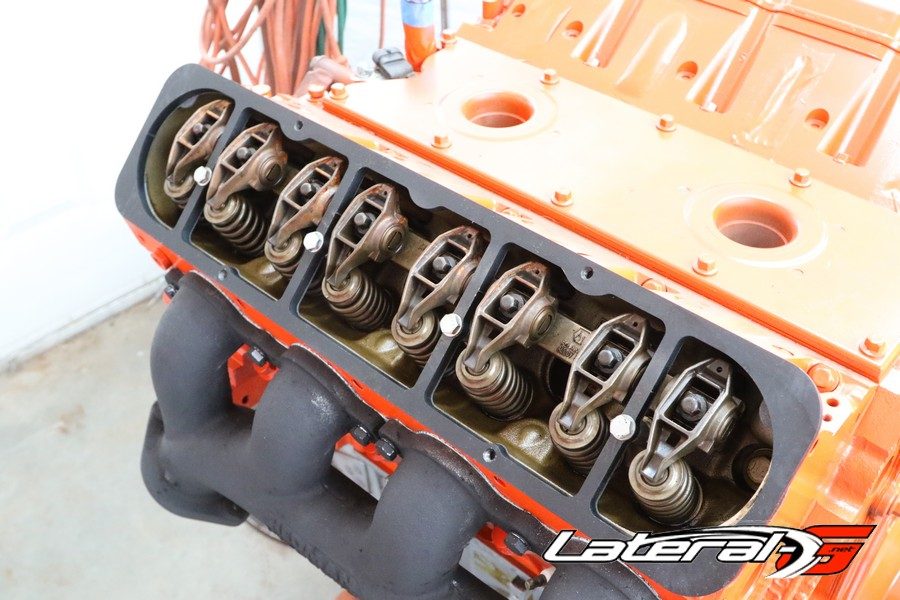
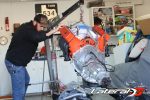
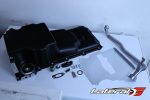
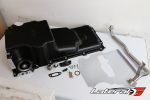
While building the frame we went ahead and got the engine and transmission figured out. Being car guys, we did some horse trading and landed a bone stock LM7 5.3-liter LS engine and a freshly rebuilt TH400 trans. We decided to really stay tight with the budget and keep it bone stock – not even a cam swap. We did swap out the oil pan for a Holley unit, which gives us the ground clearance and tie rod clearance that’s needed with an LS in an A-body application.
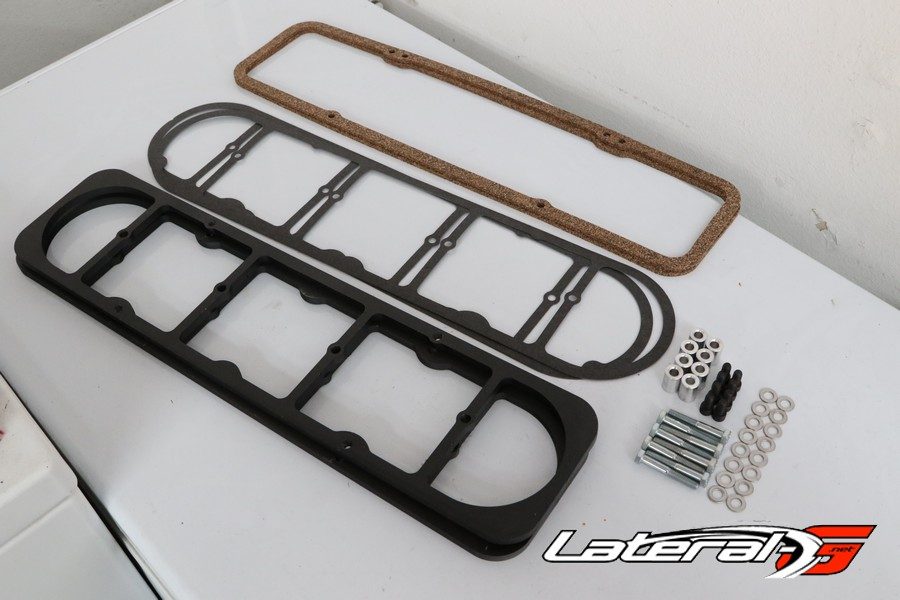
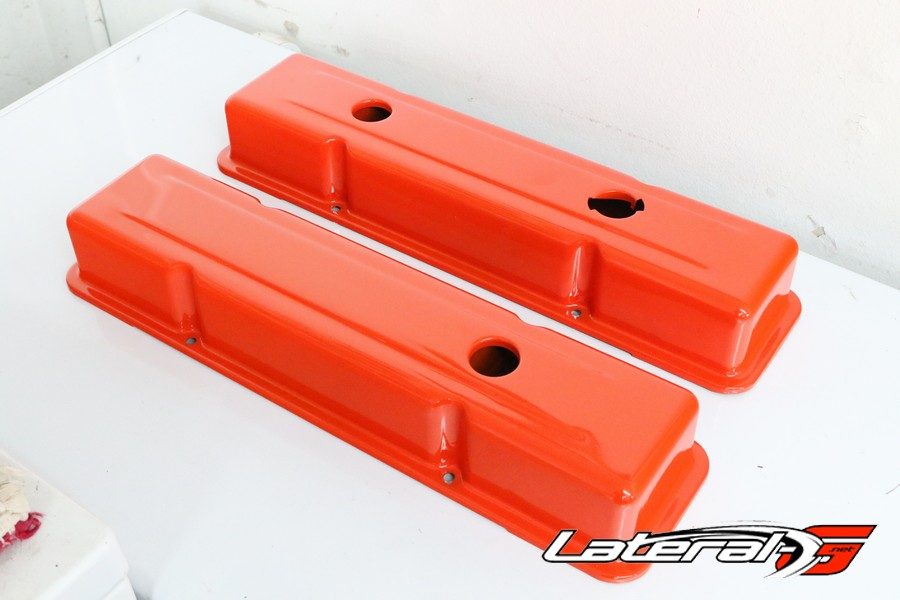
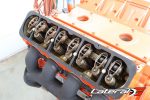
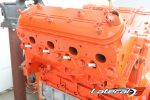
One thing we did decided to do was make the motor look a little like a small-block. To accomplish that we painted the engine Chevy orange and gave Hedman Performance a call for some trick SBC goodies for LS engines.
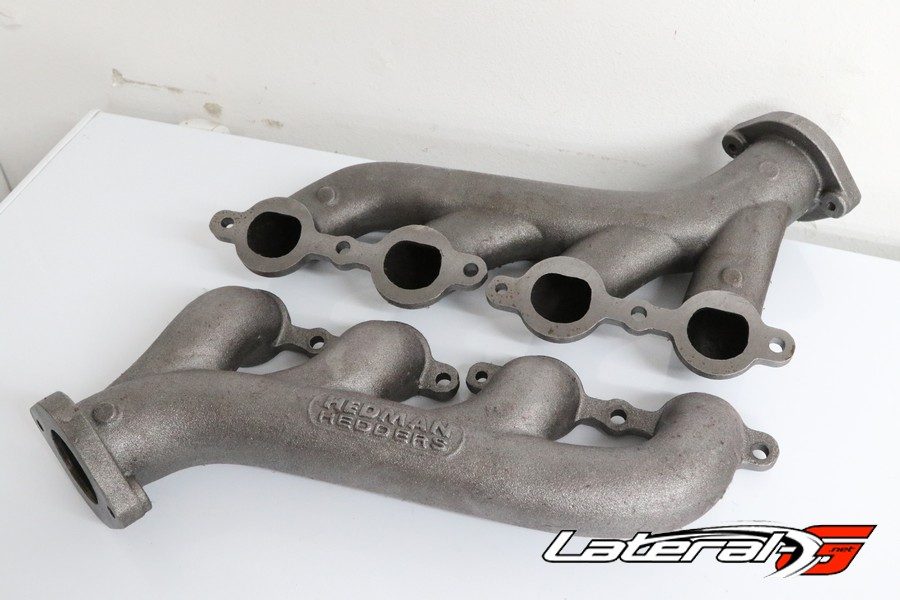
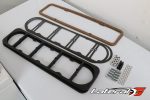
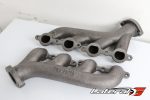
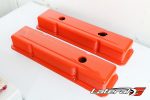
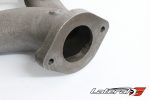
“We have a set of adapters that will allow you to run a traditional SBC valve cover on an LS engine,” explained Marc Lewis. We ordered those up along with a set of their basic SBC valve covers. Hedman also had these cool LS cast iron manifolds that breathe like a header but look like a stock cast iron manifold.
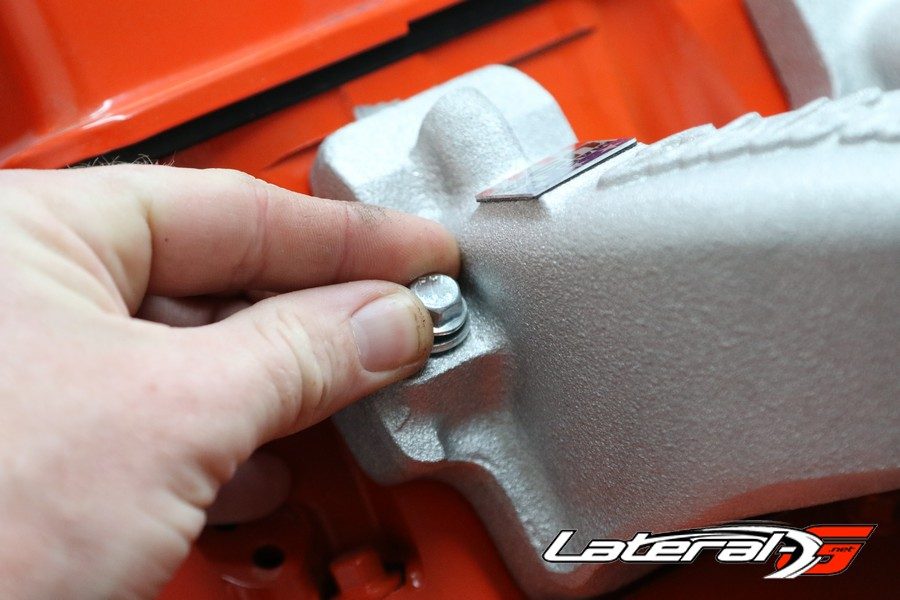
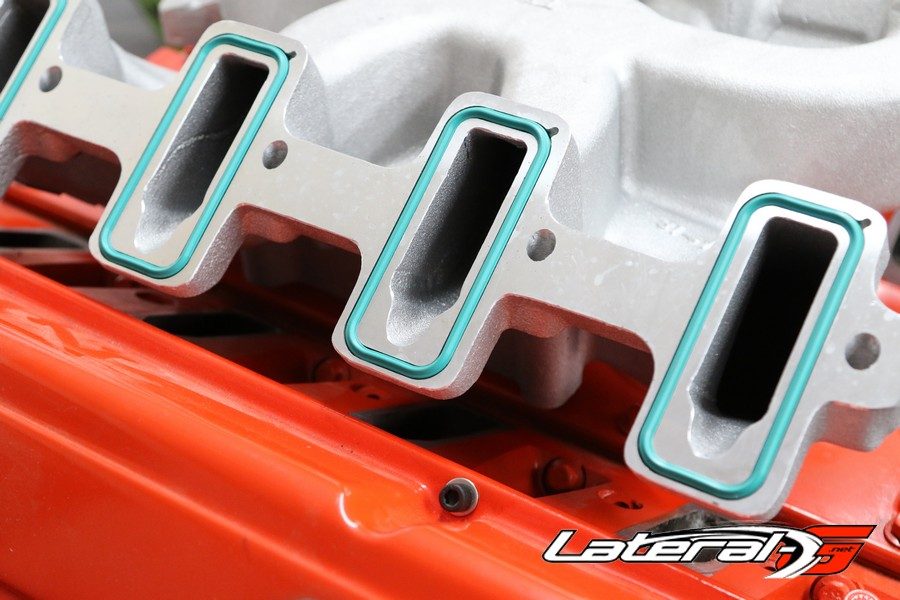
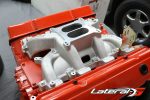
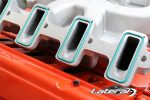
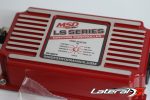
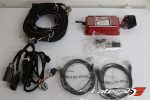
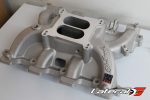
To get air into the engine we called up Edelbrock Performance. They have a carburetor intake for LS engines. We kept the cast aluminum look and didn’t paint it. To us this gives us the look of a performance upgrade that was popular in the 60’s and 70’s. One cool thing is that this intake comes with an ignition box to fire the coils – perfect if you’re going to run a carburetor.
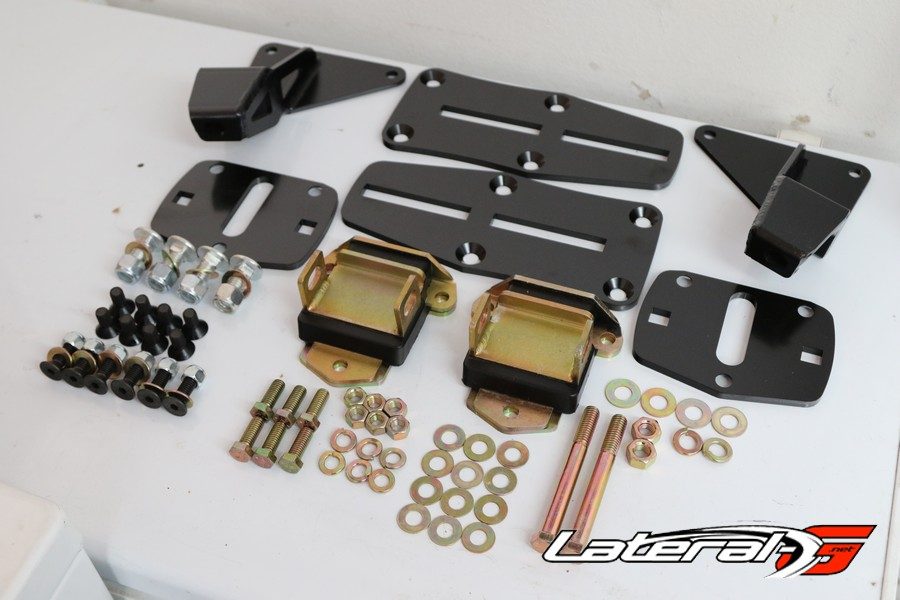
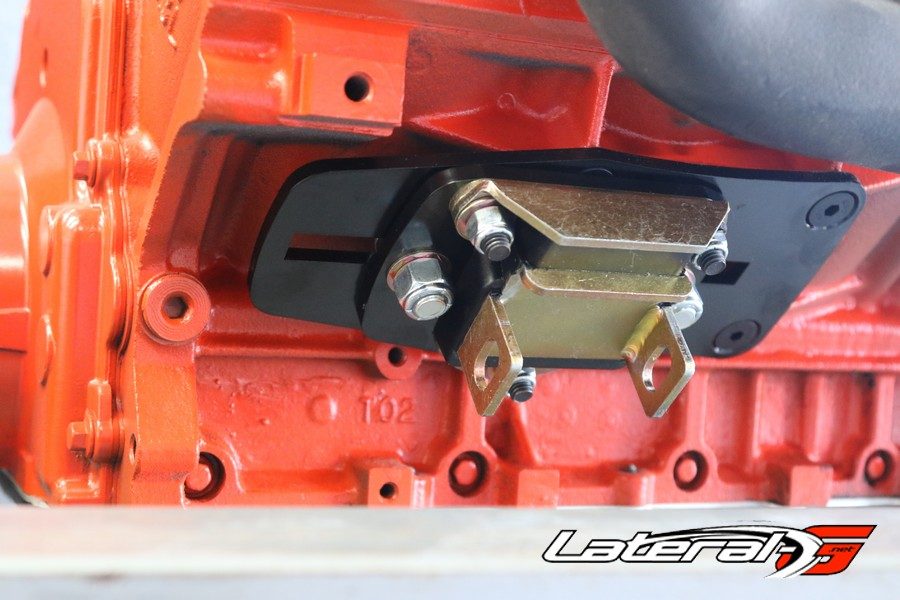
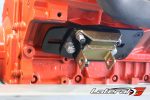
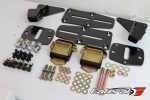
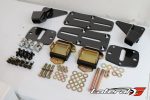
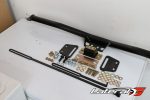
After giving Classic Performance Products a call, we had a set of their LS motor mounts. We’ve used these before in our LS3 build and were extremely happy with them. They are stout, fit perfectly and offer a ton of adjust-ability for the engine. For the transmission they have a really slick transmission cross member. This cross member is smaller than stock allowing for better exhaust clearance. Just like the motor mounts, they have a bunch of adjust-ability to allow you to dial in the perfect position.
With the frame complete, our next steps with the car are to install Baer brakes, Holley accessory drive, Flowmaster exhaust and a complete fuel system.


