Installing Vintage Air Into A 1966 Chevelle Wagon
About 20 years ago I was working at a Chevelle restoration parts warehouse, the now defunct “True-Connections.” Up until that point, I had always said “I don’t need A/C, just roll down the windows and go faster!” Then one ultra hot summer day I watched as a customer pulled into the parking lot in his butternut yellow ’67 Chevelle – with the windows rolled up. I knew that he was cranking A/C as he hopped out not sweating at all. It was at that moment I said I’m installing A/C in my Chevelle!
A year after that incident I had an ice cold A/C system installed from Vintage Air. Through out the years it’s provided me countless sweat-free driving miles. I even took this car on Hot Rod Power Tour in 2016 which took me right through Texas in the middle of summer. But me and my co-driver were cool as cucumbers the whole time.

Air Conditioning Basics
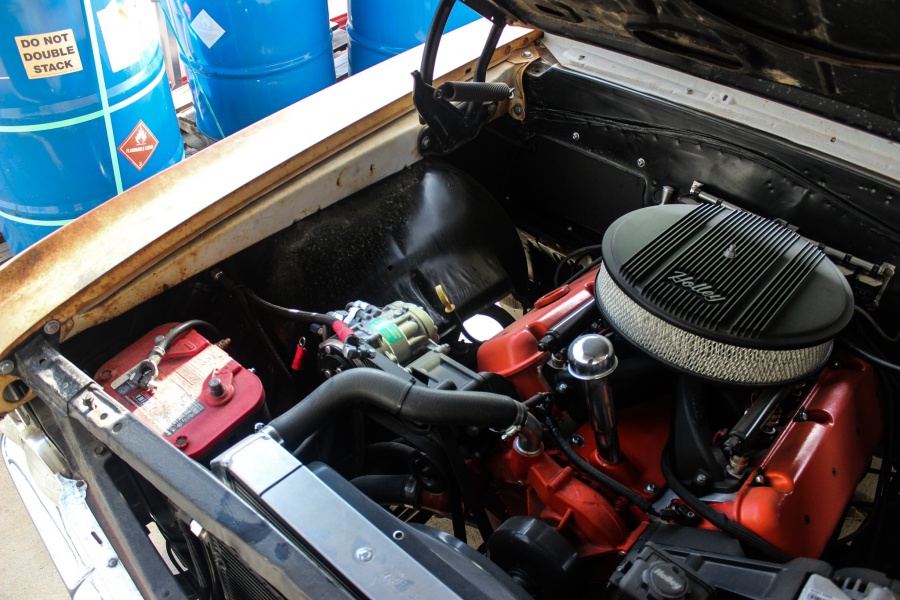
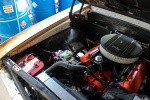
When the time came for us to get A/C installed in our Project Way-Gone 1966 Chevelle Wagon, we called up Vintage Air for another kit. Now A/C can seem overwhelming at first glance since there’s a few different components to install. In reality though, each A/C system works about the same way, by absorbing heat inside the vehicle through the evaporation and then dissipating that heat to the outside through condensation. There’s an A/C compressor mounted to your engine to pump refrigerant through the system. There’s the evaporator unit, which is what’s under the dash and there’s a condenser which goes in front of your radiator. One last major piece is a receiver/drier which is a can looking item that goes in line with the refrigerant lines. The receiver/drier usually houses the compressor safety switch as well. With this in mind you can really piece together an A/C set up into just about any car, but for the ease of installation, we chose a complete kit that has all the mounting brackets and bent lines to make this an easy install.
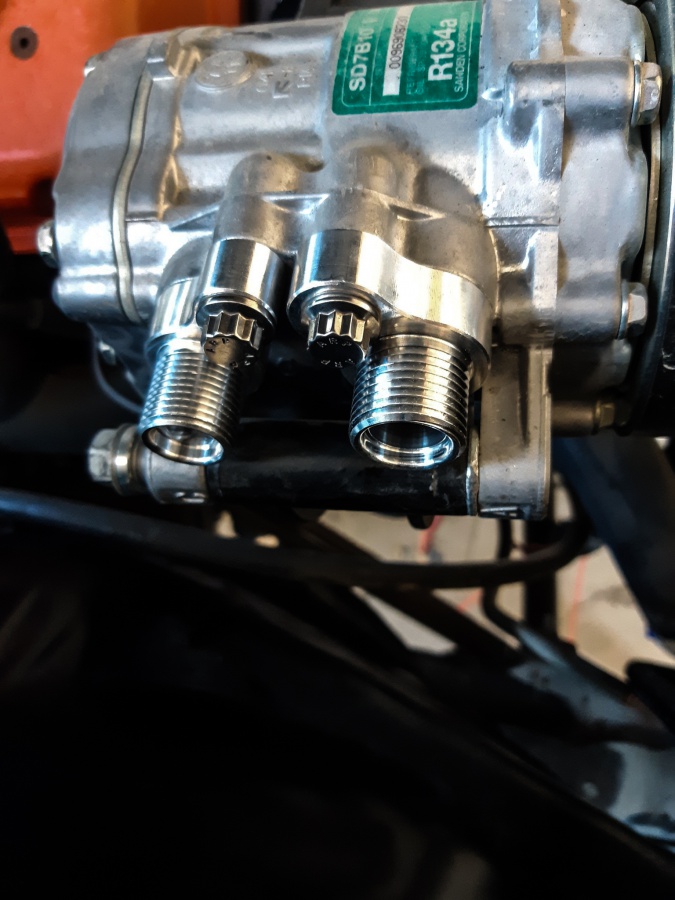
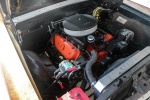
The Vintage Air SureFit system comes with everything you need minus the heater hose and refrigerant itself. There’s an evaporator kit which includes components to convert our OEM controls to electronic operation, compressor, condenser, wiring harness and all the refrigerant hoses and fittings required. Our LS engine already had a compressor from the Holley accessory system, so we opted out of the compressor from Vintage Air. However, Vintage Air had the perfect adapter to connect the A/C lines to the Holley Sanden compressor.
One thing to note here is the the Gen IV evaporator units from Vintage Air, or the one we are installing and is commonly seen, has a heater core as well so it is a full-function system. This means it’s both the A/C and heater unit in one small package. As in OEM applications, these cores are separated and use a blend air door for temperature modulation.
Let The Cooling Begin!
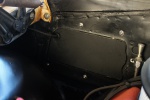
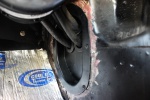
Since our Project Way-Gone wagon was basically a shell when we bought it, that means we didn’t have to uninstall the factory heater box or anything like that since it was already gone. We did remove the passenger inner fender to give us more access to things. We didn’t remove the dash out of the way, but others might find it easier to do it that way.

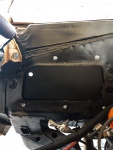
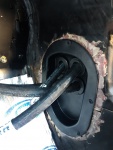
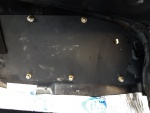
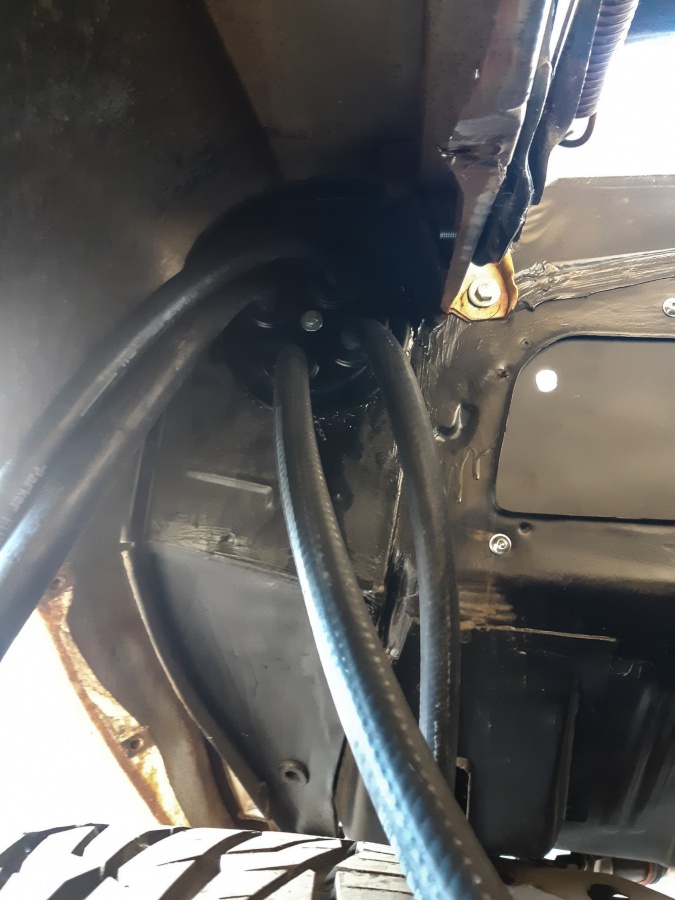
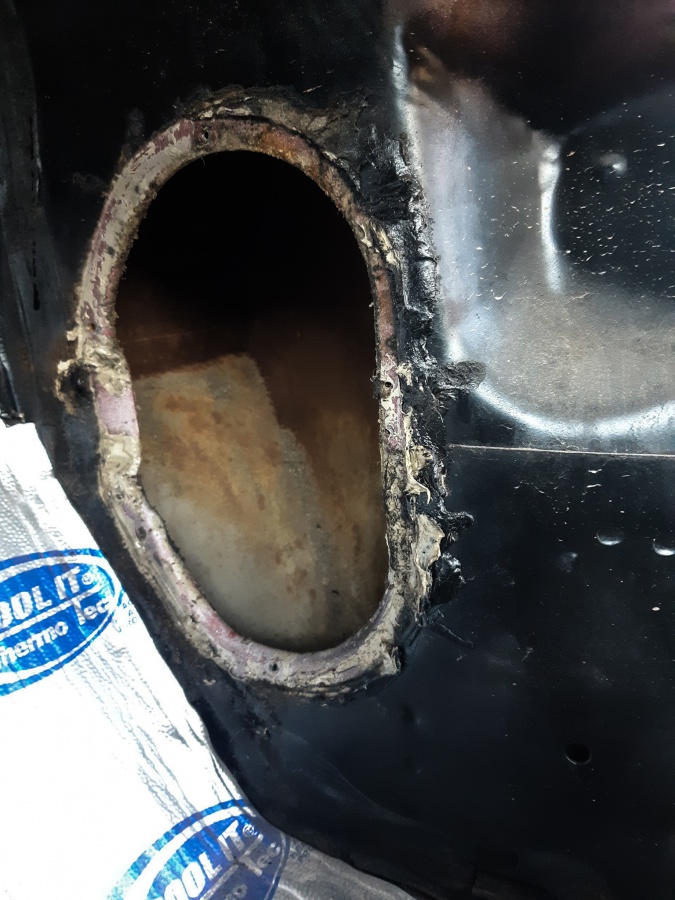
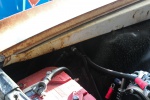
 With no factory heater in place, there’s a big gaping hole in the firewall. Not to worry though, this kit comes with a powder coated steel panel to bolt into place that closes that off and seals up the firewall. We then removed the passenger side kick panel vent. On this kit the hoses for the A/C and the heater route through the passenger side kick panel vent and then up and out the factory heater blower motor hole. There’s no cutting of the body to route lines and they are tucked away nicely.

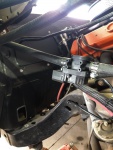
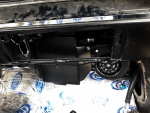
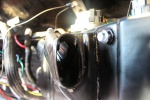
With everything ready we went ahead and mounted the evaporator unit up in place. These units are super compact and have an evaporator for cooling and a heater for heat. They fit 100% under the dash and don’t hang out into the engine compartment like a factory heater or A/C does. If you want to shave your firewall completely smooth you can fairly easily with this set up.
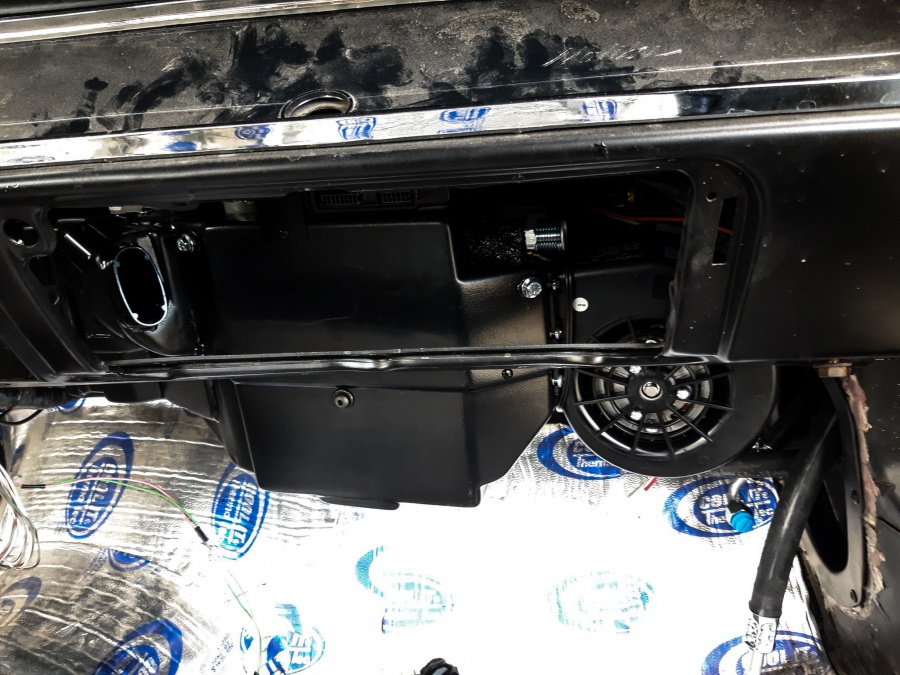
With the evaporator bolted into it’s new home, we switched our focus on hooking everything else up to make it work. That’s four hoses, ducting and a bit of wiring. The hoses that come with the kit are extra long so no matter how your configuration is, they are long enough to work. That means the one end of the A/C lines aren’t terminated and will have to be crimped once you determine the final length. If your car has a standard small block or big block engine with v-belts you have the option of ordering the kit with the hoses pre-crimped.
You can either mark them and send them to Vintage Air to be crimped or find a local automotive A/C shop and have them crimp the lines. In the past we found the best luck is to look for car restoration shops that would have the equipment. Another option is that Vintage Air offers a loaner crimper program to allow you to crimp the hoses at home in your garage.
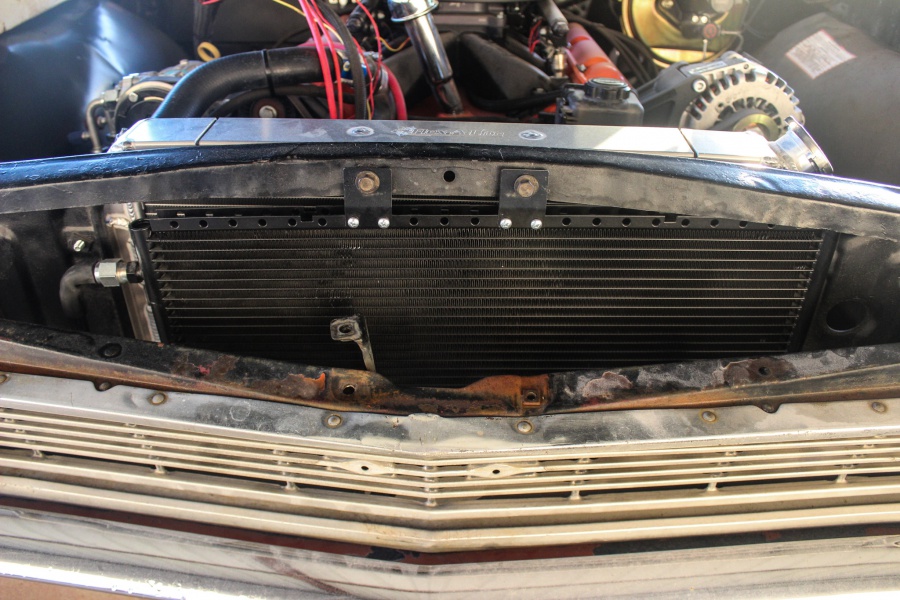
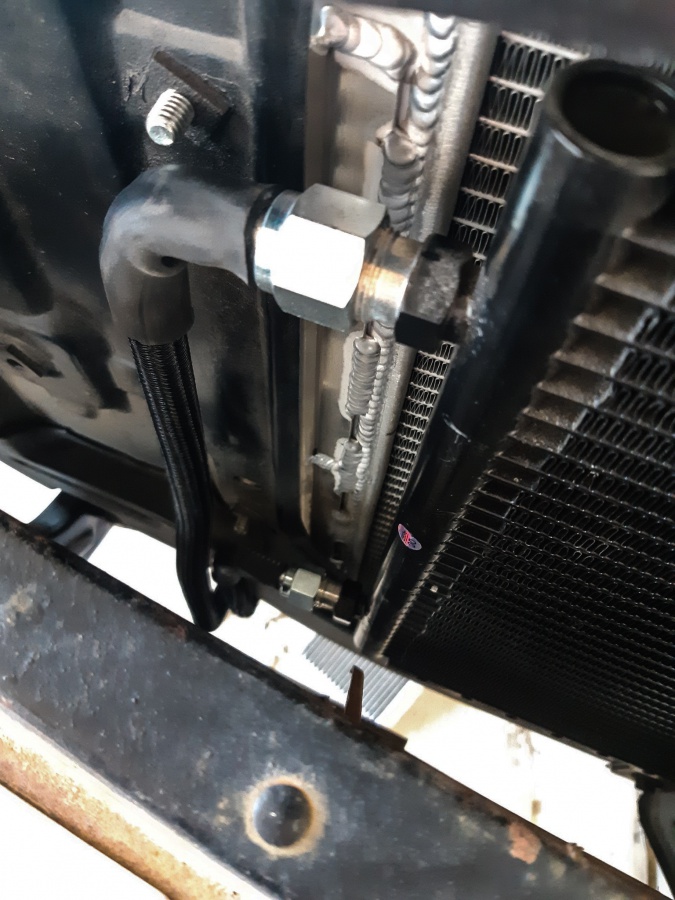
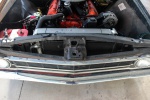
Before finishing running the lines we needed to mount the condenser in front of the radiator. With this kit it comes with a condenser matched to the Chevelle along with the mounting brackets to make it a breeze, and the included hard lines give the system an OEM installed look. Remember that in order for your A/C to work properly that it needs proper air flow across the condenser or it wont be able to remove the heat from the refrigerant.

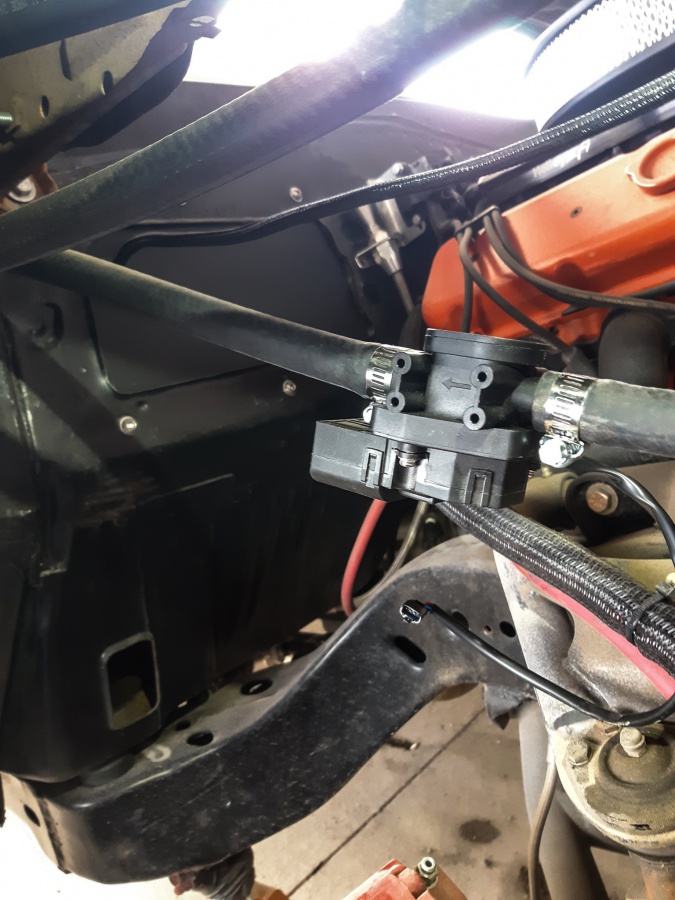
Remember how we said the unit under the dash is both a evaporator and heater core combined? There’s a special valve that’s required to go into the heater hoses that turns the flow off when the unit is in MAX A/C mode. If this valve isn’t installed, then your A/C will be fighting the heater at the same time and won’t deliver optimal performance.

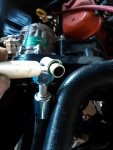
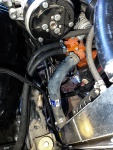
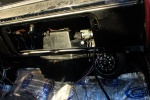
With the compressor already mounted to the engine, the condenser mounted and the evaporator mounted we finished up running and crimping lines to make it all complete. Remember that we had to also mount the drier up but it simply bolts to the inner fender.
Wiring It Up
The most daunting part for most is wiring. Luckily this kit has a complete harness that just requires a few connections to complete the whole set up. On top of that there’s wiring diagrams to help you along the way. Like any wiring system the kit will need a proper ground along with clean battery hot and hot in run. We recommend running the ground wires directly to the negative terminal at the battery.
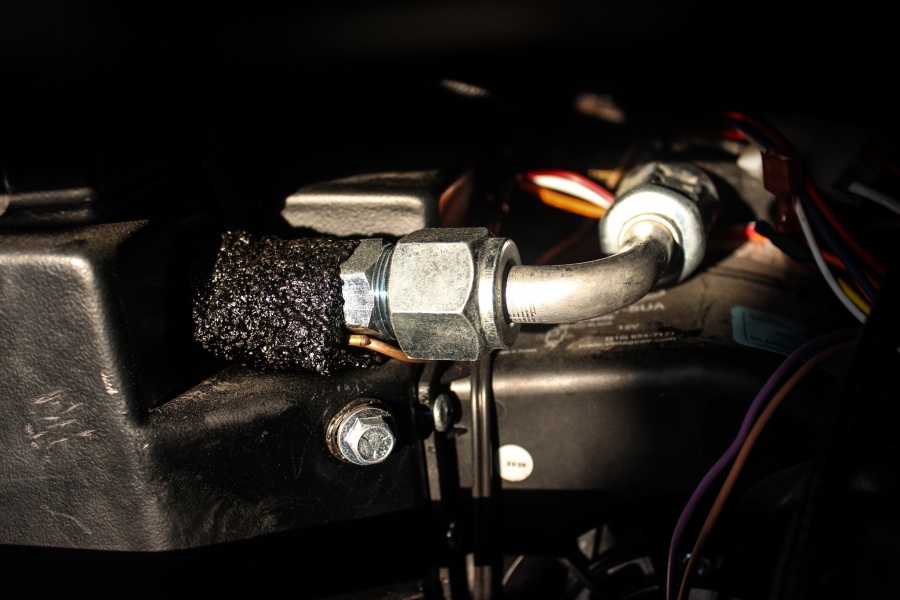
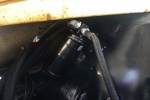
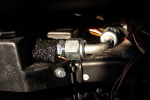
Most of the wiring stays under the dash but there is a tiny bit that’s required to go under the hood. There’s a compressor clutch engagement wire that runs through the Trinary safety switch which is installed in the drier. This safety switch provides both high and low pressure protection for the compressor, and also delivers an electric fan engagement signal when the A/C pressure reaches 254 PSI. Another set of wires under the hood is a water valve that gets plumbed in with the heater hoses. When the system is in A/C mode the computer will shut the flow of water off to the heater core.

Looks factory – but powers the whole unit!
One cool thing we like about the Vintage Air set up is the use of the Patented electronic cable converters that connect to the factory heater controls. This allows us to retain our factory controls to operate the entire system. We remove all the factory cables and attach these converters and we are off to the races! The cable converters must be calibrated to match the individual control panel to the system ECU, but this process is very quick and easy.
Finishing Touches
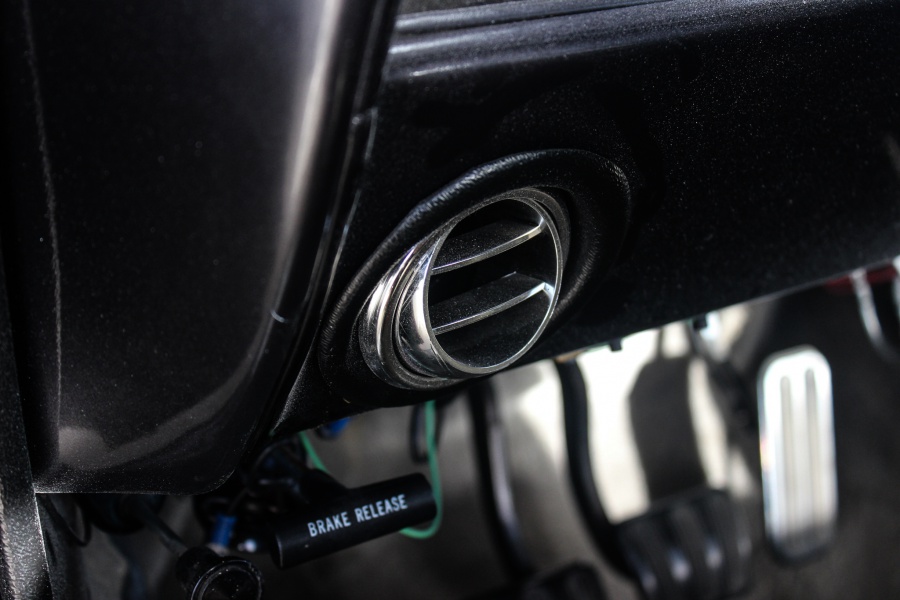
The last step besides charging the system is to drill three holes in the dash to install the A/C vents, and run the supplied hoses under the dash. The A/C vents are mounted in the factory A/C location, to give off a factory look. There are two balls that mount on the outsides of the dash with one center vent mounting in the middle of the instrument strip. In order to provide windshield defrosting there are two vents that mount in the factory location that will provide air to the windshield to keep it free and clear. We took care to stretch the duct hoses and route them smoothly without any sags to maximize the air flow.
The instructions include clear instructions on proper system evacuation and charging. The proper amount of R134a is critical to optimal system performance, so it’s always a good idea to have the system charged by a professional shop if you don’t have the right tools. Now that we have the system charged, we are ready for summer and even winter! This wagon just got a whole lot cooler thanks to Vintage Air.
For more information or to order your kit, hop on VintageAir.com or give them a call at (800) 862-6658


-
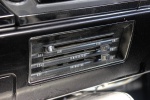
- Looks factory – but powers the whole unit!