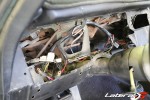
Our project ’69 Plymouth GTX
When looking at a classic car compared to a new one, it’s very apparent that the technology has improved in nearly every aspect of the vehicle. Gauges too, have advanced in technology to be more accurate, lighter and packed with options. Auto Meter is a company that started making performance gauges way back in 1957. The founder, Vern Westberg, an engineer for Sun at the time, started the company out of their suburban Chicago home with the help of his sons.
Auto Meter now houses production inside a state of the art facility in Sycamore, IL which is about 60 miles from Chicago. Everything they make is made right there in Sycamore, here in the USA. That includes all the electronics, motors, and every other component in a gauge. In fact, here’s a little video showing some behind-the-scenes action.
Mechanical Vs. Electric
We caught up with Auto Meter’s Marketing Director, Joseph Mills who told us a little bit more about the gauges. “We have an extremely wide variety of gauges to fit the needs of just about any application you can imagine,” Mills told us. What we wanted to know was what’s inside, and how do they work? “There are really three different inner workings on gauges. For electrical there are short sweep and digital stepper motor; then there are full sweep mechanical,” continued Mills.
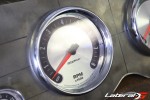
The modern digital stepper motor gauges offers the latest and greatest technology and provides the highest levels possible level of accuracy, reliability, precision and so forth. These gauges have 270 degrees of movement, which means that the reading is more accurate and easier for the end user to read. “These gauges are within a half percent of actual value, which is to say, insanely accurate,” explained Mills. Besides the extreme accuracy, the other major benefit to the gauges is that they operate with a tiny microprocessor, just like you’d find in a watch or phone. That means these tiny computers can be configured to offer you more data, like high RPM, outputs for data-logging and even the ability to control external devices, such as fans, pumps, etc.

Short sweep electric gauges are still an accurate gauge as well, and used in a lot of applications. In short – no pun intended – the needles are moved by a tiny electric motor. These tiny motors are even made inside Auto Meter’s facility, the only TS certified facility in the US to do so. These gauges offer about 90 degrees of movement as compared to the digital stepper motor versions that have 270 degrees of movement. “Under normal operation, you’ll see a variant of around 2% of the actual. This is considerably less than the width of the pointer, so in the real world, they’re absolutely accurate. The design is also super durable and very affordable for the average enthusiast,” Mills told us.
Lastly are the full sweep mechanical gauges. These gauges are driven by a physical connection to the vehicle’s oily bits, such as an actual oil pressure line running inside your car to the gauge. They offer the same 270 degrees of movement that the digital stepper motors do, but the downside is bigger connections. They are great for drag racing applications where somebody might not be running an alternator or a car that runs off a magneto. With this style of gauge, there no more than a 2% margin of error.
Digtal Steppin’
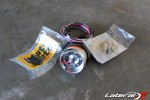
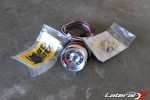
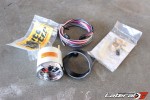
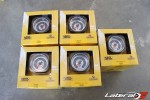
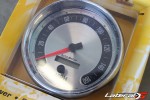
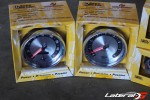
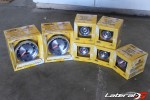
With all the technology that’s packed into a digital stepper motor gauge, they must be harder to install right? We wanted to find out, so we ordered up a set of gauges from Auto-Meter – the American Muscle series. We liked this series because it’s a very modern gauge with a classic feel to it. We would be installing this into our project ’69 Plymouth GTX and wanted something that complimented the car nicely.

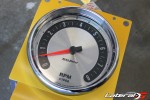
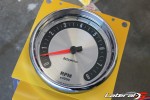
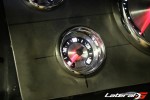
The American Muscle series gauges are available in multiple styles and sizes to accommodate your available space, personal wants and budget. We opted for a 5″ speedometer and 5″ tachometer. For the rest of the gauges they are a standard 2-1/16″ sized gauges. These gauges are oil pressure, water temperature, fuel level, voltmeter and a clock. Auto Meter does have a slew of other gauges such as boost, oil temperature, or transmission temperature. They even offer quad style gauges where there are four gauges inside a single housing.

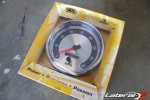
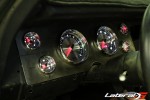
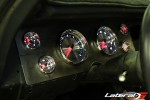
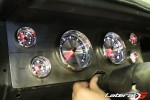
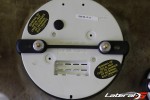
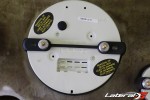
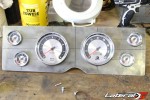
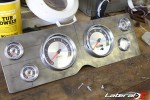
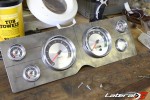
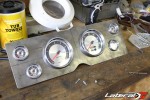
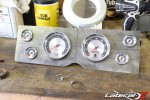
The finished panel with the gauges loaded up!
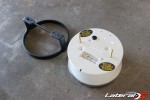
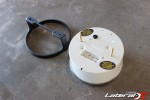
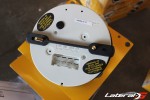
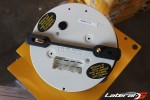
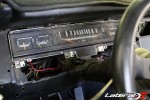
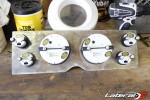
For some of the more popular application out there, Auto Meter offers direct fit mounting housings. These allow the user to take the factory gauges out and install a full cluster of Auto Meter gauges. Unfortunately, they don’t make such a product for our ’69 GTX. Not to worry though – our Master Fabricator Ryan stepped up and whipped out a sheet metal panel to easily hold all of the gauges for us. We originally thought this was going to be the hardest part of the install, but it turned out to be the easiest. The panel holds the speedometer, tachometer, voltmeter, fuel level, oil pressure and water temperature gauges – the clock will be mounted on the passenger side of the dash.


Wiring Made Easy
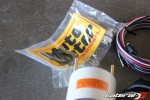
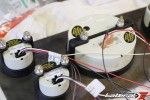
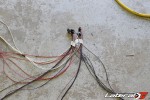
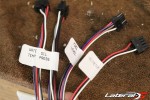
Right off the bat – we don’t like wiring. It’s tedious, hard to get perfect, and just overall a painful experience. To say that we were dreading wiring up these gauges was an understatement. We remember from years ago having to crimp connectors onto wires, then sliding them onto the studs on the back of the gauges. But just as everything else has advanced in technology, so has these gauges. They now have a convenient plug on the back that connects all the wires in one easy click.

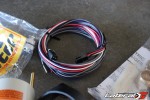
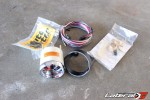
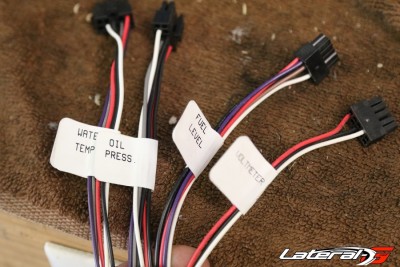
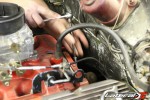
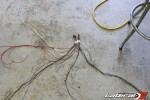
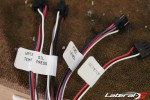
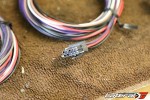
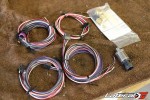
We started by grabbing all the separate gauge harness’s and labeling them with the provided stickers. Then we separated the hot-in-run wires, ground, and illumination wires. That completed over half the wiring right there. From here we had to run a few wires, one for the tach, a few for the speedo, and lastly the two included harnesses for the oil pressure and water temperature gauges.


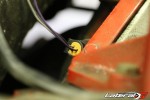
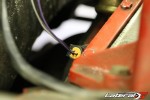
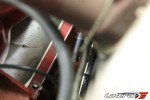
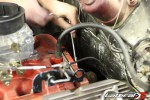
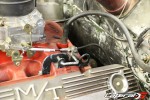
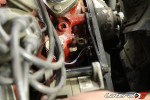
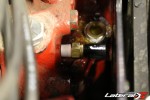
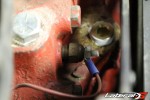
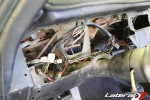
Under the hood we used the supplied sending units for water temperature and oil pressure. In a matter of minutes both were installed, wires ran, clipped in, and we were done with those. The tach wire was hooked to the coil and it was fully wired. Lastly was the speedometer gauge. We had previously installed a Hurst Driveline Conversion 5-speed in this car that had an electronic output for the speedometer. That meant we just had to run one wire from the transmission up to the gauge, with the other speed sender wire going to ground. The last gauge was the fuel, where we tapped into the factory fuel sending unit wire. Depending on the condition of your original wiring, it may be worthwhile to run a new lead back. We measured a clean path with no excessive resistance so we saved a few minutes by using what was already there.

The last step was to power up the gauges by connecting all the hot-in-run wires, a good clean ground, and the illumination wire, which we grabbed from the stock harness as well. Because these gauges use the latest LED lighting, you may need to use a PWN dimmer (such as AutoMeter’s 9114) wired in series with the factory, linear rheostat dimmer.
Upon powering up the gauges, they all auto-calibrate and are ready to use. We then went in and set-up the speedometer and fuel level gauges. This was easily done with the push button on the speedometer and by grounding out an additional wire on the fuel level gauge. From start to finish the entire wiring process took a few hours because we wanted to make sure it was a clean and precise installation.


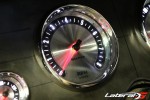
The gauges are beautiful to look at – easy to read, precise and compliment the feel of our ’69 GTX. When the sun finally went down, we lit them up and were amazed and how well they lit up. AutoMeter’s LED technology really looks stunning while making them super easy to read.
For your next project, hop on Auto-Meter’s site or give them a call at (866) 248-6356

-

- Our project ’69 Plymouth GTX


-

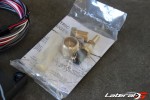
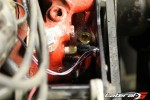
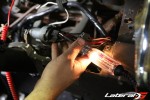
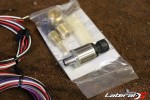
- The oil pressure unit installed.


-
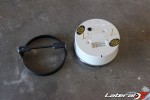
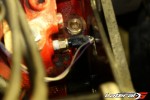
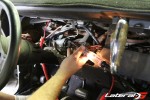
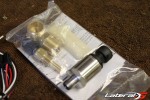
- The water temp sending unit installed.


-
- The finished panel with the gauges loaded up!