Clayton Machine Works Window Cranks and Door Handles
After our 1966 Chevelle Wagon project was up and running, we decided to take a little break from it and work on some other projects. One of my being our 1966 Chevelle coupe. If you remember a few years ago we built a brand new LS3 stroker for it, swapped in a bunch of other parts and took the car on Power Tour. One thing we put in the car was a complete TMI Products interior that looked modern and classy.

After driving the car thousands of miles we’ve decided to finish some of the details on the car along with upgrade a few things on it. One thing that always bugged us was the interior window cranks and door handles. We had original ones on there and while they were in perfect shape, they just didn’t compliment the TMI interior very well.

Stock To Style
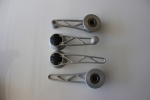
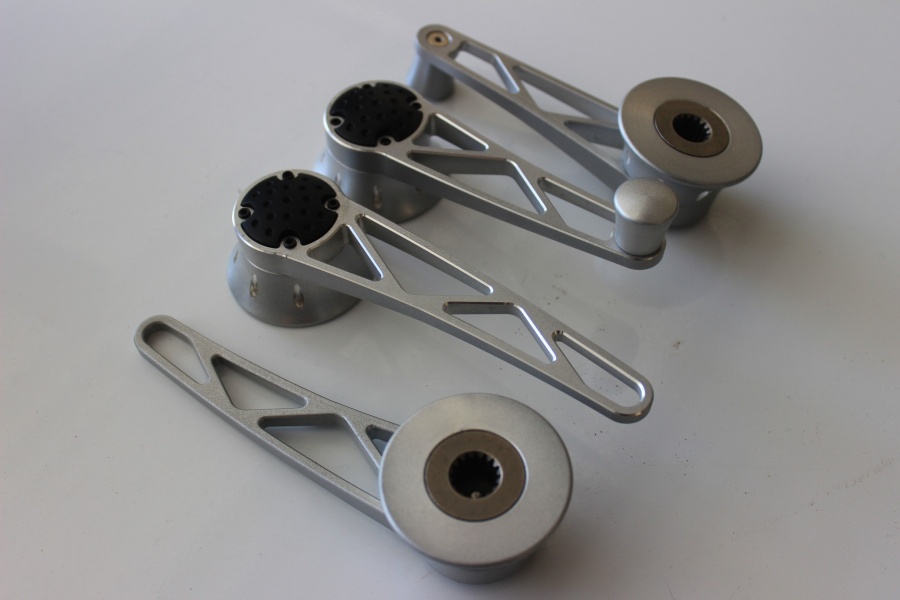
We hopped onto Clayton Machine Work’s website and started the hunt for the perfect set of handles for this Chevelle. There are quite a few options and finish options – you can go from industrial Pro Touring looks to some very high-end classy looks. We opted for something that would compliment this Pro Touring Chevelle and the TMI Products interior.

Installation was a breeze. If you’ve never used anything from Clayton Machine Works or their parent company Lokar Performance, you’re missing out. These are some of the best and most thought-out products on the market. We love using them any chance we can since they just plain work as intended and we never seem to have to modify the parts in order to get them to work.
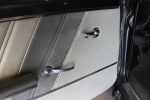
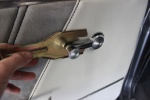
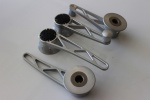
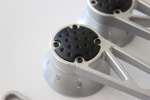
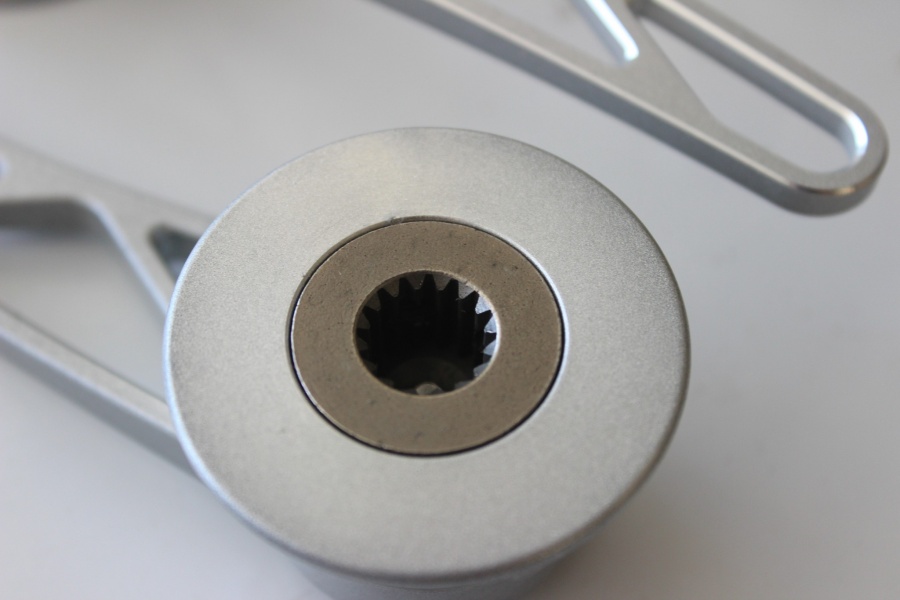
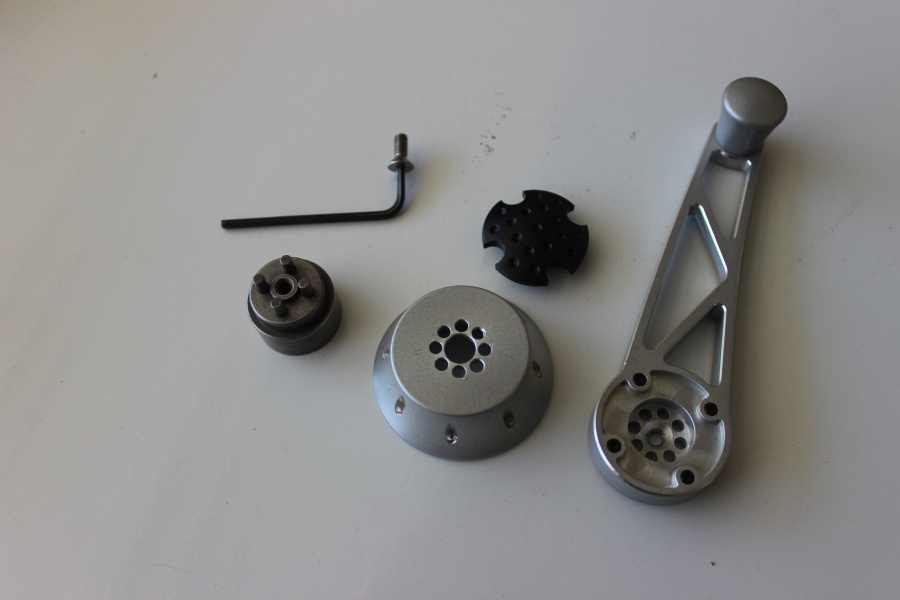
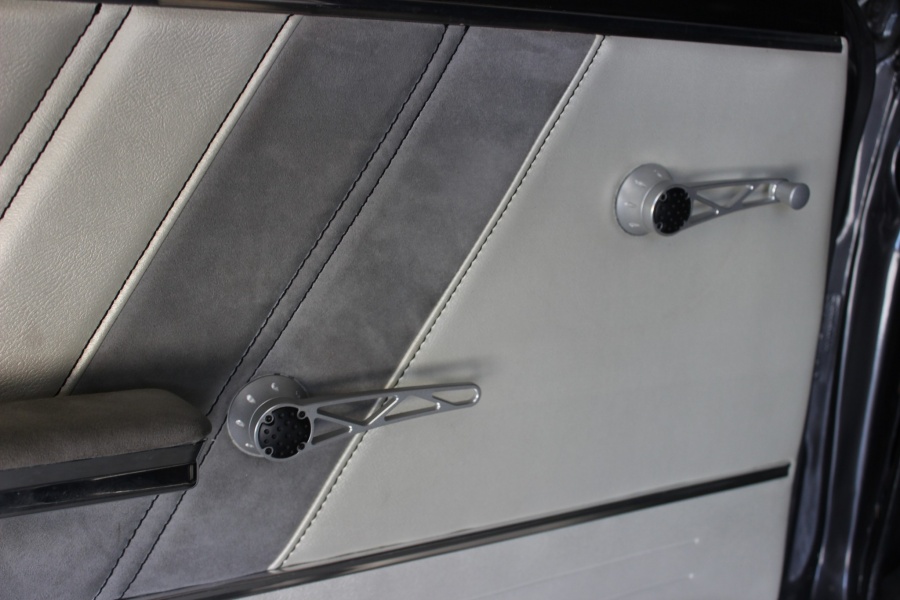
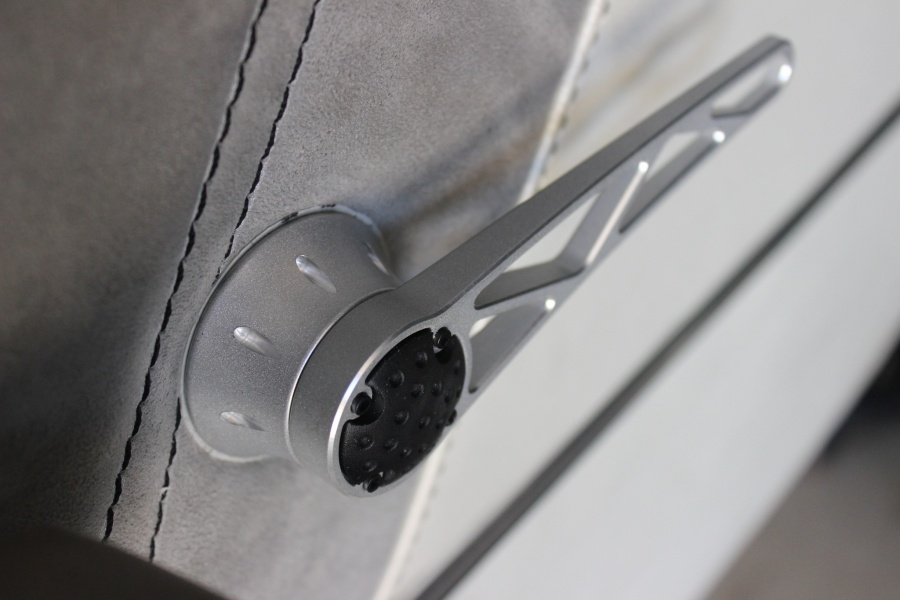
Removing the old handles took seconds using the door clip removal tool. These are available at any auto parts store usually and worth having in your tool box. The new window crank is actually made up of three main pieces. A base, an adapter base, and the handle itself. We popped the rubber plug out of the crank to expose a single allen bolt that goes through all three pieces. Removing that we then placed the base onto the window crank itself.
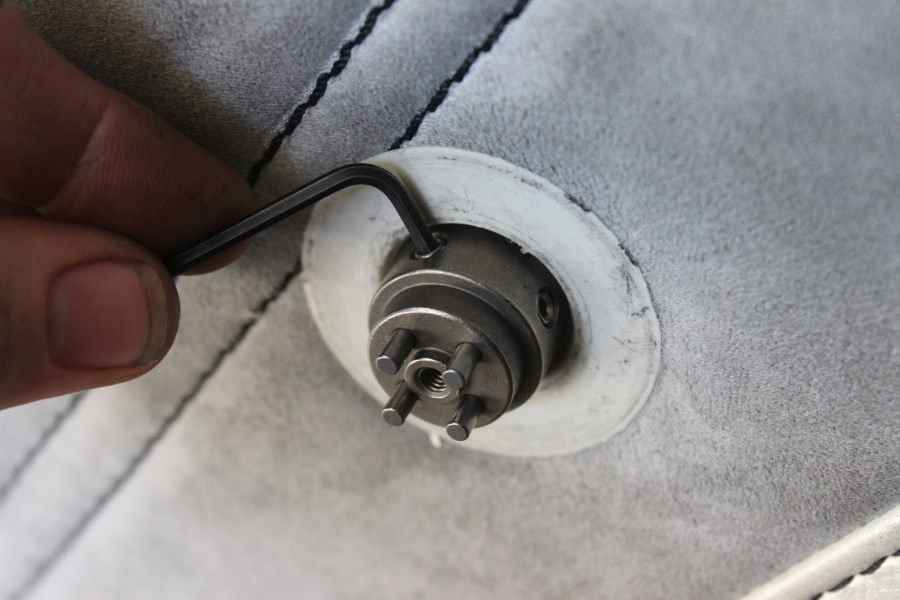
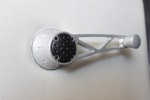
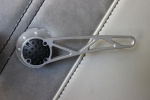
Using the two supplied allen screws we tightened the base down to the window crank coming through the door panel. You’ll notice that there is a bunch of adjustability in these cranks so you can get them to line up just how you want. With everything slid back together we reinstalled the single allen bolt and popped the rubber piece back on. It’s that simple!

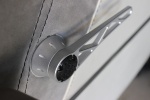
We repeated the process for the door handle, along with the passenger door and rear window cranks. The total time it took to do everything was less than an hour! A massive upgrade to the aesthetics of the car for minimal effort.

To check out the full line of Clayton Machine Works products hop on their website or give them a call at (865) 824-9778