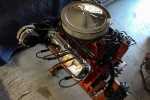
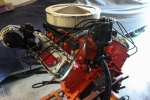
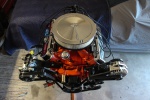
It’s a Big-Block! No Wait…It’s an LS?
If you remember, a few years back we dabbed a bit into building an LS to look like an old SBC/BBC in our Project Way-Gone ’66 Chevelle Wagon. We had so much fun that we decided to go that route again in our ’55 Bel Air build, but go a little bit further to see if we could fool more people.
There’s no doubt the LS engine is the new SBC that was shoved into the frame rails of anything and everything for decades. The one complaint we hear though is how they don’t look as nice as an old school engine though. Some of the biggest complaints is the all the coils and extra wiring that goes along with a modern fuel injected engine.
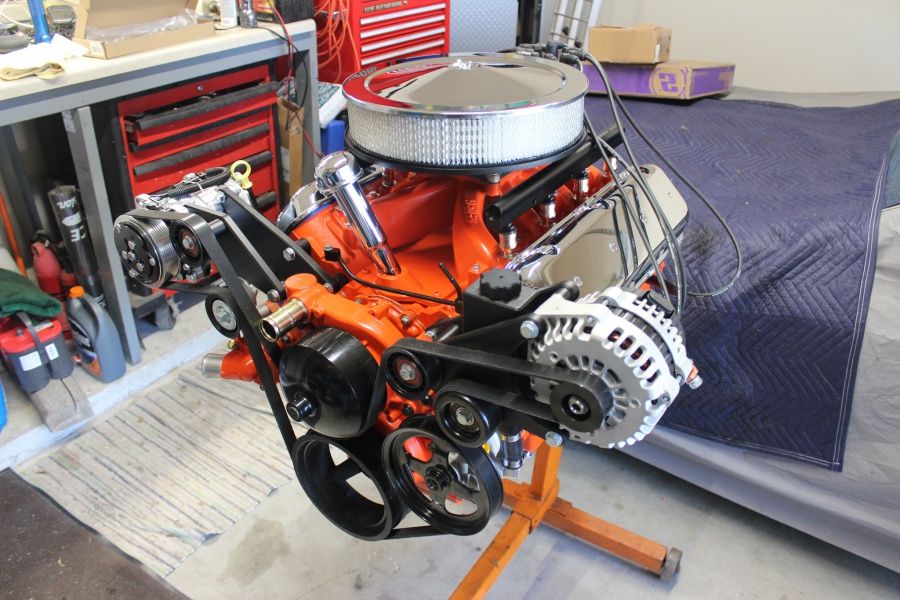
We set out on our journey by purchasing a junkyard LS engine. We found this particular engine on Facebook Marketplace for a mere $500. It was complete, but we wouldn’t be using much of it minus the long block anyways. The seller claimed it came from a 2002 Silverado with 150K on it.
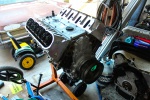
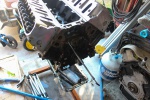
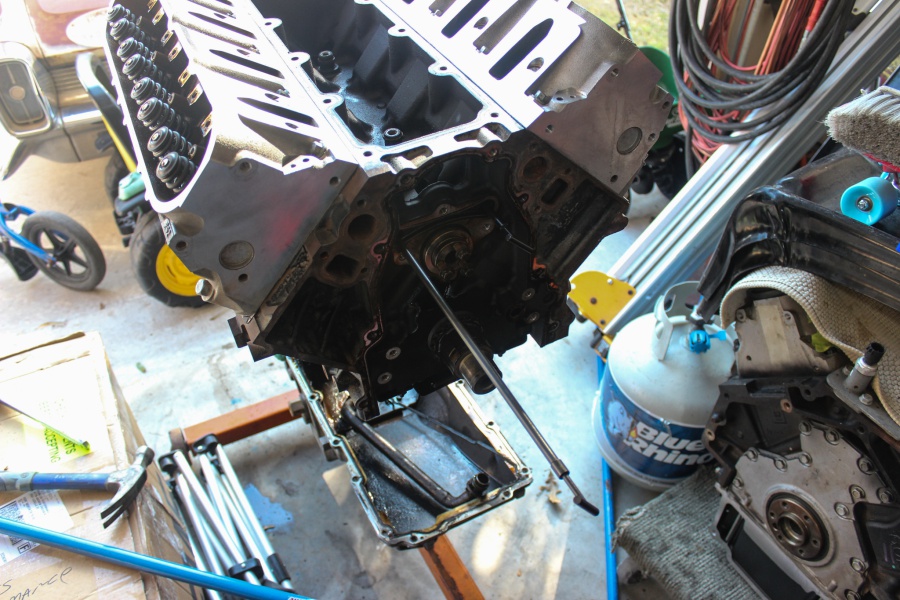
After getting it home we stripped it down to a long block. This LM7 had suffered from a few oil leaks and was a greasy messy, but overall in great shape. We decided to go ahead and replace all the gaskets during our rebuild to ensure years of leak-free operation.

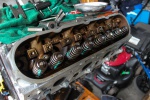
It took a few hours, a few bottles of Sweet Patina degreaser, wire brushes and a pressure washer, but we had the engine stripped clean and ready for a build. While we took this 5.3L apart we started inspecting things to really see how healthy this engine was.
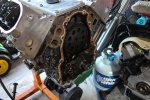
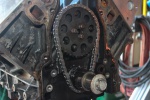
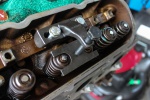
After getting the crank pulley and timing chain cover off, we noticed the factory timing chain was a little loose. We pulled the rockers off and completed a compression test and leak down test, which checked out. Feeling good about our purchase, our first call was to COMP Cams.
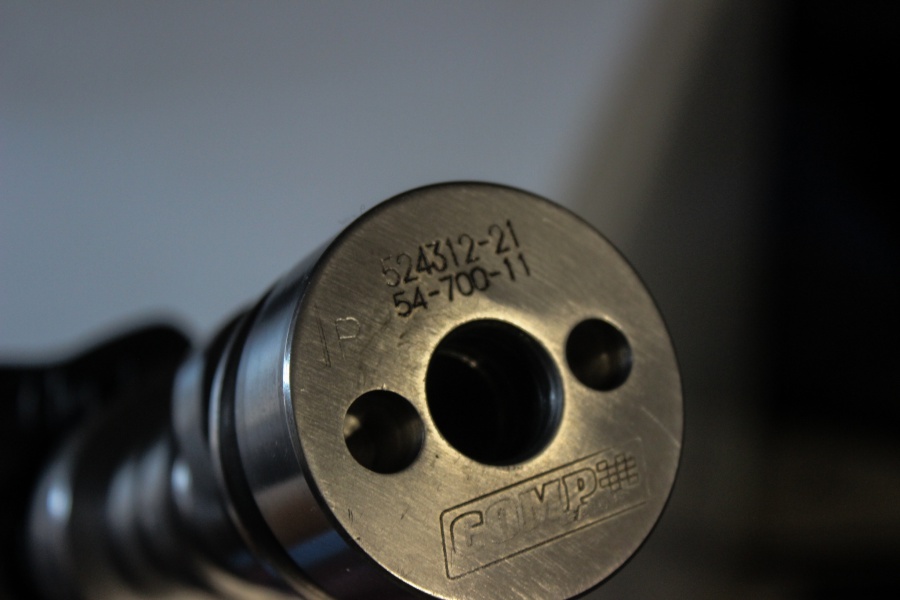
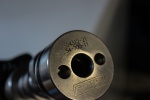
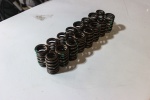
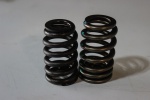
“I have just the cam you’re looking for,” exclaimed Trent Goodwin. We told Trent how we wanted this engine to perk up a bit, but overall just have a great sound to it. We weren’t too worried about making big horsepower numbers as this engine and car are meant to have thousands of miles logged but not raced. “We have a complete line of Thumpr camshafts. The cam we have will net 68-horsepower over stock and have a nice lump at idle but without sacrificing the drivability of the car,” Trent told us. We went ahead and ordered up this camshaft(Part no. 54-700-11) along with a new timing chain and valve springs. “This camshaft doesn’t require new valve springs, but it’s never a bad idea to upgrade while you’re in there,” Trent finished.
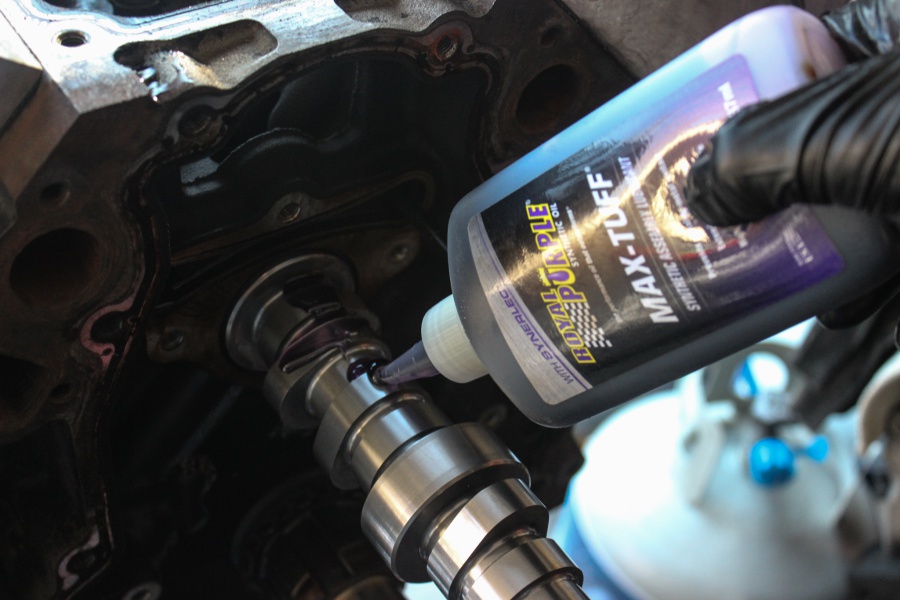

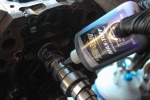
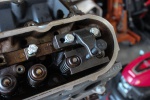
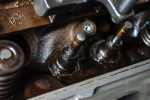
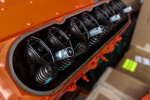
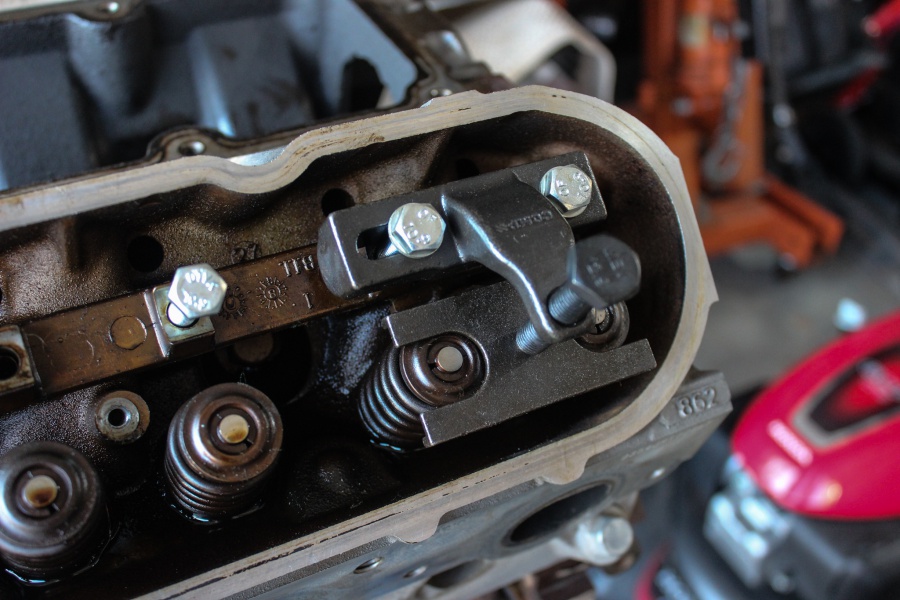
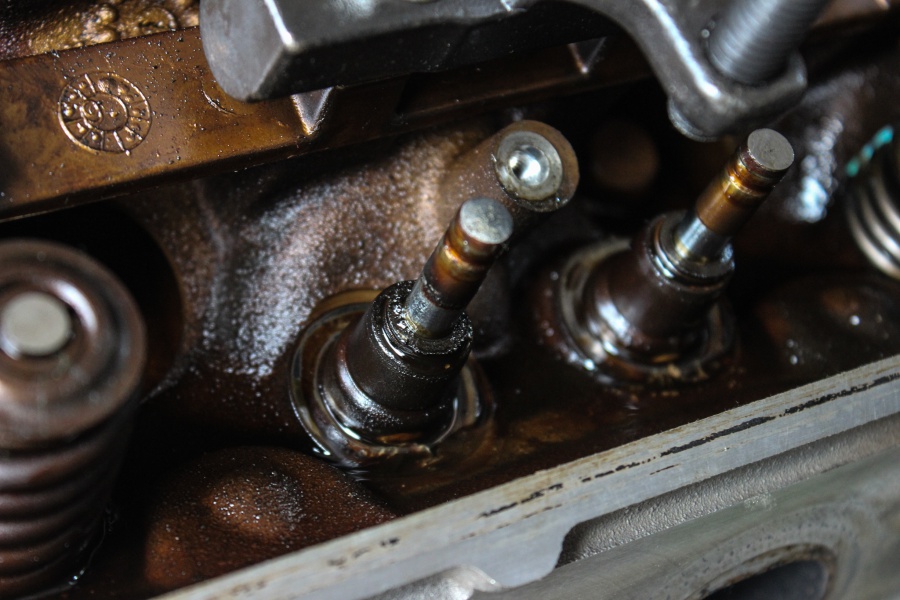
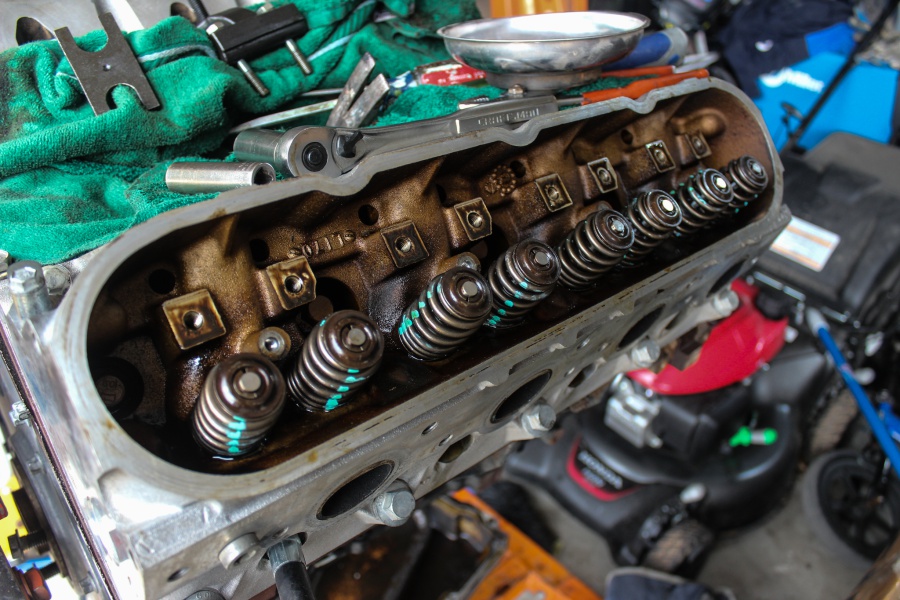
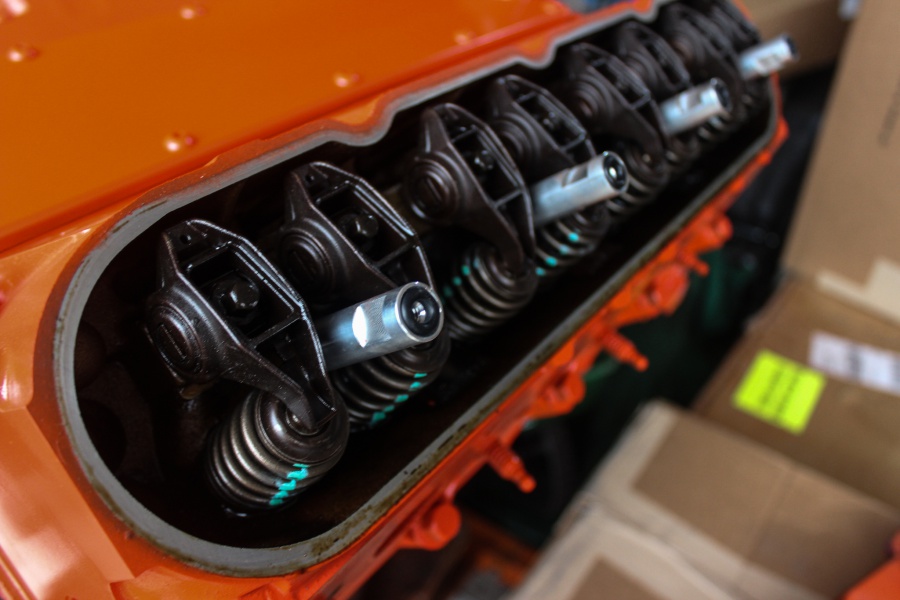
After pulling the oil pump and removing the factory cam, we prepped the new cam by applying Royal Purple’s Max-Tuff assembly lube. With the cam carefully slid into it’s new home, we lined everything up and installed the new timing chain. We then compressed the valve springs, popped out the factory springs in favor of COMP’s beehive springs. While we were replacing the springs we went ahead and installed new valve seals for a leak free operation.

Playing Dress Up
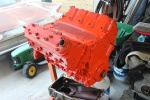
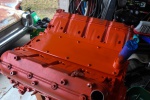
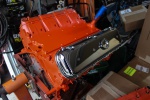
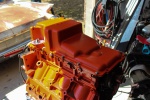
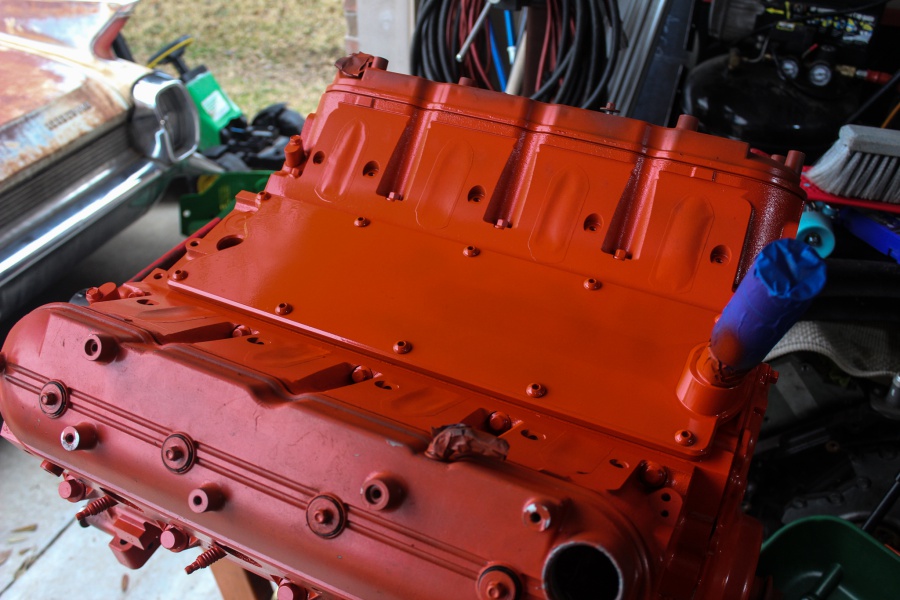
With all the engine work completed, it was time to start dressing this little 5.3L up! We started by applying several coats of primer and classic Chevy orange paint. This paint set the tone right away that this was an old-school build, one that can make both sides happy.
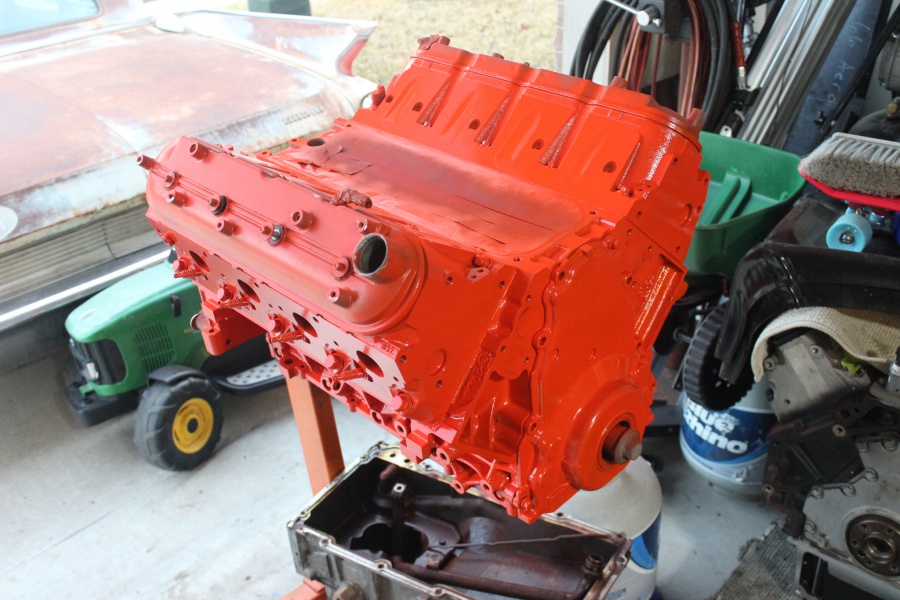
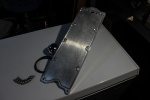
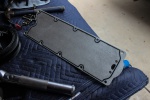
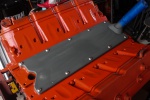
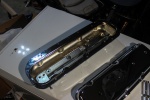
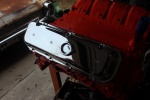
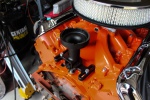
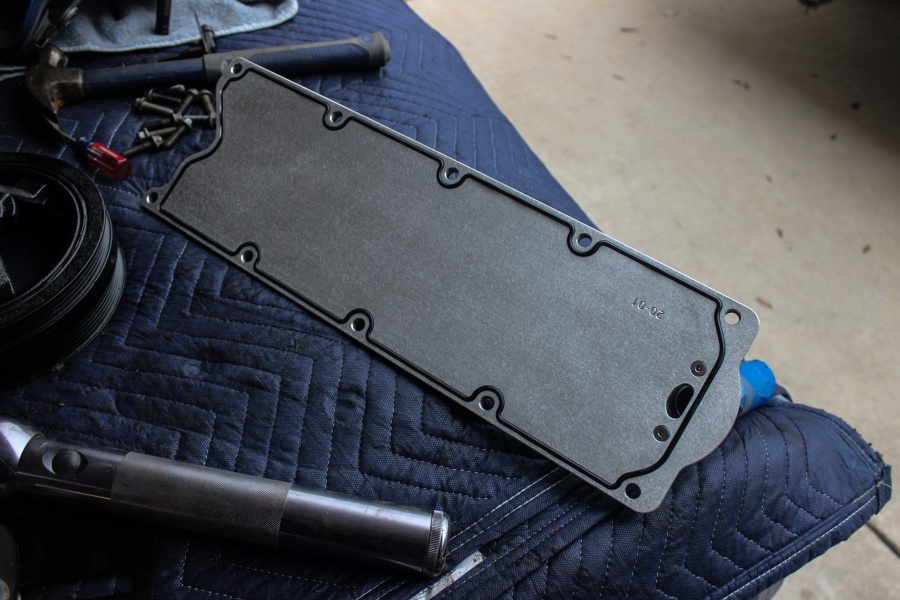
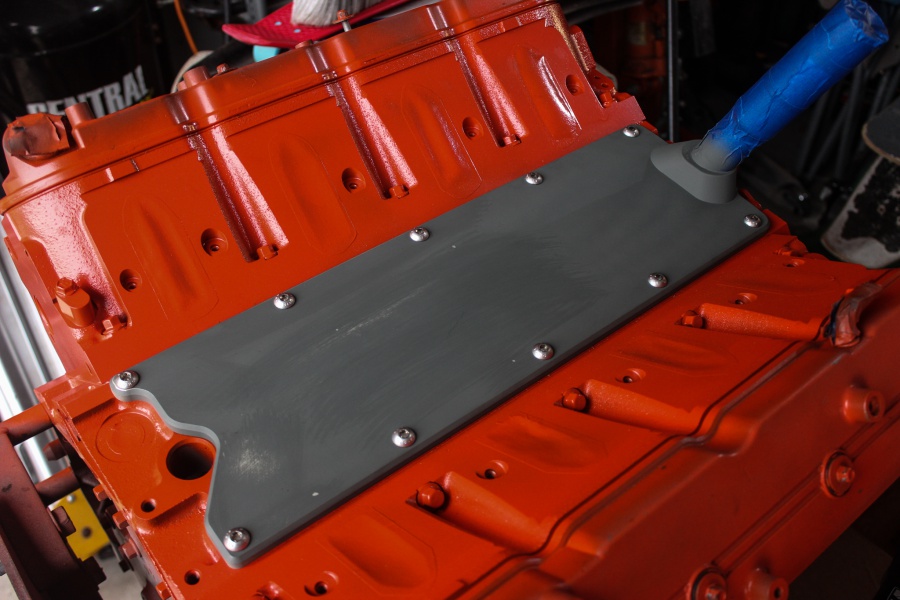
Our first step with bolting on external parts was the new valley cover with breather tube, a trick piece made by LS Classic. We opted to paint this classic Chevy orange as well. Using the supplied fasteners we had this piece installed after popping the gasket into place. LS Classic offers this piece with either passenger or drivers side breather – whichever you prefer.
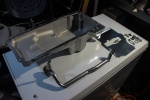
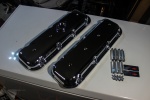
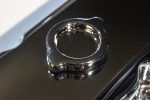
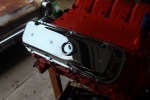
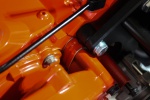
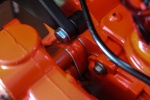
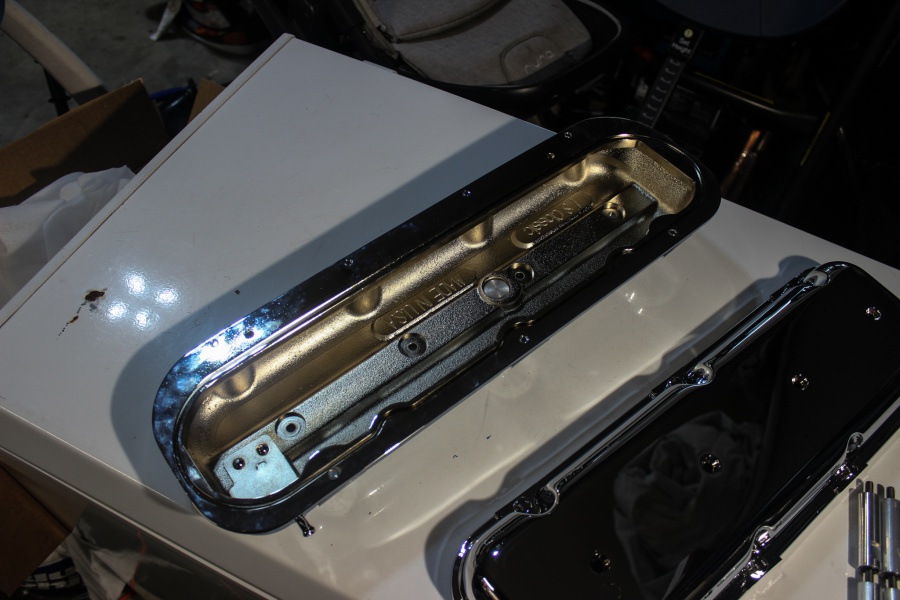
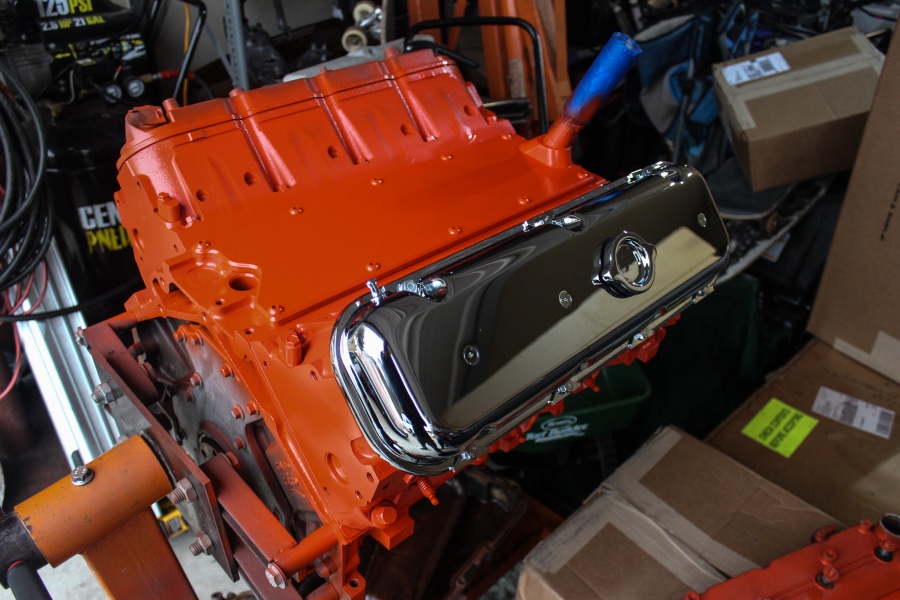
Then we installed a set of LS Classic BBC valve covers. These are shaped just like a BBC valve cover, but are scaled down a little bit to fit an LS engine. They bolt directly to the heads with no adapter that can cause leaks and provide a lower profile. The screw cap is functional and can but used to fill your engine with oil and the best part is the covers incorporate stock BBC looking mounting fasteners and load spreaders.
These valve covers we used in our previous build and they worked so good we had to use them again. Before, we painted them orange but this time we opted for the chrome versions which give this more a BBC vibe to it.
The valve covers use a factory LS valve cover gasket, so we ordered a new set from MAHLE to ensure no leaks. Installation is easy – there’s four stand-offs that bolt down into each head. The valve cover then bolts down to these stand-offs for an ultra clean and professional look. LS Classic even includes the Tonowanda sticker for a genuine BBC vibe.

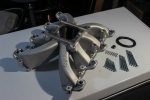
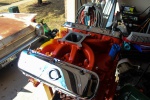
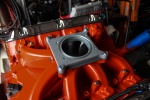
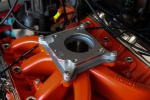
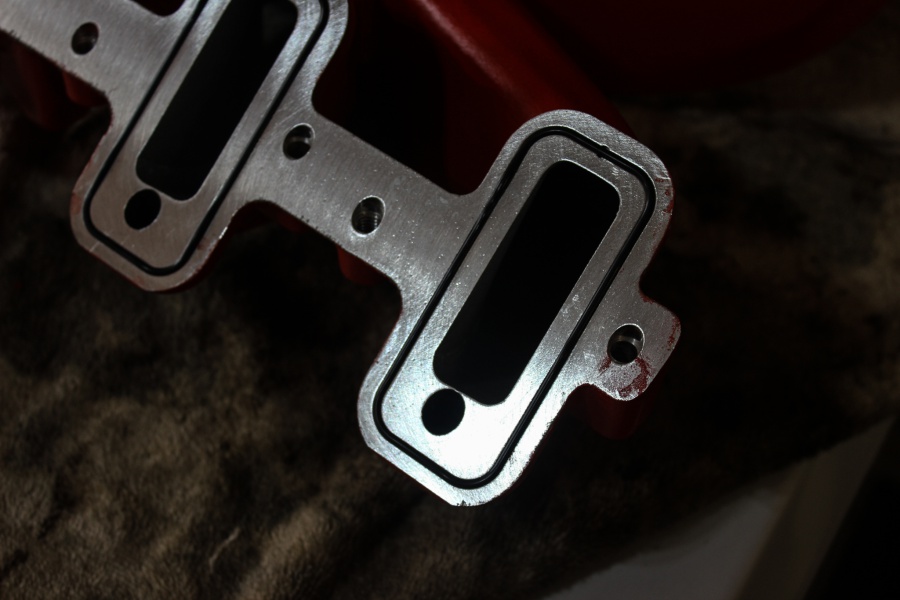
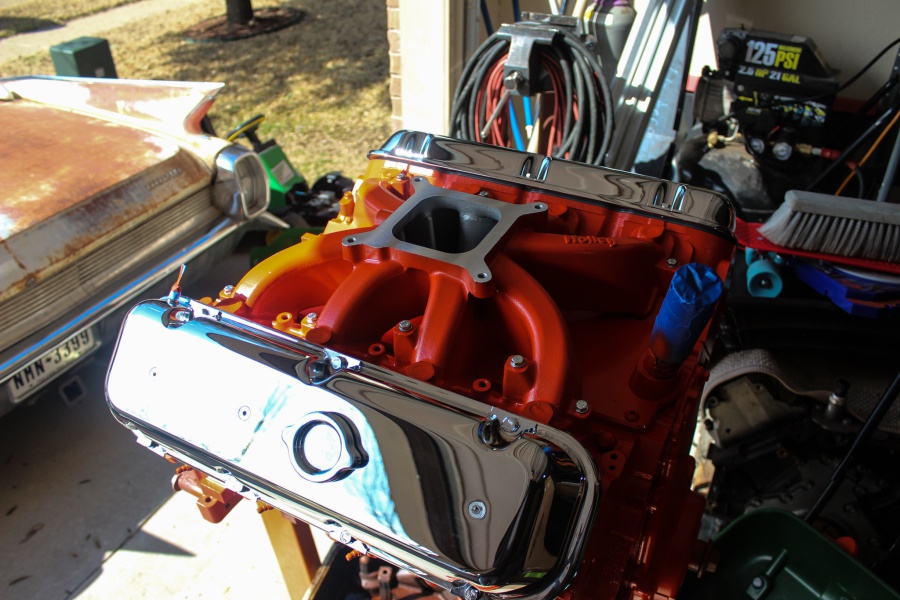
Part of the LS Classic set up utilizes a Holley 4150 carb style intake manifold. Now we could have kept it in it’s raw-cast form as sort of a “Day Two” performance look, but we went ahead and painted it Chevy orange to match the rest. This cast aluminum intake uses a 4150 carb mounting base, which we will get back to later – but still has machined bosses to accept fuel injectors on each runner. After popping the O-Rings into place we bolted it down with the supplied hardware.

Flipping the engine over we started on installing the Holley 302-X oil pan. In every one of our LS engines we have used the Holley LS oil pans – they fit great, provide tons of ground clearance, utilize the oil filter in the stock location and just look great! This build is no different and we started by painting it orange to match everything else.
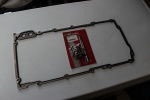
The one thing we did do differently was picked up the oil pan swap kit, which included a new gasket, gasket maker, and all new hardware. This made the job of swapping over even easier for us. With the engine upside we popped the factory pick up off, and trimmed the windage tray to allow for the new pick up tube. The new pick up tube includes a new O-Ring which we applied with some engine oil and slid it into the oil pump.
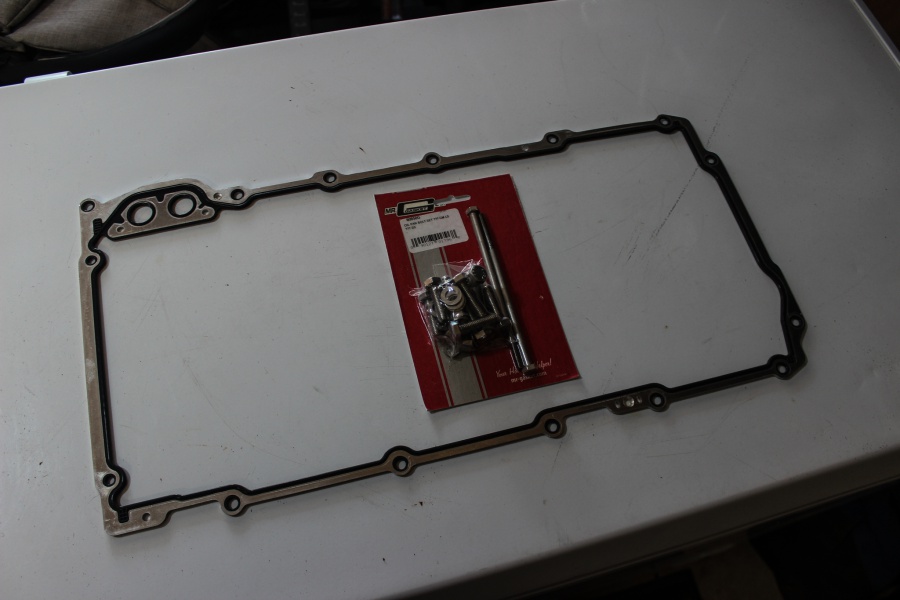
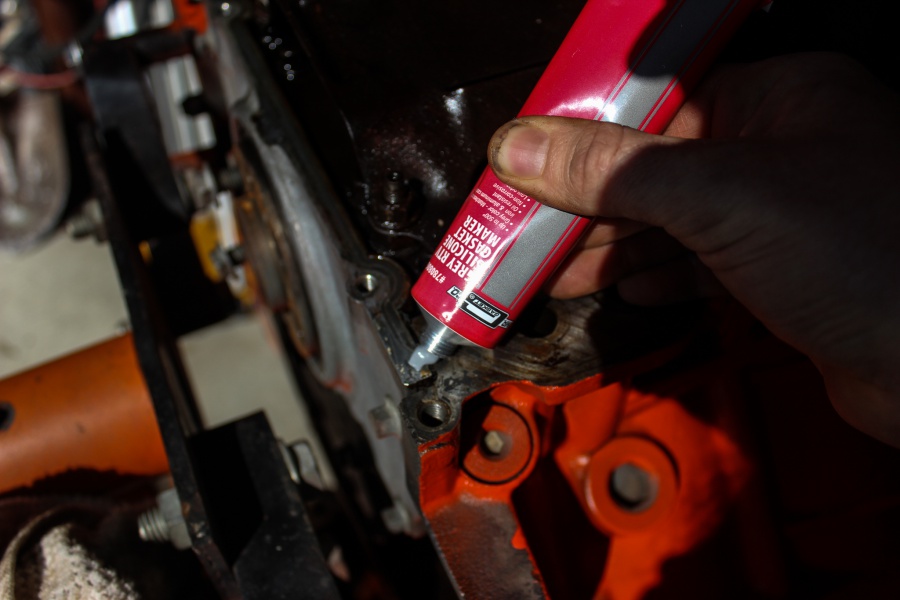
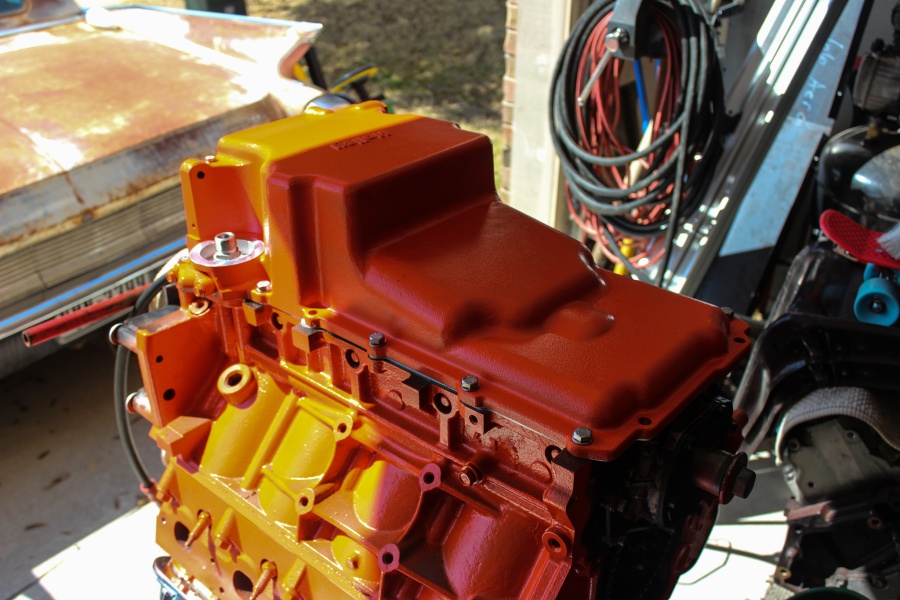
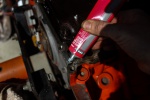
We then dabbed the four corners where the front timing chain cover and rear cover mate to the oil pan with high quality Mr. Gasket gasket maker, and set the oil pan on. Using the new hardware we torqued all the oil pan bolts down and we were done! We then flipped the engine over to complete the install. At this point we installed new front and rear main seals, then installed the crank pulley. This engine was starting to look like a Big-Block!
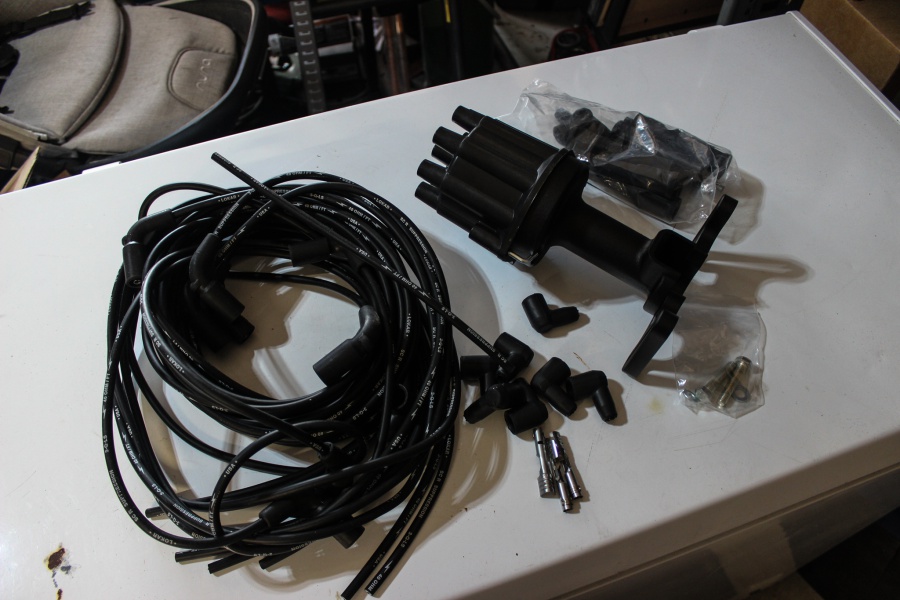
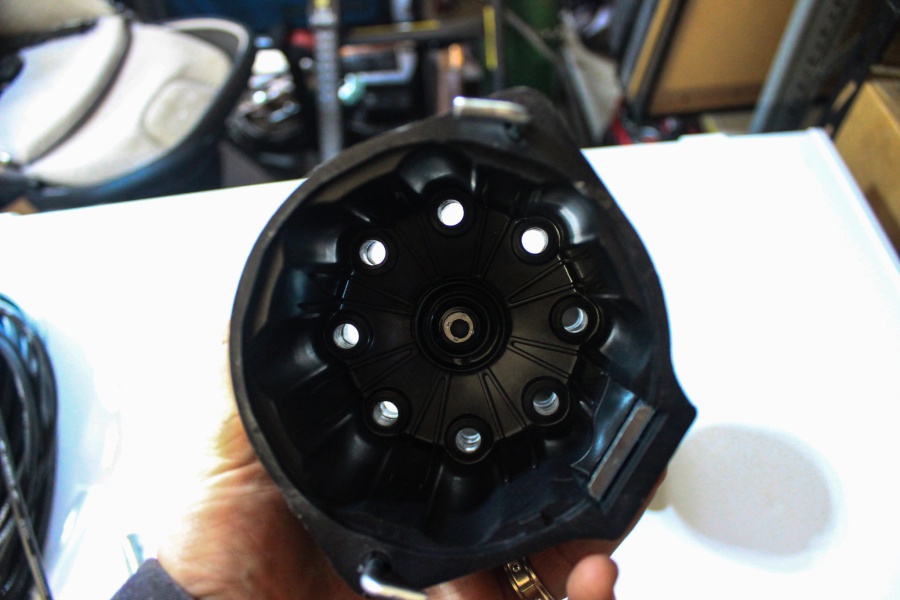
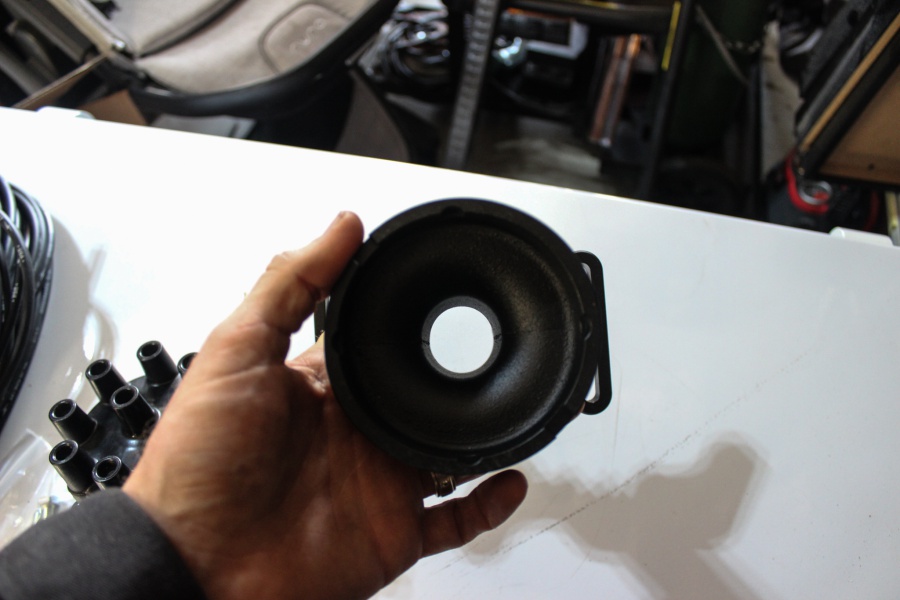
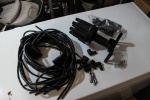
One ultra cool piece that LS Classic makes to really set off the old-school look is a fake distributor and extra long spark plug wires. In our other build we just mounted the coils on the firewall and called it good. Having a real yet fake distributor will really set this LS off as a BBC.
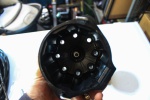
This fake distributor works by using a distributor cap that has holes for the plug wires to pass through instead of terminals, then the shaft of the distributor part is hollow allowing the wires to flow down and out the back of the block. LS Classic makes remote coil mounts – we picked up a set and will use those on the frame once we get the engine set into place.
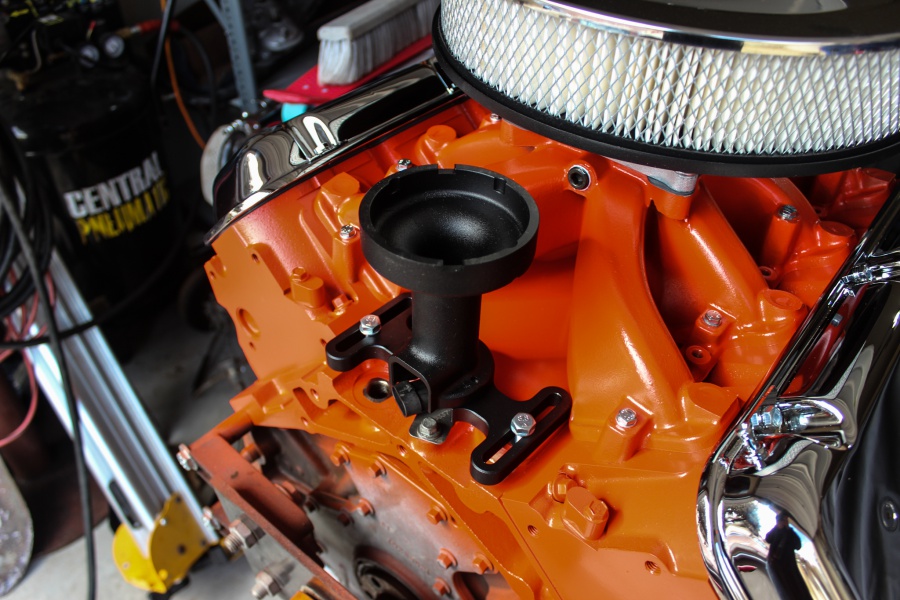
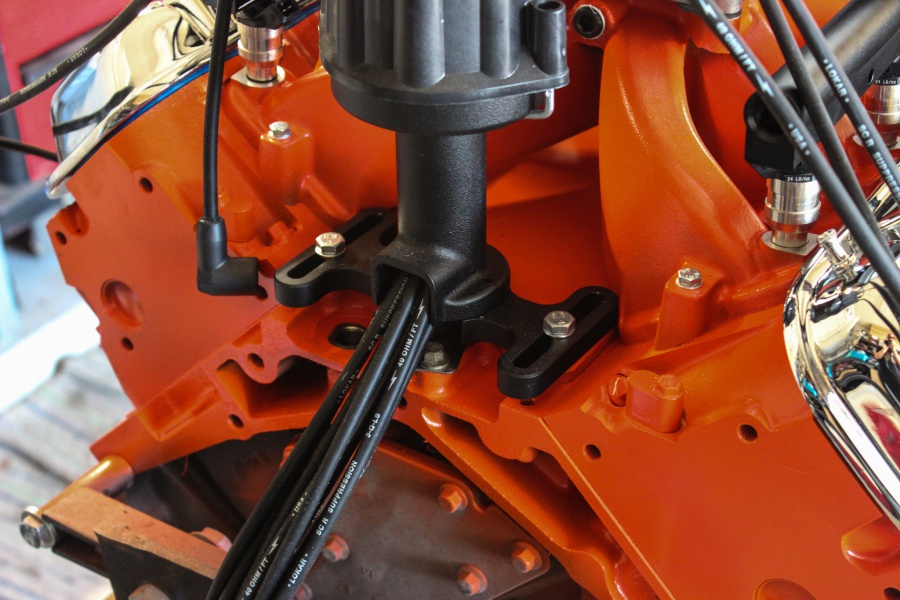
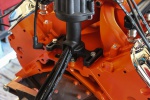
Installing this distributor is easier than the real thing! After removing the two rear valley cover bolts, we bolted the base down. Then we popped the cap off and started plumbing the spark plug wires. The coil side of the wire is already finished, and it’s the spark plug side that has to be finished. We popped a plug wire on a spark plug, then slid a boot down the wire. From here we fished the plug wire through the cap, down the base and out back behind the block.
We repeated these steps seven more times until we had all the plug wires plumbed. Included in the kit is a coil wire as well where we will eventually mount a coil for the full effect. At this point we didn’t terminate the plug wires. We want to get the engine in the car and get the coils mounted before finishing the plug wire installation.
Accessorizing
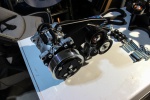
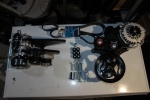
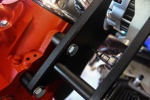
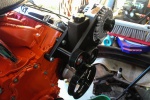
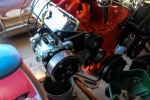
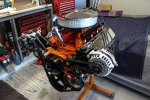
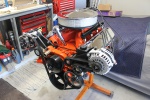
An old-school BBC never had a serpentine drive system, but we definitely wanted one for this LS. However we wanted one that was clean and not overly flashy so it would fit the build a bit more. Luckily, LS Classic makes one of those too. One thing that we loved as soon as we opened the box, they come assembled! There’s no figuring out different brackets, bolts and spacers. The A/C, Alternator, P/S pump and reservoir are already mounted.
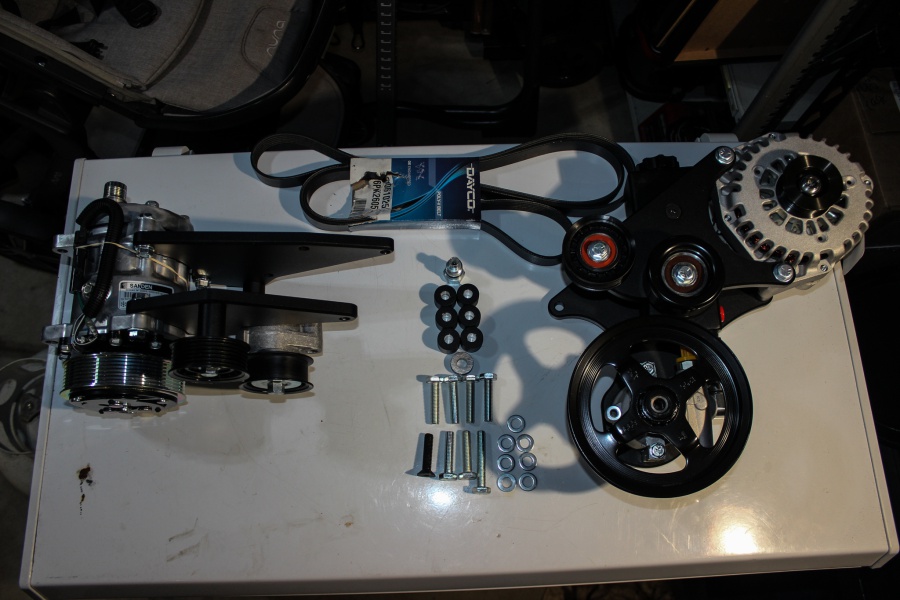
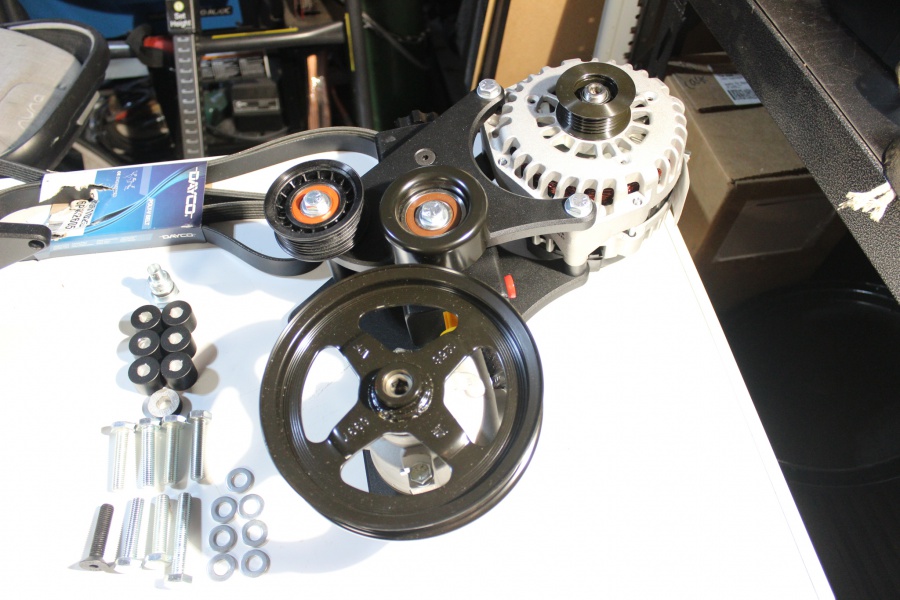

The kit can be used with F-Body or a Truck crank pulley, but either version utilizes an early F-body water pump. Since our engine came from a truck, we needed the truck version – which turns out is the same but utilizes spacers to line things up with the crank. Simple and easy!
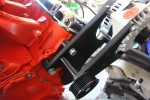
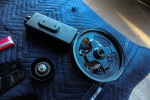
We started the installation by bolting the passenger side A/C compressor and brackets to the head. On the drivers side, we bolted the alternator and power steering system. With the drivers side, you start by bolting two bolts to the head. In order to access the third bolt, you have to unbolt the power steering pump which is two bolts, and the reservoir, which is two more bolts. In about three minutes we had the entire assembly out, bolted the final bolt, and back together.
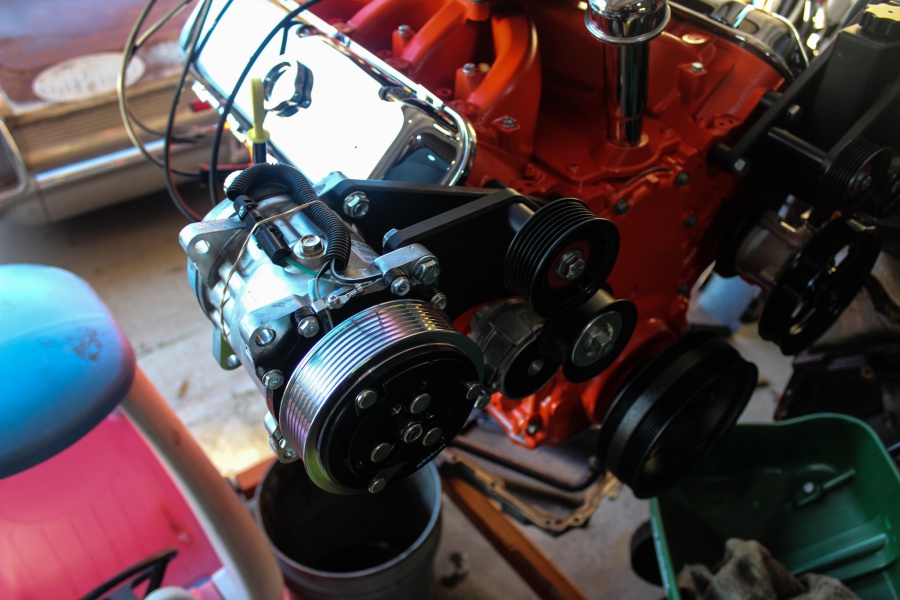
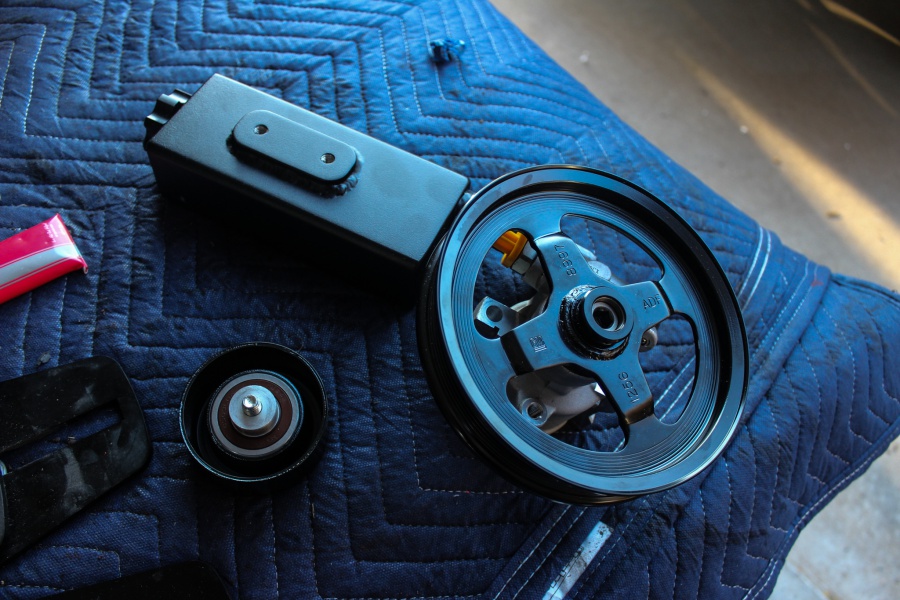
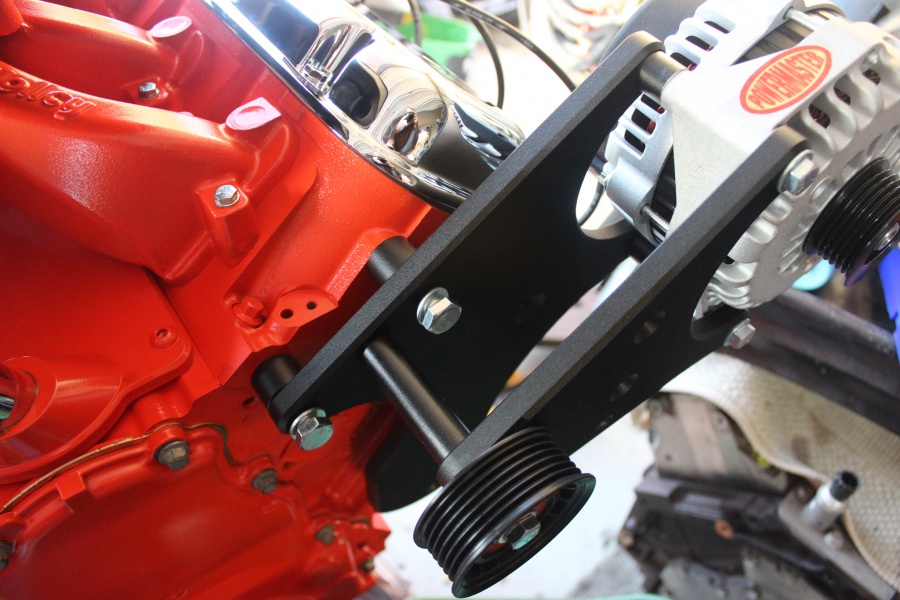
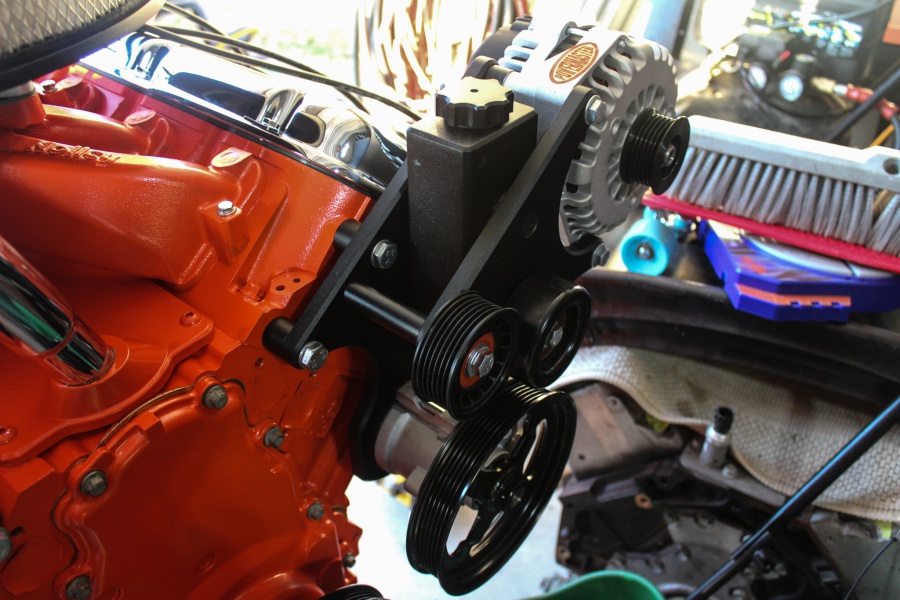
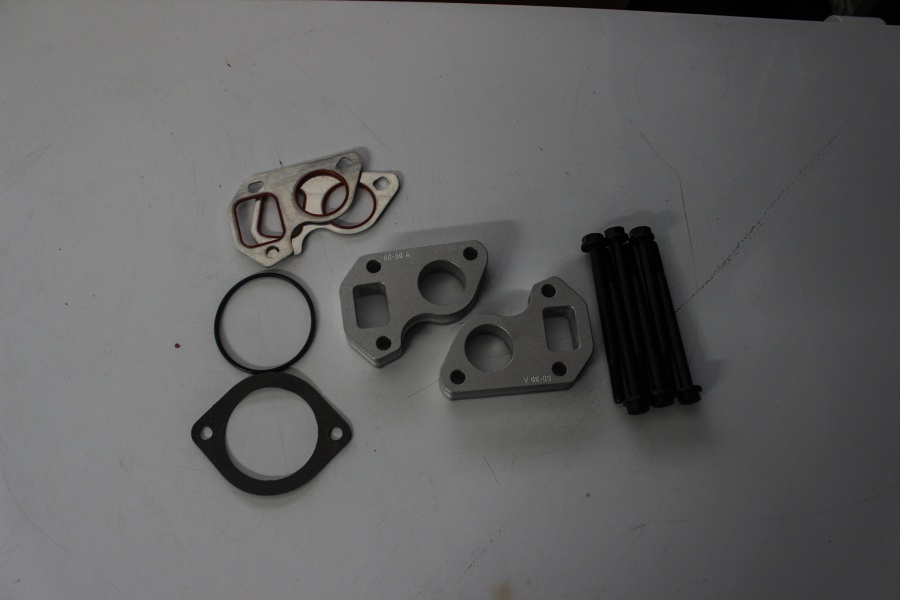
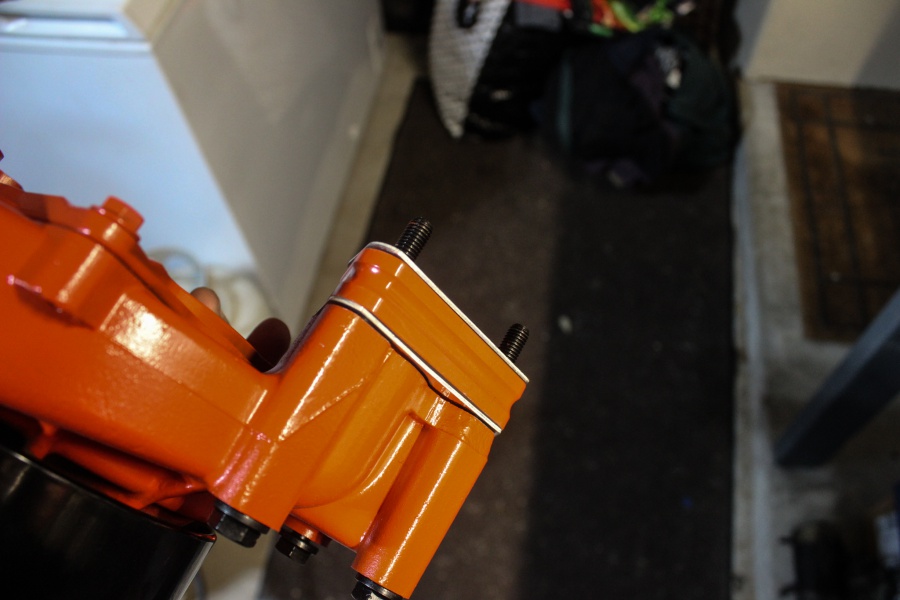
The water pump used in this kit is a early LS1 pump, which we ordered from Rock Auto then painted orange to match. However the spacing isn’t right for a truck crank pulley, so LS Classic supplies a set of spacers, gaskets and bolts to bump it out to line everything up. The last step is to install the supplied serpentine belt and we were done!
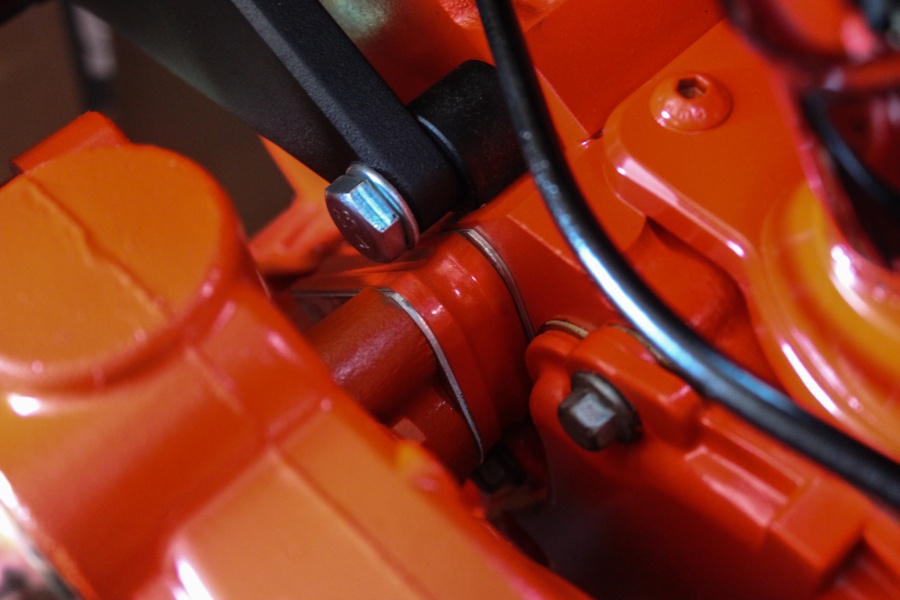
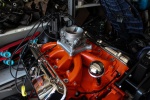
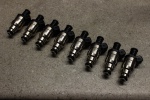
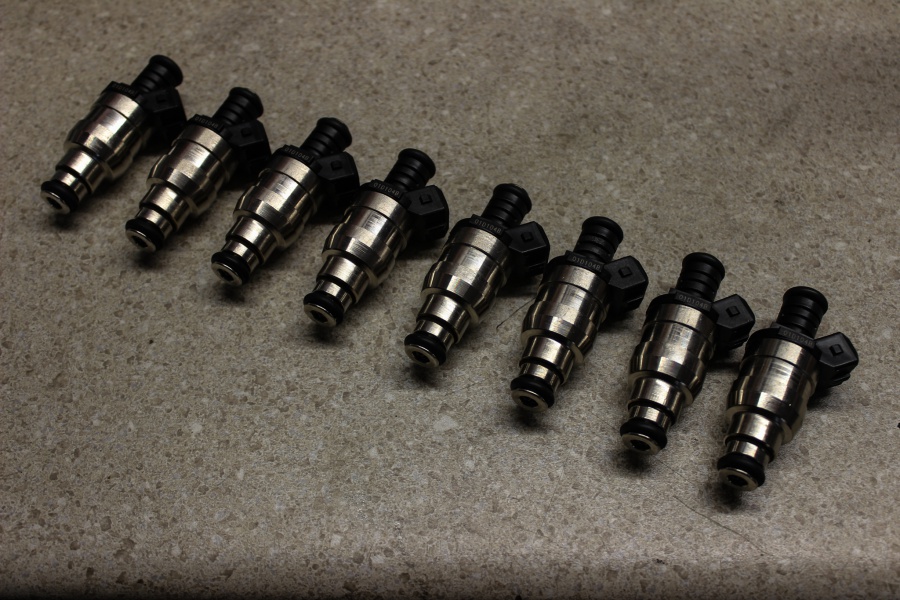
Two of the last details are the throttle body and air cleaner, along with the fuel injectors. For the fuel injectors we picked up a set of Holley ACCEL injectors to supply all the fuel for this little LM7.
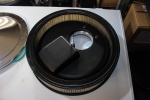
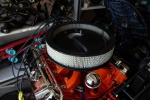
The LS Classic kit is set up to use a standard 14″ air cleaner, but has some tricks up it’s sleeve. First off, they include 4150 to single blade 4-bolt throttle body adapter. This throttle body would be off an LS3 Camaro, with a DBW pedal set up. However our engine is an 2002 LM7, which would use a three bolt throttle body. Now we could have swapped the throttle body, but then our wiring wouldn’t work with it.
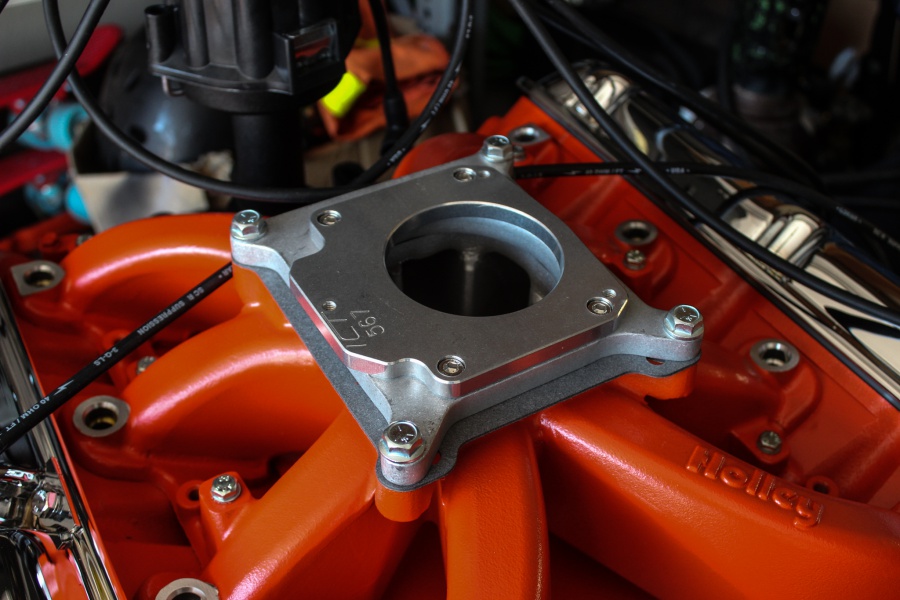
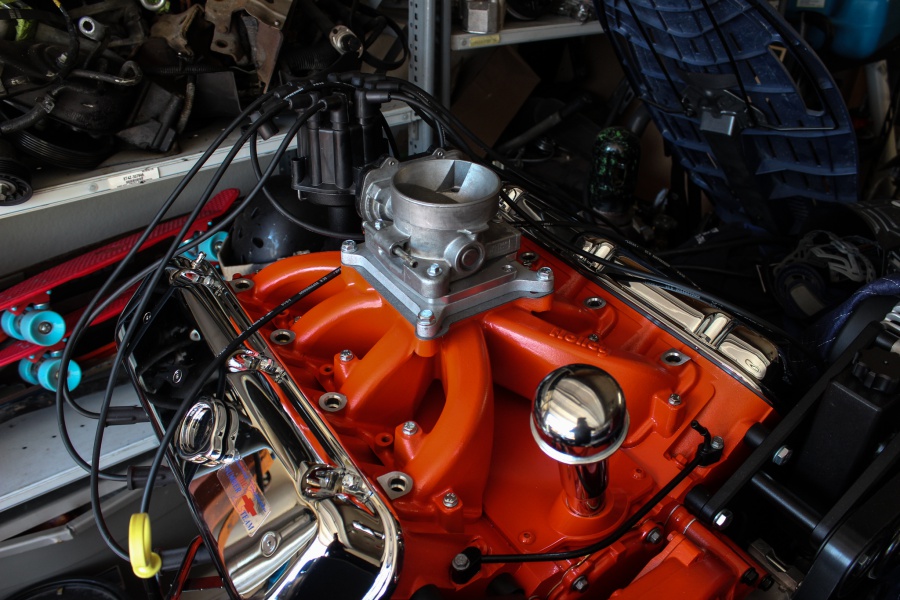
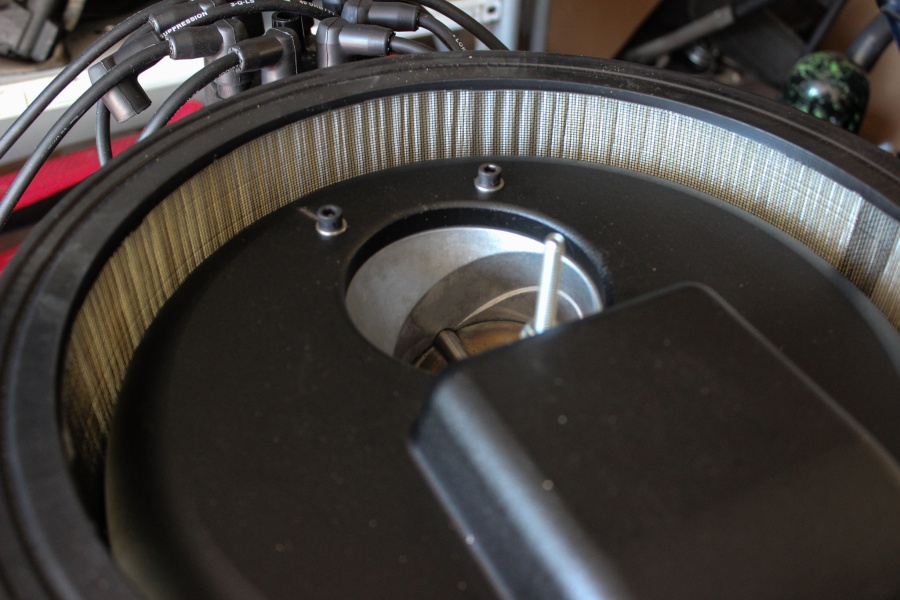
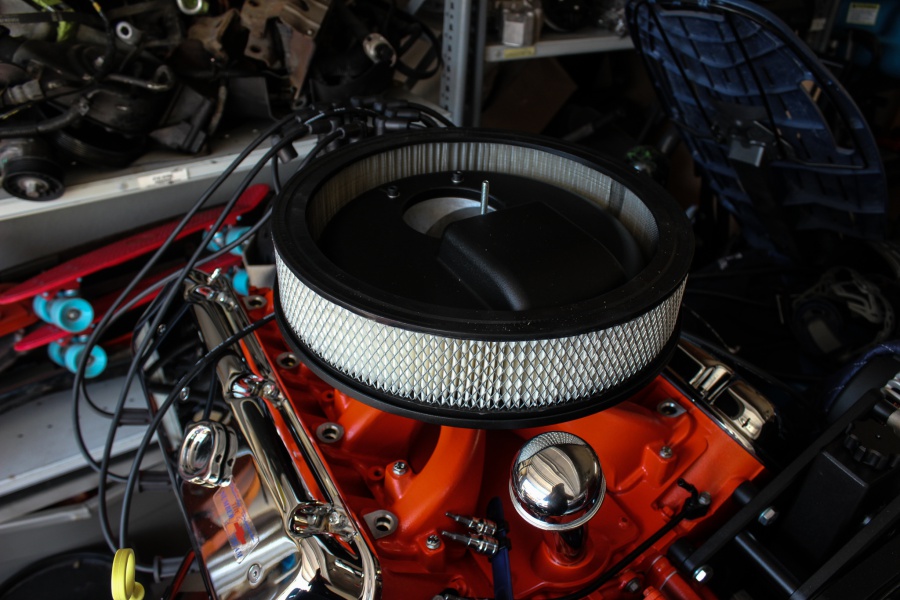
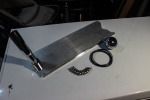
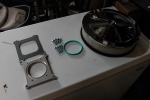
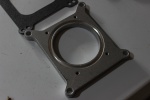
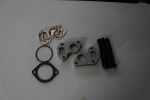
What we did was hop on Amazon and we found this trick 4-bolt to 3-bolt adapter from ICT Billet. This little adapter allowed us to retain our 3-bolt throttle body and all the Gen III wiring.
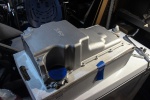
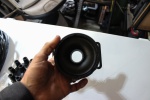
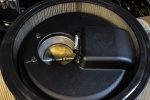
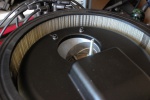
The base of the LS Classic air cleaner is a trick piece too. It’s designed where you bolt an adapter to the throttle body which then bolts the base to the throttle body. The base also has a recessed area for the motor part of the throttle body which locates the air cleaner lower, giving you more hood clearance. When it’s all installed, nobody will know we have a modern single blade, DBW throttle body under an old school air cleaner.
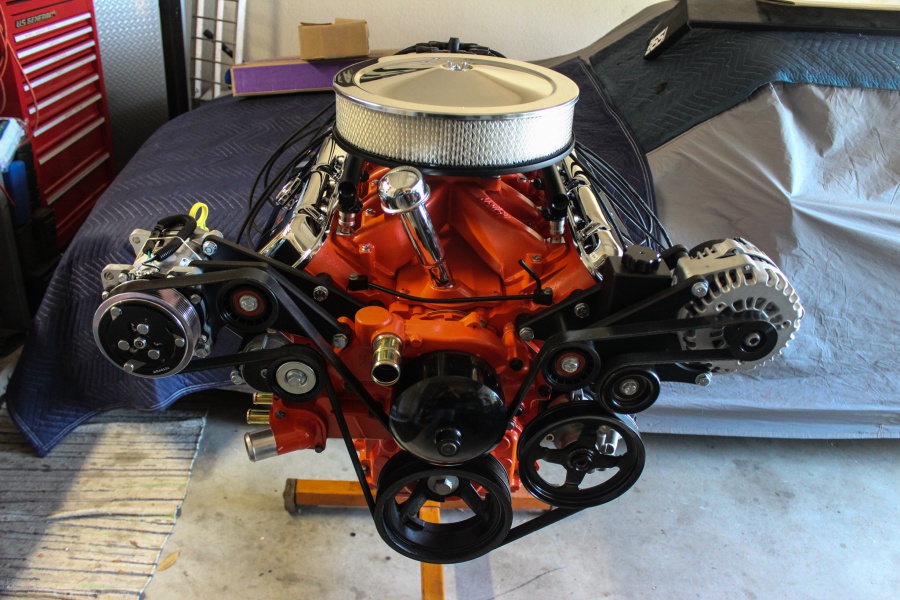
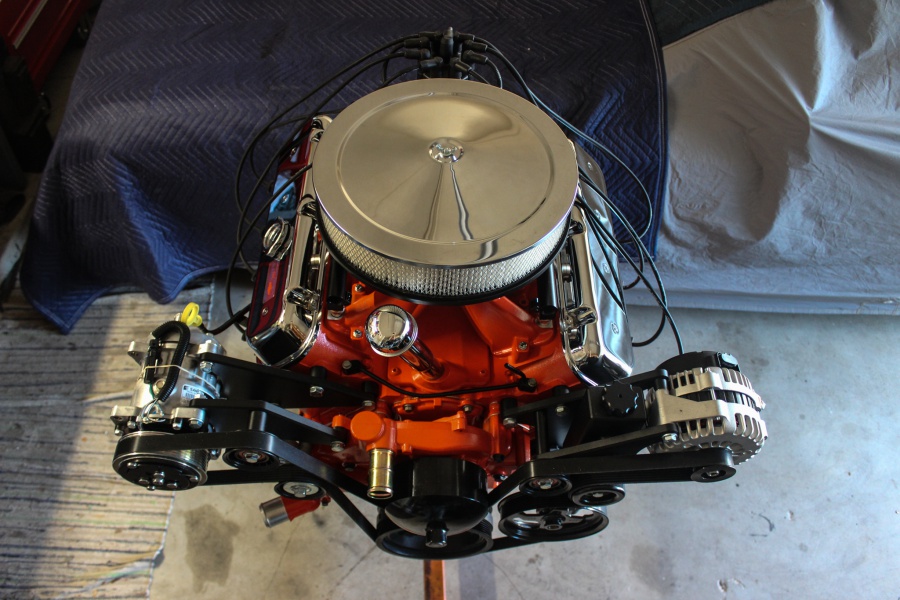

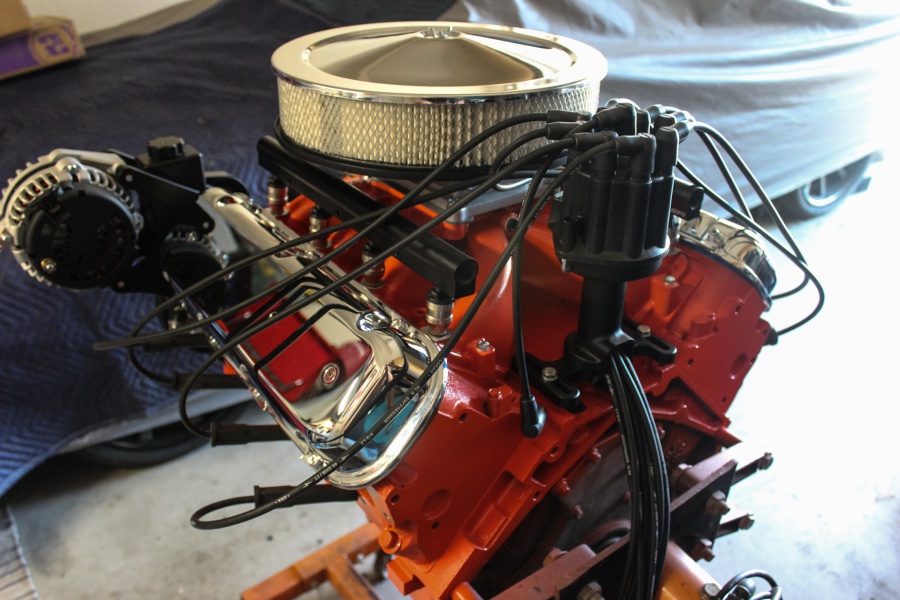

At the end of the day our goal is to have the modern LS power and reliability, with an old school BBC vibe to it. We feel that we pulled that off and will probably trick a few people at the first glance! Now to get this installed into the frame and onto the next part of the build.
Sources
COMP Cams (901) 795-2400
Holley (866) 464-6553
LS Classic (865) 824-9767


