Installing Dakota Digital’s Odyssey Air Pressure Monitor
Project No-Name, our 1966 Chevelle has been on air ride suspension for almost 20 years now. When we first put it on bags we used manual valves which are easy to plumb in manual gauges to see the pressures at each corner. With those we were able to raise the car and pretty accurately have it at the same level every time by keeping an eye on the pressure.
The years went by though and we upgraded to electric valves and that meant the gauges went away with the manual valves. For the last 10 years or so we’ve just guessed every time we aired up where the car was at. Sometimes it was spot on, other times a little high or a little low. Obviously for performance reasons this isn’t good. With this car we weren’t worried as much about performance and more about ride quality and how it looks going down the road.
Companies like Ridetech make some really trick valves and controllers that will automatically level the car out upon initial start up. If you remember last summer we installed one of these kits on an old Cadillac and it’s worked great! With this Chevelle though we didn’t want to re-plumb it all so we decided having a nice set of gauges was the next best thing.
Which Style Of Gauge?
There is two different gauges available to accomplish this – a traditional analog manual gauge which requires running air lines to the gauges. The other is a digital gauge. The issue with the analog gauges in this set up is that the valves and all the equipment is in the trunk so we would have to run four additional air lines up to the gauges under the dash.
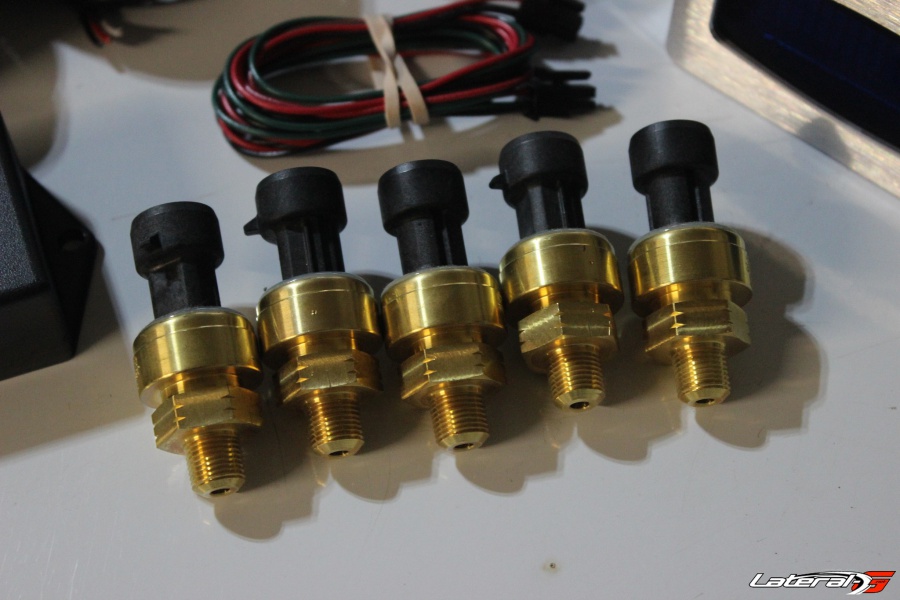
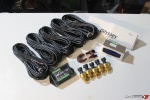
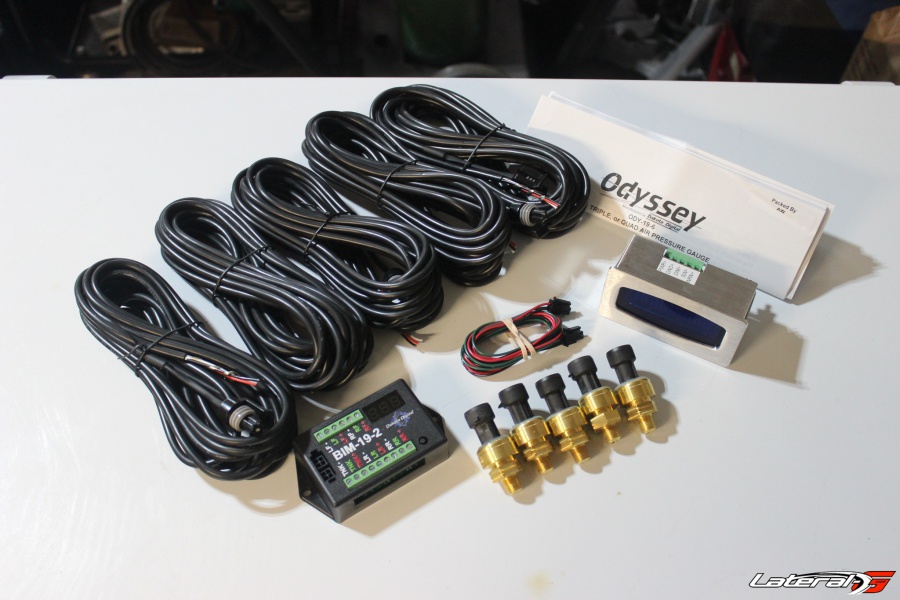
We opted to go with a set of Dakota Digital gauges instead. With the digital gauges we had to plumb in some sending units and run only a couple wires up to the dash – a much easier installation. If you’ve ever worked with Dakota Digital products you’ll know they are full of options and trick things you can do.
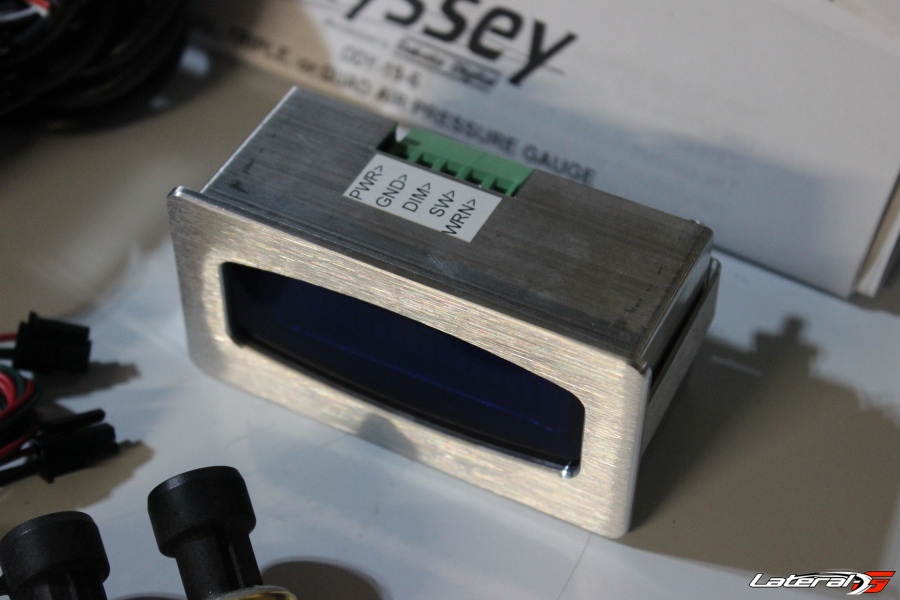
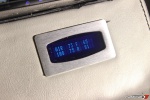
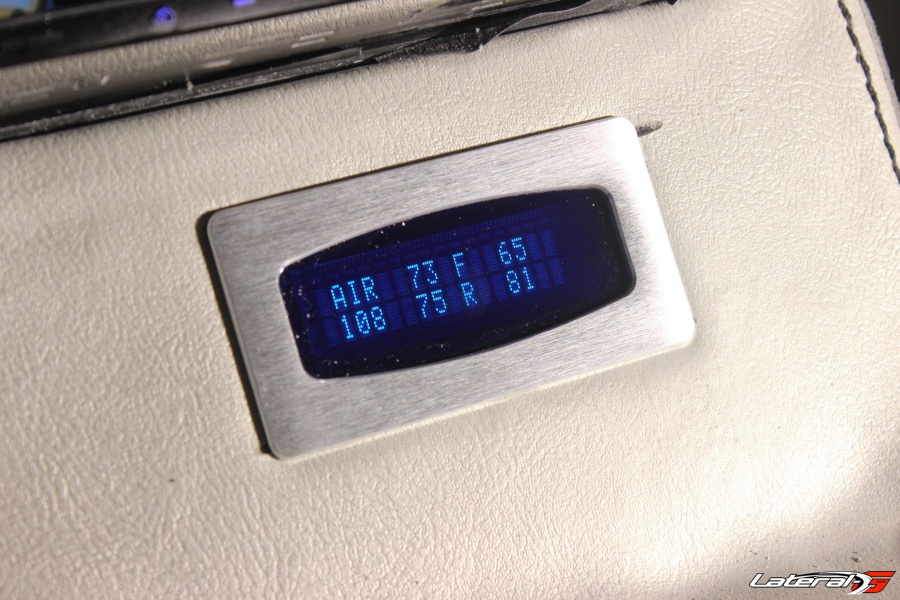
“For the air pressure gauges we offer the actual air pressure gauge set up or you can actually have the pressures display on the VHX gauges inside the dash of this Chevelle,” stated Scott Johnson. He told us that these air pressure gauges actually have a little computer and can tie into their regular dash gauges. Since we have a set of VHX gauges in the car we could do that, but we opted to install a small Odyssey series display in the console so we can have constant tabs on the air pressure in not only each bag but the air tank as well.
Installation Begins
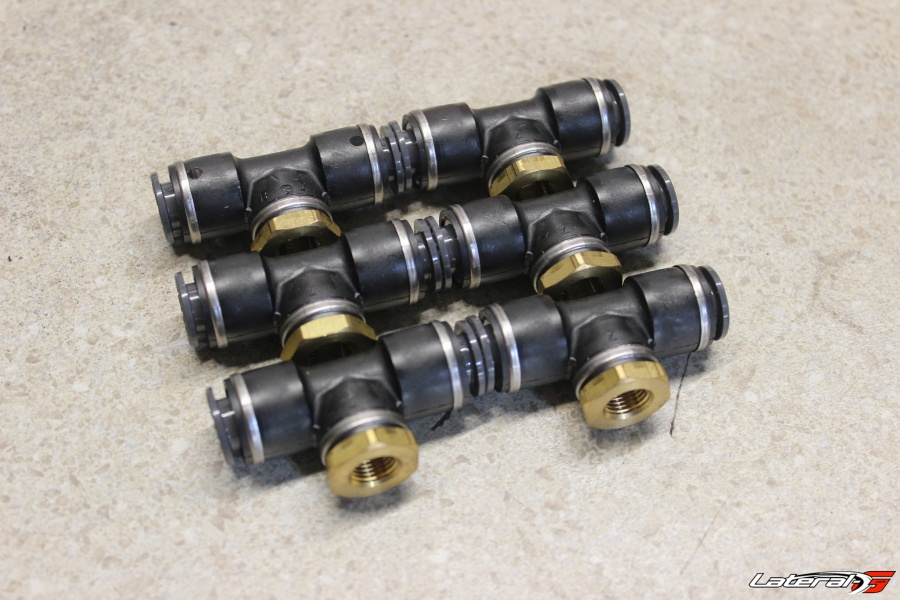
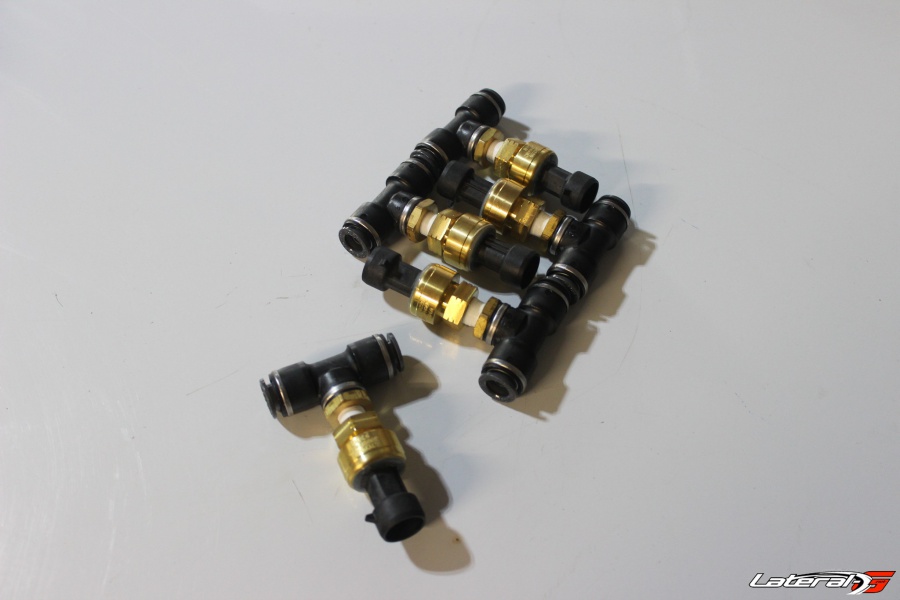
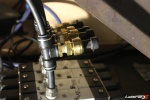
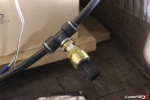
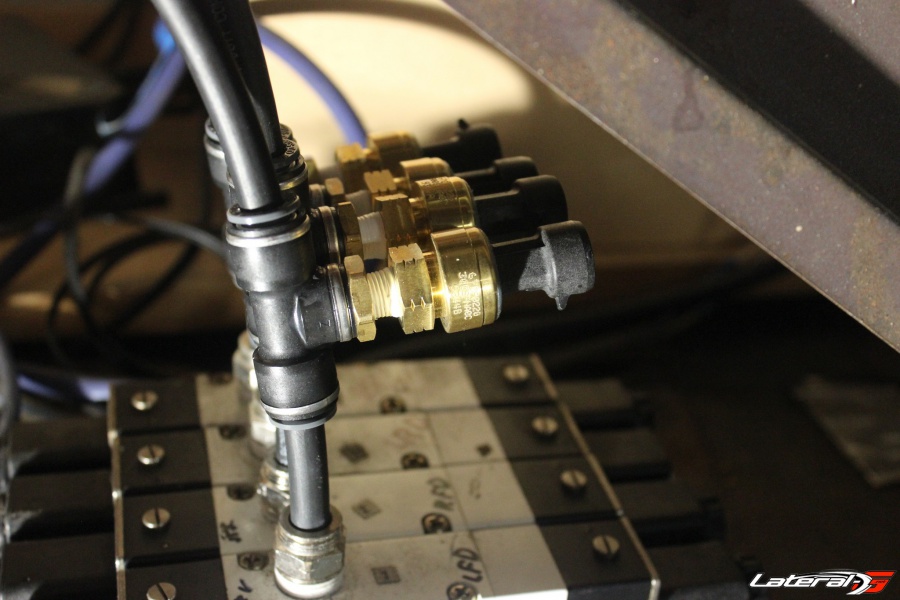
Our first step to tackle the installation was figuring out how to install the air pressure sending units. The sending units are 1/8″ Male NPT and the air line is 3/8″ DOT line. We went to the local hardware store and came to the conclusion that in order to adapt it would require a bunch of different fittings which would be prone to leaking and overall not look very good. After searching on Google for awhile we just couldn’t find what we were looking for. After posting up in an air ride group on Facebook, we had the answer in minutes. A company makes exactly what we needed – a push-to-connect T with a female 1/8″ NPT port right in the middle. A few days later we had them in the mail.
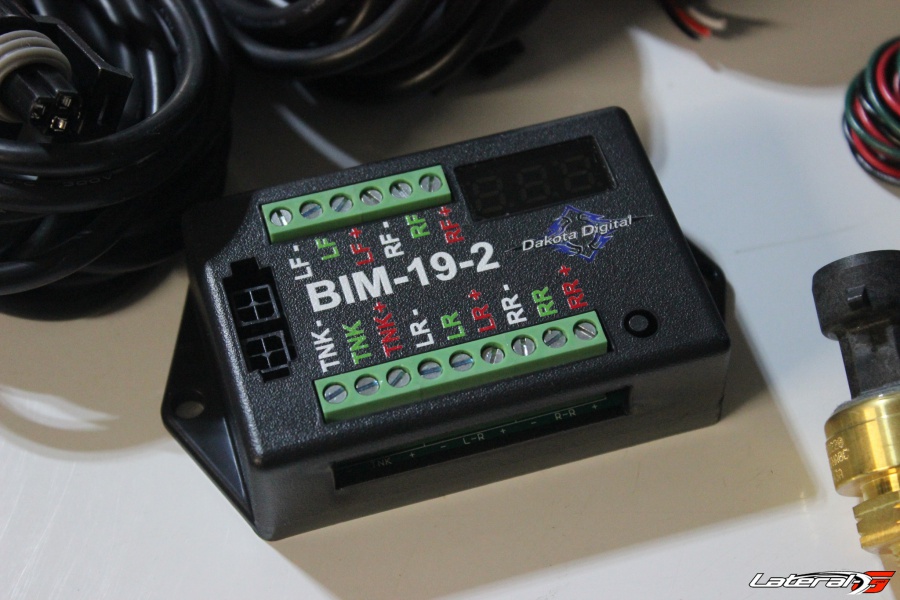
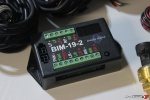
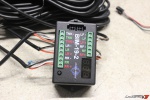
The hardest part of this install was installing these sending units and purely because it required us to move the back seat out to gain access. Once that was out it took all of 15 minutes to install all five of them. The sending units come with a long length of wiring so if you were installing the sending units at each individual corner you would have enough wiring. We trimmed the wiring way down and installed the wires into the computer.
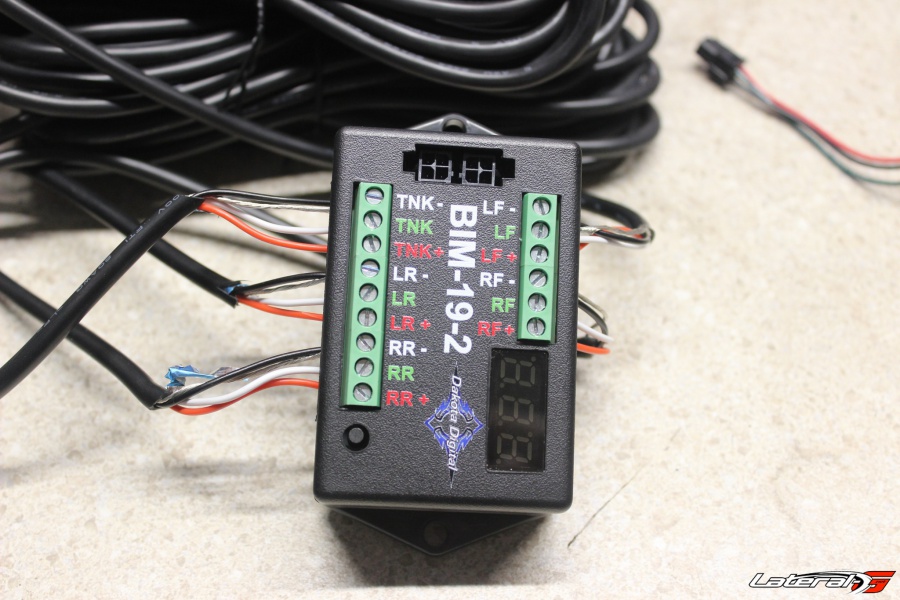
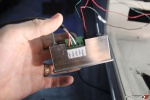
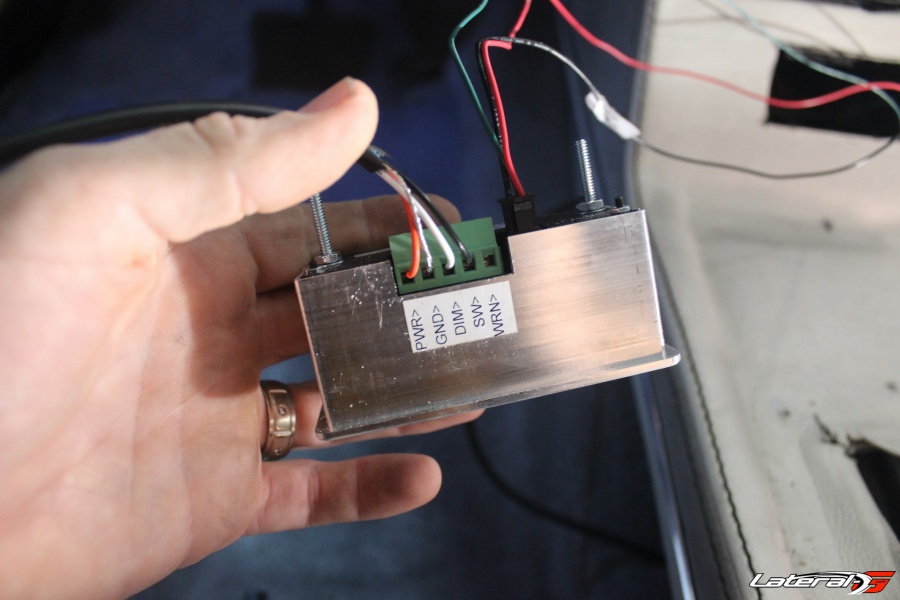
Installing the gauge itself is really easy at this point. There’s a small harness that plugs into the computer and into the gauges. Then the gauges have a few wires that get hooked up such as Power, Ground, Warning, Dim, and a Switch. Power and Ground are pretty self explanatory – we tapped into a hot-in-run and a local ground. Dim setting is so when you turn your running lights on, the gauges will dim for nighttime driving. Warning is to set up a buzzer or light to go off if say pressure becomes too low. We didn’t set this feature up but it’s nice to have if needed. Lastly is a grounded switch that allows you go to inside the settings to set up the warning settings.
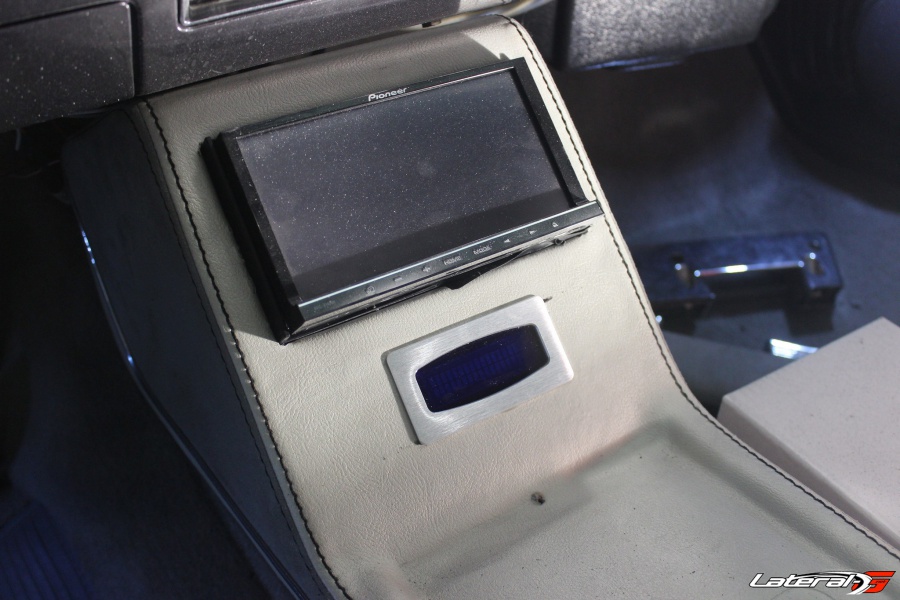
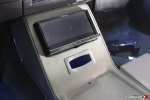
Since we have a nice full-size console we cut a hole in it right beneath our head unit and installed the gauges there. When we fire up the car we can see the pressure at every corner and along with the pressure in the tank. These would have been really handy last summer when we accidentally poked a hole in the bag and couldn’t figure out why the car was sitting a little off on the drive home!
For more information and to see all the Dakota Digital applications hop on the website or give them a call at (800) 852-3228


