Restomod Air Installation
Ever been to a car show and seen a sea of boring bone stock restored cars, only to see one bad ass Pro Touring ride demanding your attention more than a high school teacher? The Pro Touring car has upped it’s style, class, performance, looks and power. You drool over the car and are blown away at how this car may be a bit sacrilegious to the stocker crowd. Inside though you are jumping up and down thinking this car is bad ass!
Enter Restomod Air. One day at a car show their President Mike Rejkowski was admiring cars and naturally the air conditioning systems. Gears started spinning in his mind and he told his co-worker “I want to make air conditioning bad ass! All the stock looking product on the market is boring me to death.” After that show, Mike forever changed the air conditioning game by bringing performance and style to the AC market. Their motto is “Ultimate Style, Killer Performance.”
After touring the Restomod Air facility back on the Power Tour a few years back, we knew that they had the goods we needed for our ’65 Chevelle air conditioning needs. This Chevelle has the Pro Touring treatment with the LS engine, brakes, suspension and everything else but with a touch of stock to it. We knew that Restomod Air was going to be able to give us a modern, state-of-the-art AC system that would compliment the car perfectly.
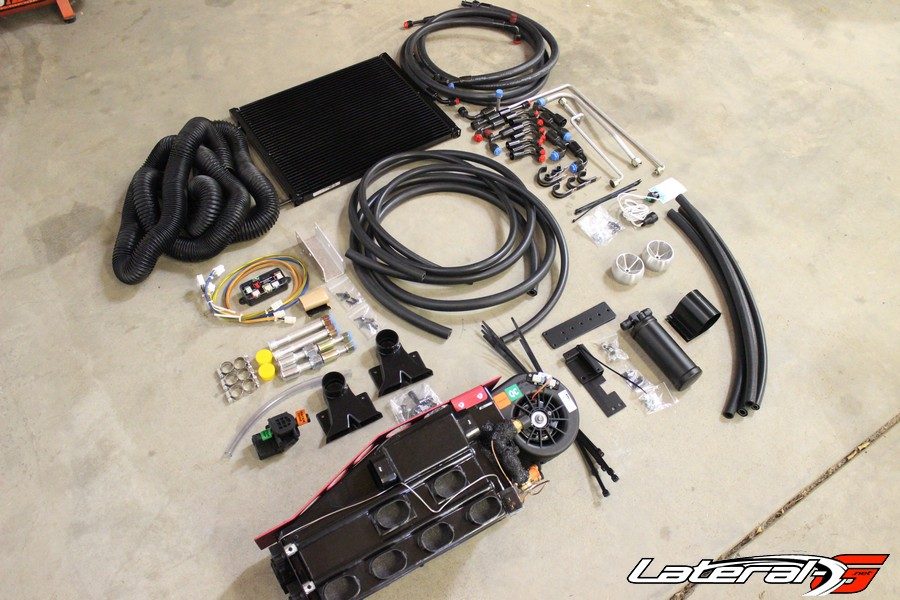
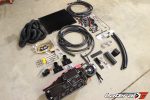
Installing Restomod Air is no different than any other air conditioning on the market. You’ll mount a condenser, evaporator/heat core, compressor, vents and run some lines. If you’ve ever installed an air conditioning system before, this is no different. If you’ve never done it, don’t worry either. They have extremely well written directions with plenty of diagrams. If all that fails, pick up the phone and help them. We called them a few times with random tech questions and each time a live person answered right away.
Getting Started
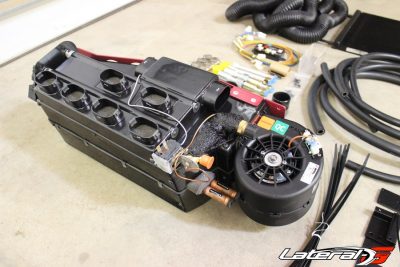
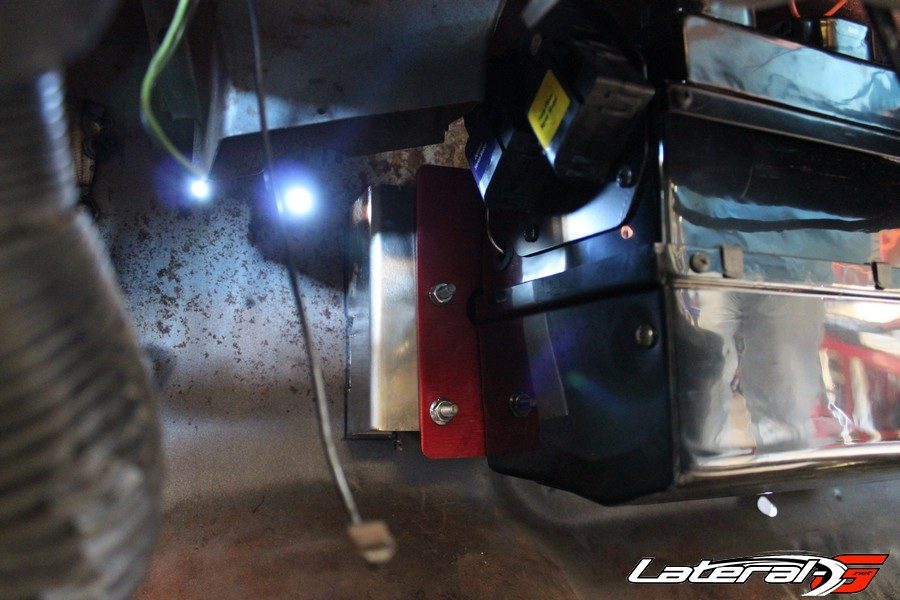
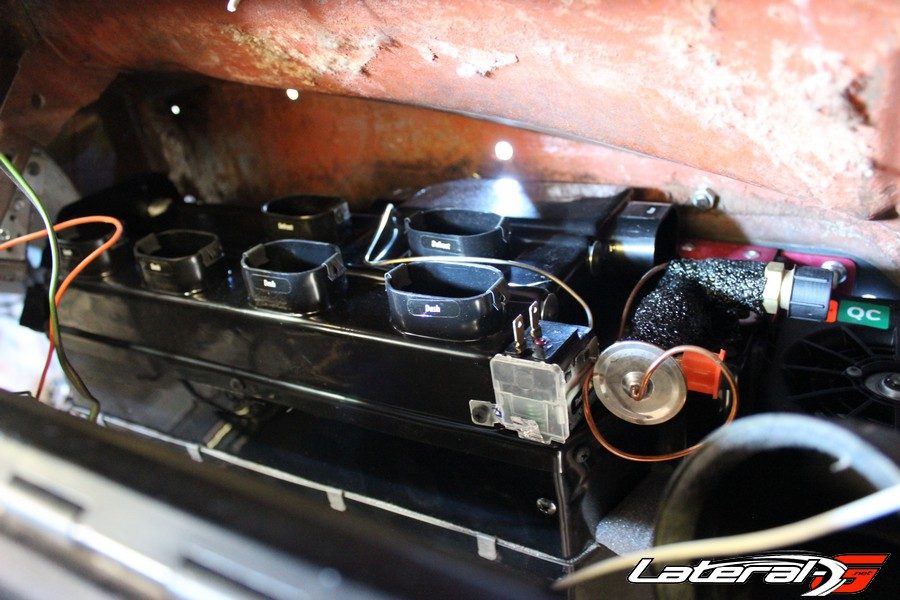
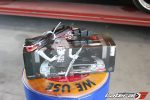
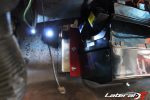
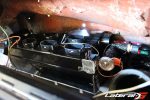
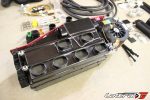
Our first step was to mount up the evaporator under the dash. We started this by removing the factory heater box and all the other components. We filled in the hole in the firewall and started to size up the evaporator/heater core combo. When doing this, you need to account for hoses, lines and wires that will attach to this unit. With some slight trimming of the bracket, we had the unit bolted to the firewall in no time. Then we moved onto the hard part under the hood – the condenser.
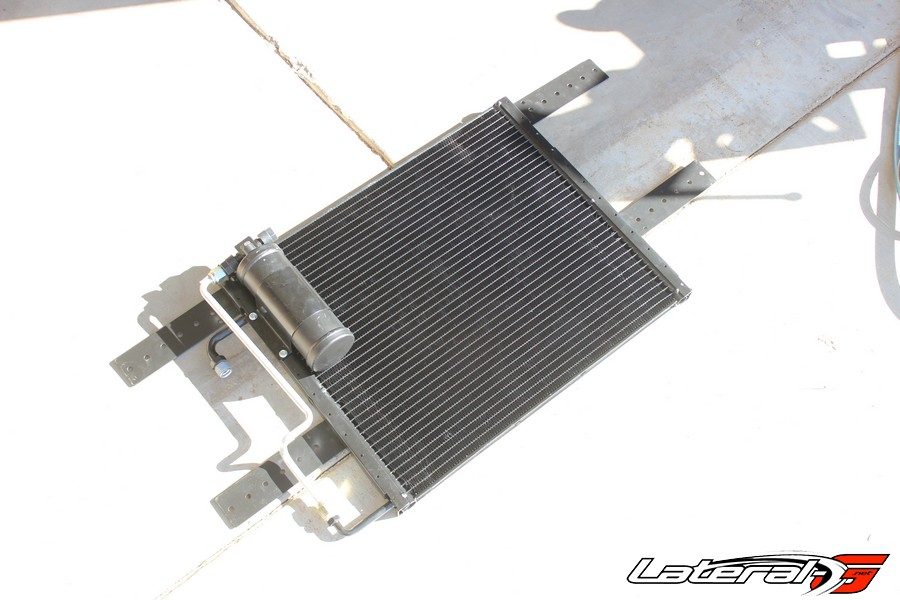
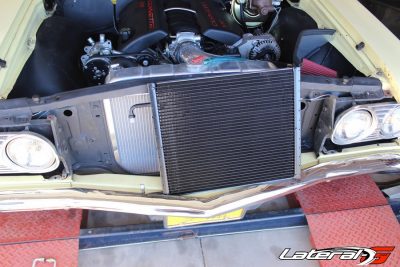
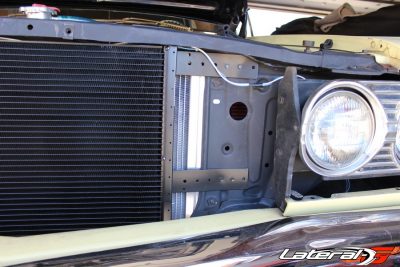
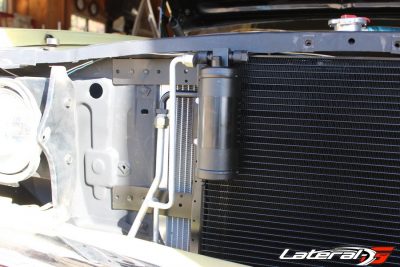
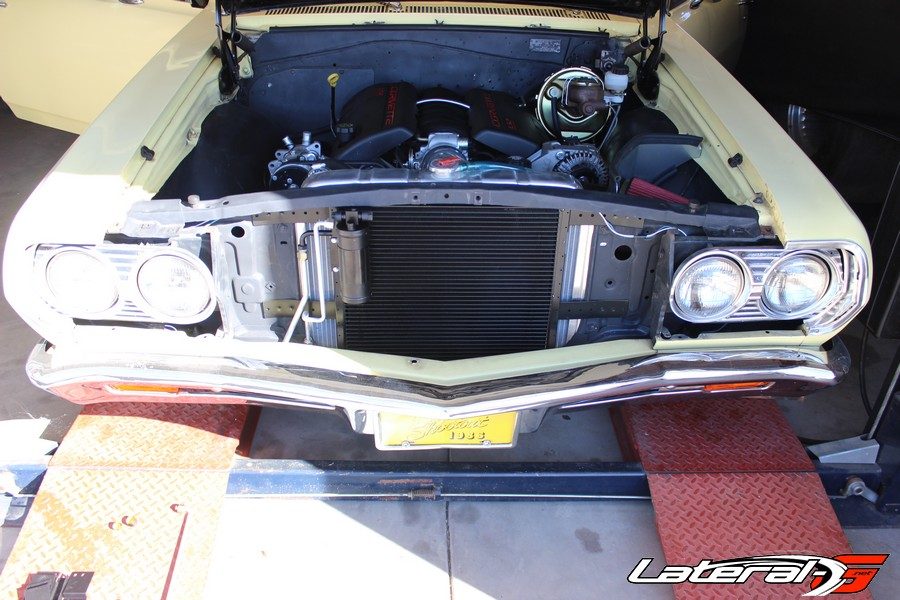
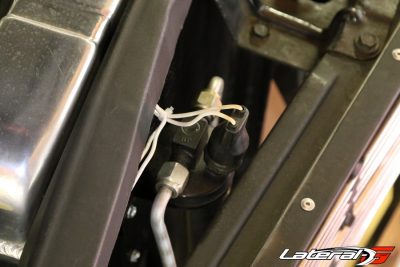
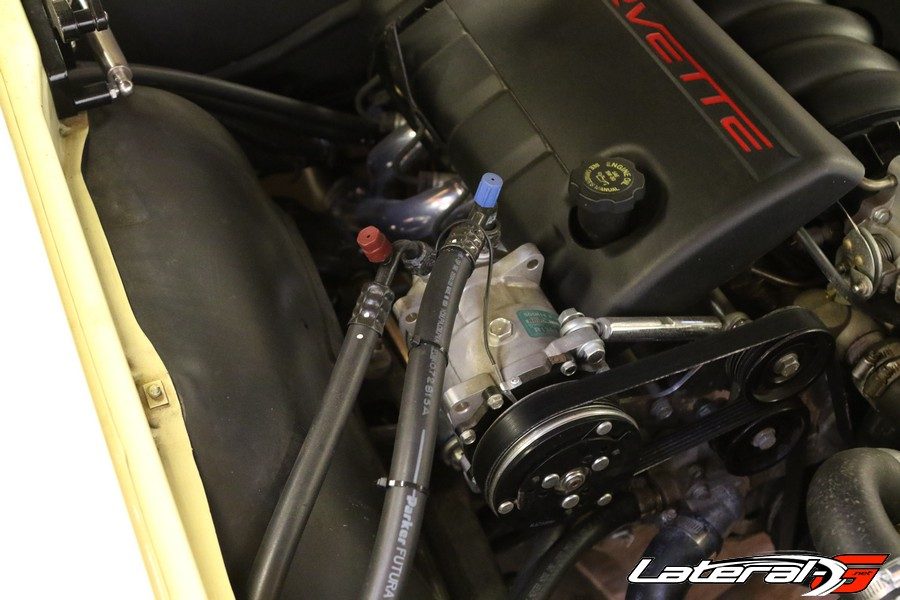
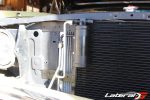
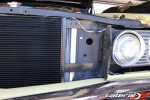
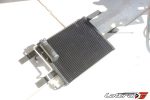
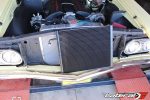
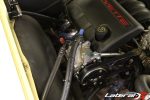
The condenser looks like small oil cooler that mounts in front of the radiator. Restomod Air already had one with the correct brackets and lines to fit on our ’65 Chevelle. After unbolting and moving the hood catch, we decided to move the grill out of the way to make installation that much easier. However this wasn’t necessary – we then slid the condenser into place. The brackets allowed for adjustment to get the right fit. The drier also mounts here, and a bracket is included as well. On our LS2, there was already an aftermarket Sanden compressor, so we didn’t have to get anything from Restomod Air for that.
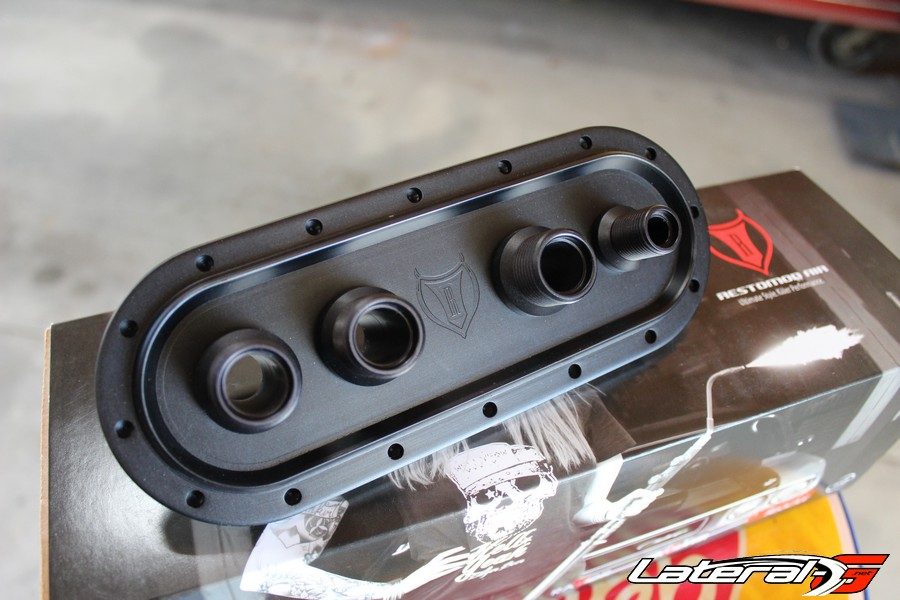
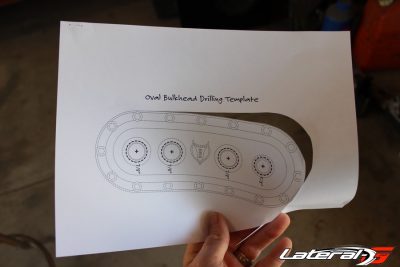
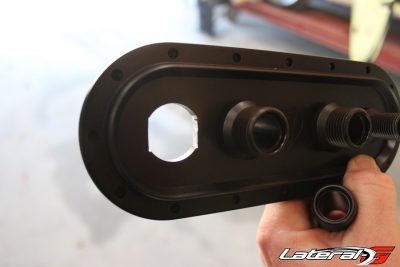
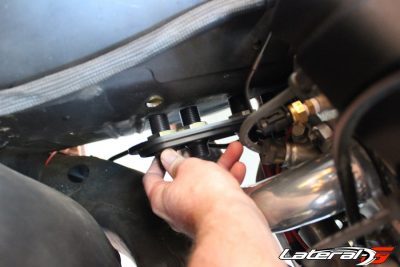
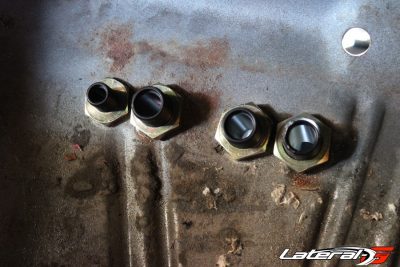
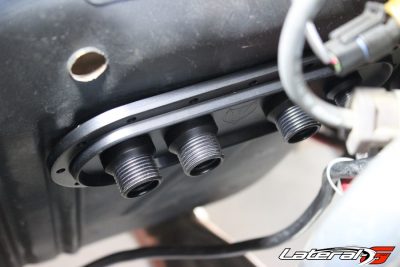
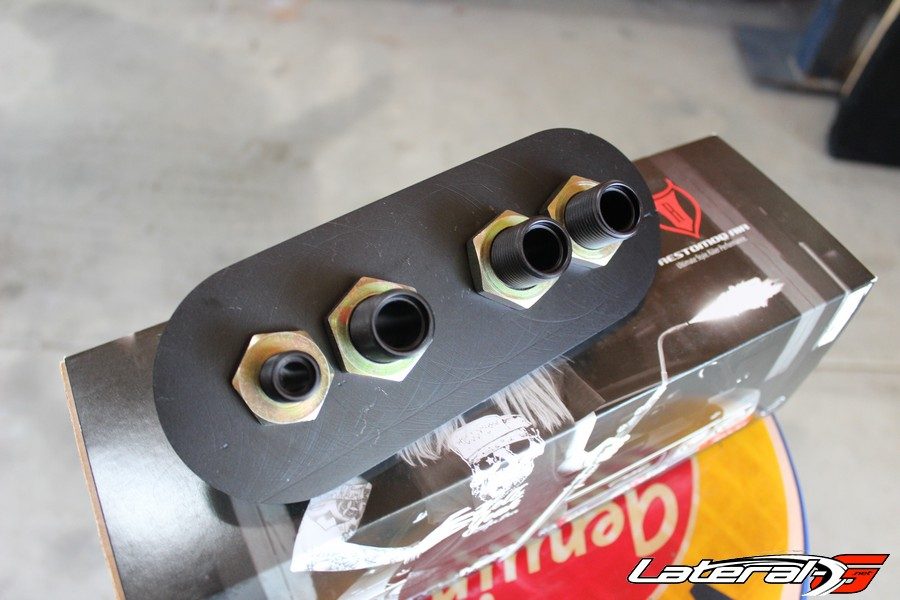
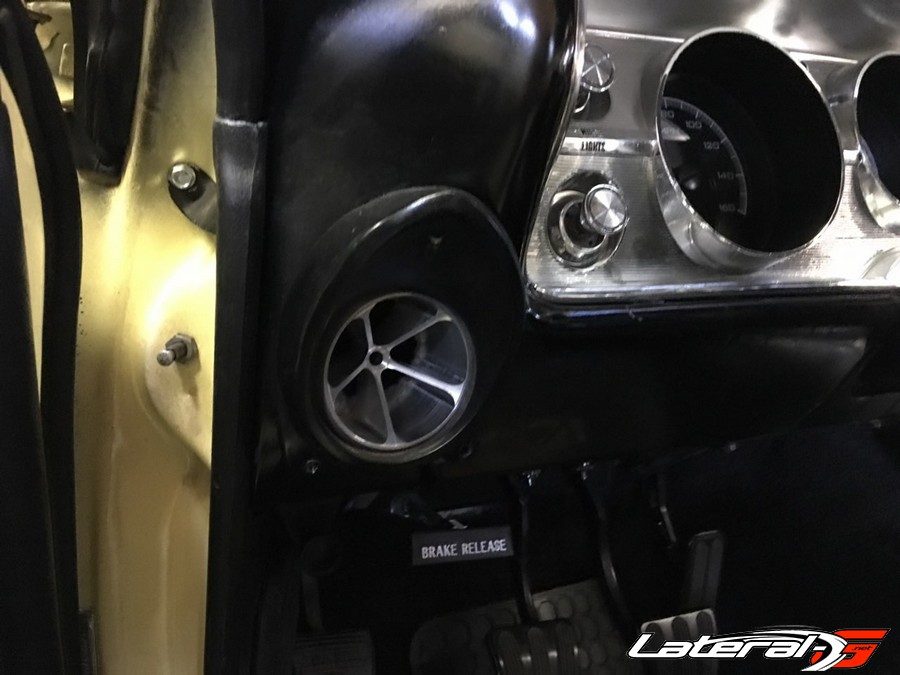
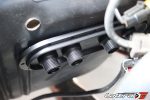
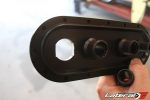
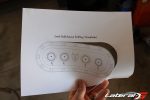
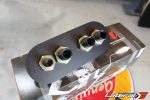
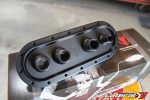
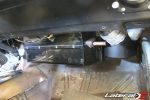
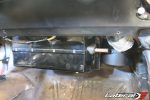
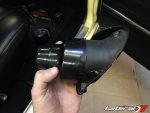
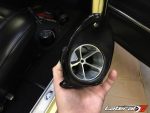
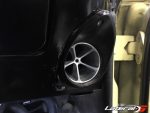
Now the fun part comes of connecting hoses, wires and ducting to make the entire system work. We wanted to keep the kick panel vent in our Chevelle so we decided to run the hoses for the heater and AC through a bulkhead under the evaporator. Luckily, Restomod Air makes amazing bulkheads that have a ton of different options to match the style of your car. These aren’t ugly bulkheads you try to hide, these are works of art you want to show off! We decided a bulkhead that kept all the lines in a straight line mounted directly under the evaporator was our best bet. After a lot of measuring, we drilled four holes with the supplied template.
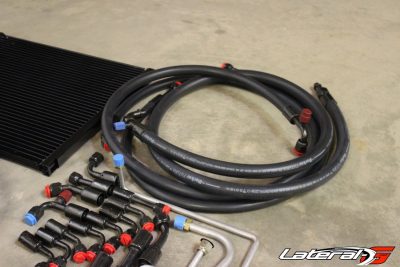
The hard part is getting all the hoses ran, cut to the correct length and connectors crimped on. We started by getting all the fittings laid out with their correct bends and then measuring twice, and cutting the hose once. With all the hoses cut to the correct length, we marked the orientation of the hose to the fitting and had a local shop crimp them up for us.
Stop The Cracking
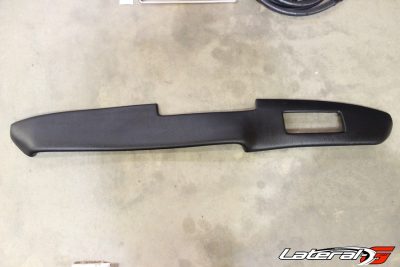
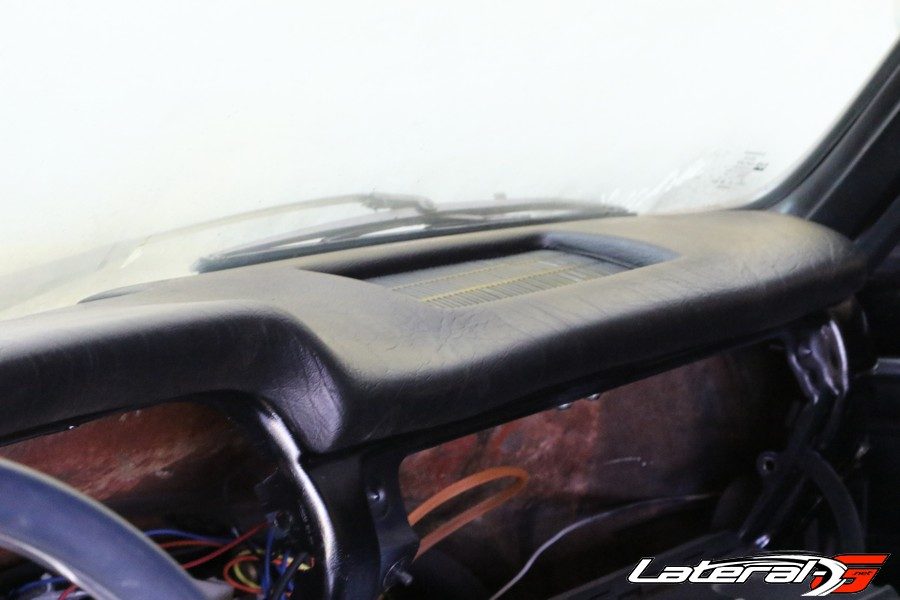
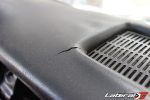
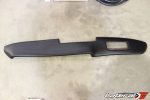
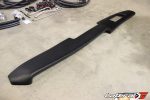
Before we moved on and installed the wiring, hoses and ducting, we took this time to install a new dash pad. Everything was out of the way to make it a simple install. Looking around there was a lot of different options and pricing for something as simple as a dash pad.
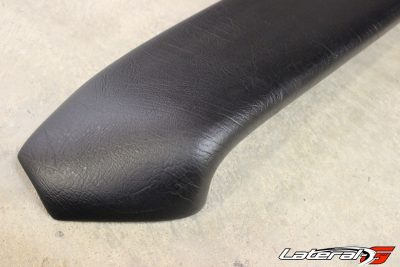
We definitely wanted something that looked perfect and more importantly would hold up over time. A quick call to Matt’s Classic Bowties solved that and a new dash pad showed up on our door step a few days later. This pad is already black with the correct grain along with the studs and nuts needed to mount it up and make the dash look new.
Wiring Galore
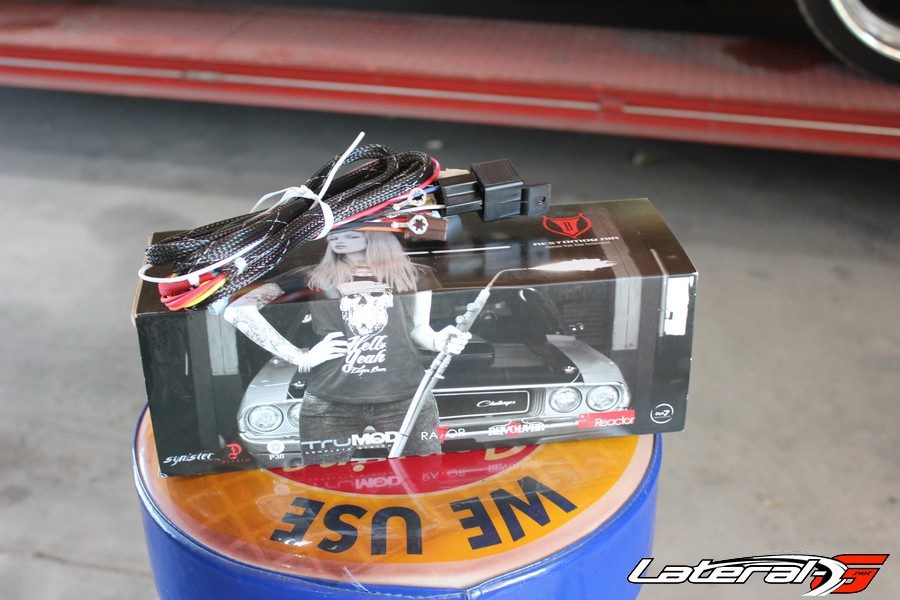
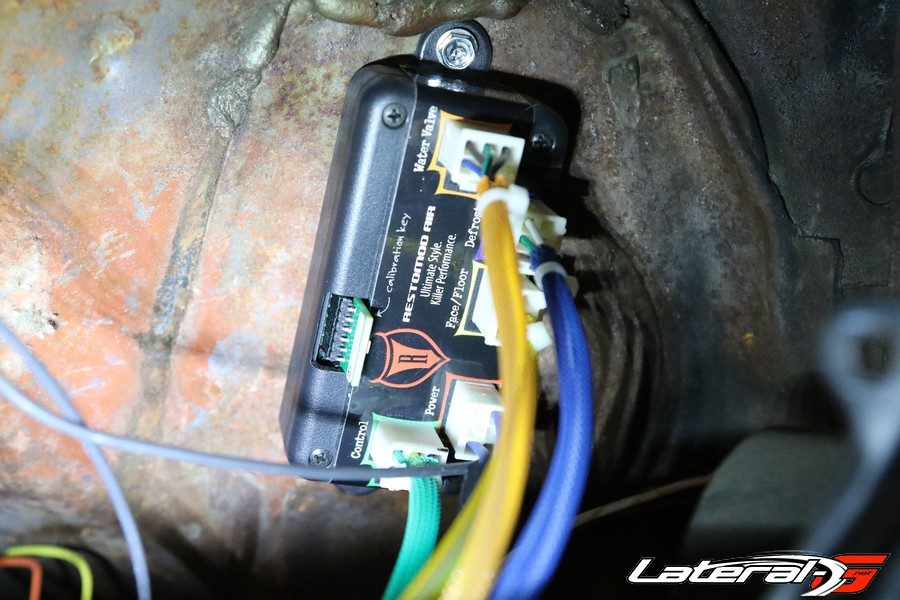
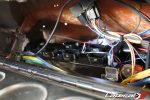
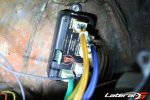
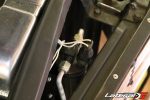
While the shop had the hoses for a few days crimping them, we went ahead and tackled the wiring of the unit. It’s fairly straight-forward with it’s own wiring harness and instructions. All the connections on the Restomod Air side have very well marked connectors, making the installation almost fool proof. On the car side we had to supply the computer for the unit with things like hot, hot-in-run, and a ground.
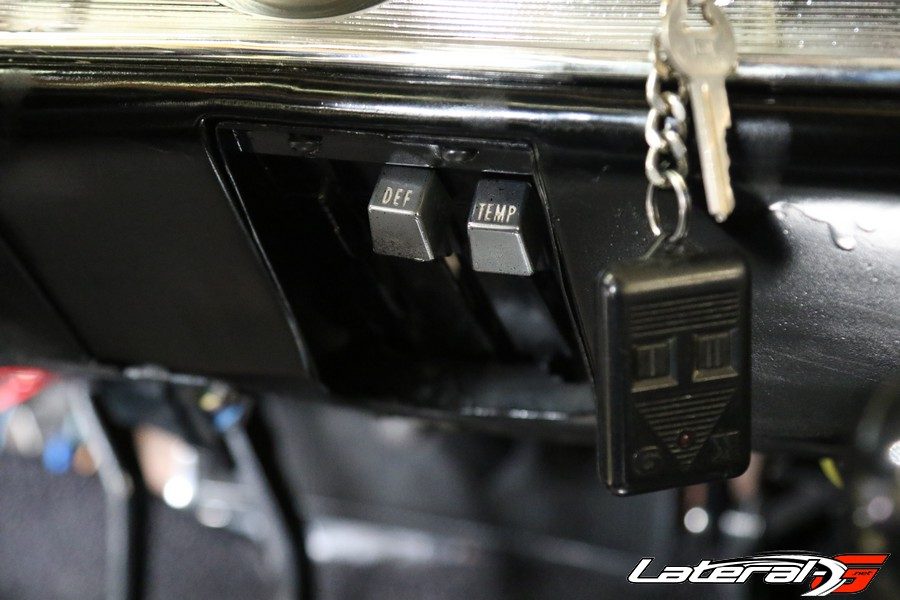
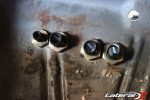
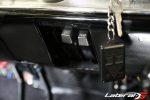
There are several controller options to work the unit, depending on what you want to do. We decided to use the factory heater controller by adding on these pods to the arms to let the computer know what to do. Easy to install and easy to program into the computer. Lastly, we ran the wires to connect the pressure switch which installs into the drier.
Plumbing Hoses
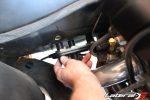
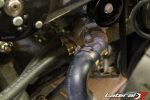
With the hoses back from the shop, we started to plumb up the unit. We took our time to use the supplied green O-Rings and oil, making sure not to pinch or twist the O-rings. On the heater side of the hoses we simply connected the hoses to the engine and to the unit. One small detail is a computer controlled valve that turns the hot water on and off to the unit – make sure to install this correctly! One other tip is to never connect the drier to the lines until you are ready to charge the unit.
With everything connected and unit powering up, we calibrated the unit. This involves taking a small ‘key’ and inserting it into the computer and following a sequence of steps in the computer. This allows the computer to calibrate the flaps in the evaporator to work with the factory controls. With the calibration complete, we connected the lines to the drier and pulled a vacuum on the entire system for a few hours.
Charge And Done
After the system held the vacuum we went ahead and charged the unit. Again, with a set of AC gauges this is like charging any other AC unit. The air started to blow ice cold, or smoking hot depending on the settings. Now that the entire system had been tested, our last step was to install the ducting to push all the air to the right places.
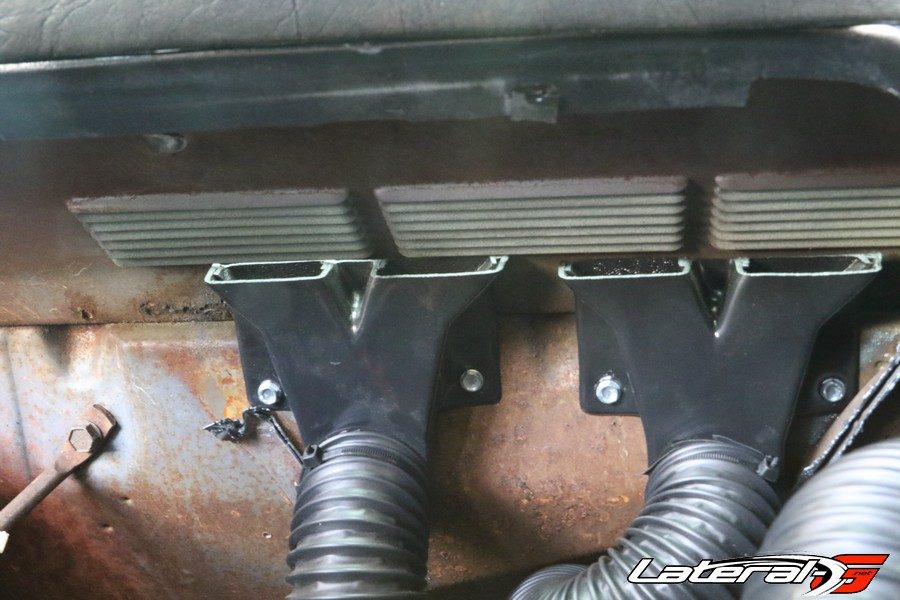
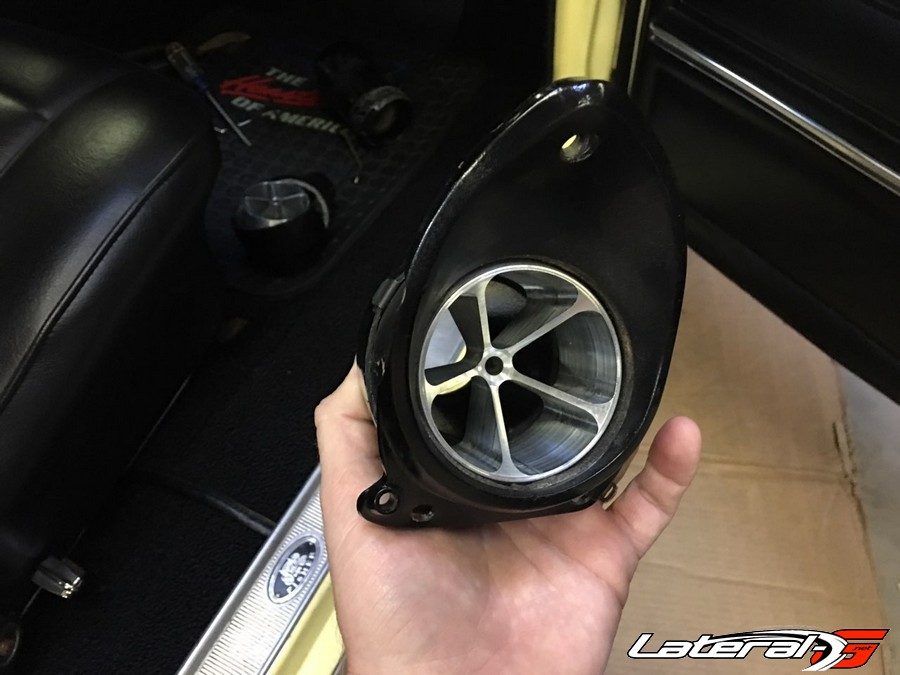
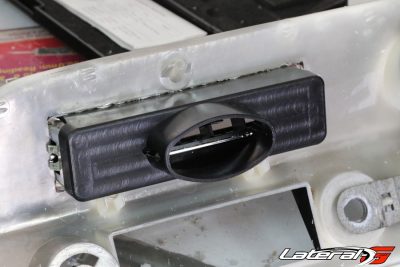
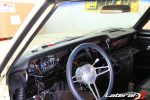
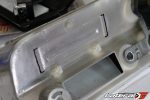
In our ’65, it was a heater-only car. But at some point somebody had installed factory AC vents on the outer dash. All we had to do was cut a hole in the gauge bezel for the center AC vent that we picked up from Restomod Air and we reused the factory outer AC vents but replaced the balls with some bad ass machined balls from Restomod Air. One part to note here too is that we ended up taking our Miller Spectrum 625 X-Treme plasma cutter and cutting out the original metal defroster ducting. For one, we wouldn’t need it anymore. Two, it freed up a ton of room under the dash to run all the ducting. In order to replace the defroster ducting, we used the supplied vents from Restomod Air.
That’s all it takes – an easy weekend job for the weekend wrencher. If you’re a trained professional this would be a one day job.
For more information or to see the full line up of Restomod Air products, hop on their website here or give them a call at (866) 784-4278


