Project 1955 Bel Air: Installing The Front End
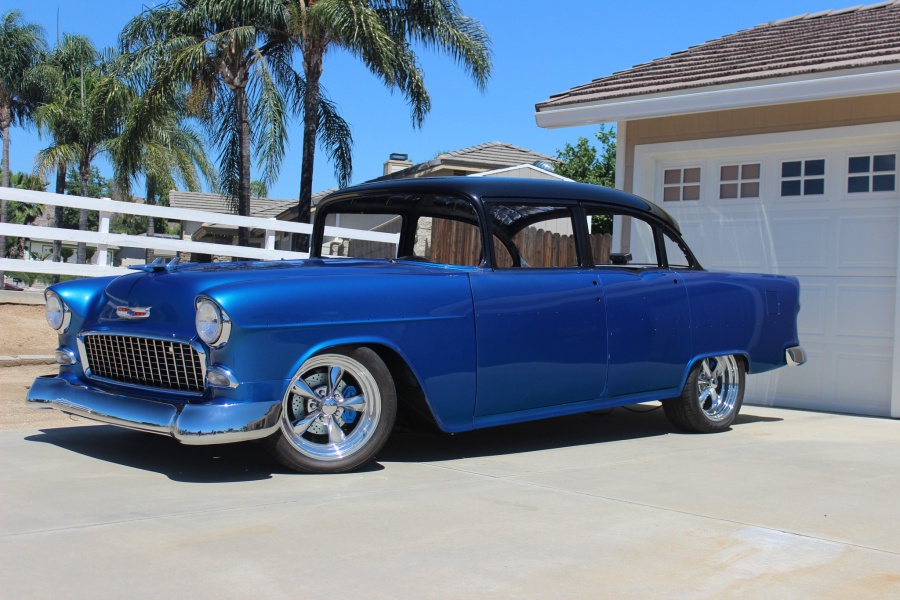
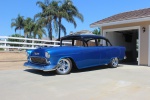
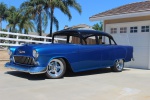
Progress is happening on our 1955 Bel Air Project! It seems like what we have been doing lately is working on tedious small things – which add up over time but it was great to do some things that made a massive jump towards a finished car.
What we worked on was installing the front end of the car. After paint we had taken the front fenders, inner fenders, and apron off the car. We did that so we could work under the hood on the brakes, wiring, exhaust, etc. without fear of scratching a freshly painted fender. With the majority of the work finished under the hood, it was time to bolt everything back on!
Bolt ‘er Up!
We started by loosely bolting up the core support with new mounting bolts and rubber pads from Classic Industries. Then we worked on setting the inner fenders in place. Before putting the fenders on though, there was a rubber gasket that goes on the edge of the inner fender, towards the outside of the car. We picked these up along with another gasket set from Classic Industries as well. These will ensure a squeak free operation.
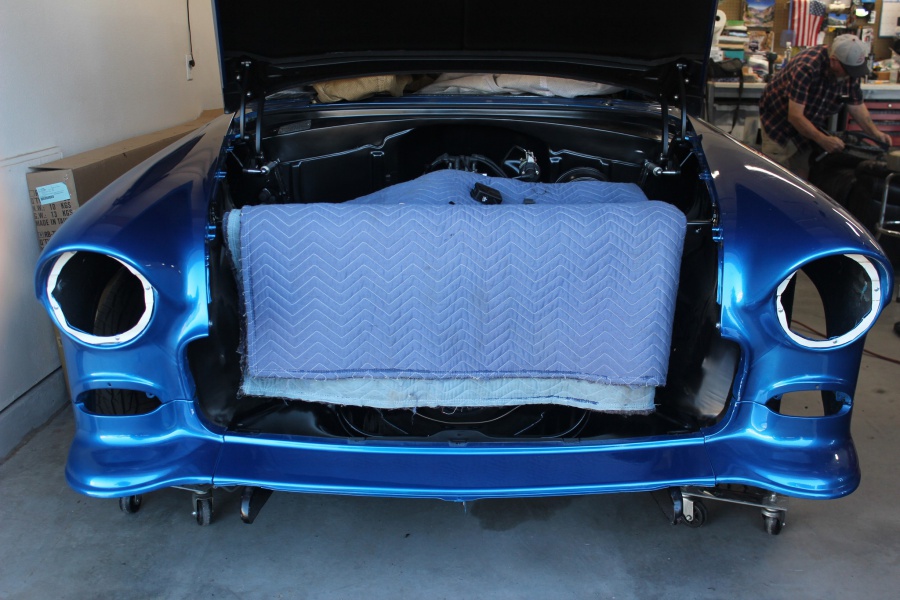
Using an extra set of hands, we very carefully slid the fender into place and loosely put in the bolts. We wanted to get everything loosely mounted up before we started to tighten things down. Then we bolted the front apron on which ties the front fenders together. The hood was already on with it’s new Eddie Motorsports hood hinges.
Light ’em Up!
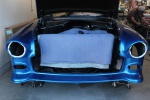
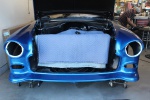
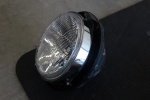
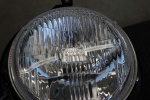
With everything bolted on, we started to move, shim, and adjust everything until the gaps were good and the hood was shutting smoothly. From there we wanted to install the lighting. For headlights we picked up a set of the Holley Retrobright LED headlights. We’ve seen everybody ranting about how great they are and we figure anything that helps make driving this car at night safer, the better. These bolted right in the stock buckets and were done in seconds.
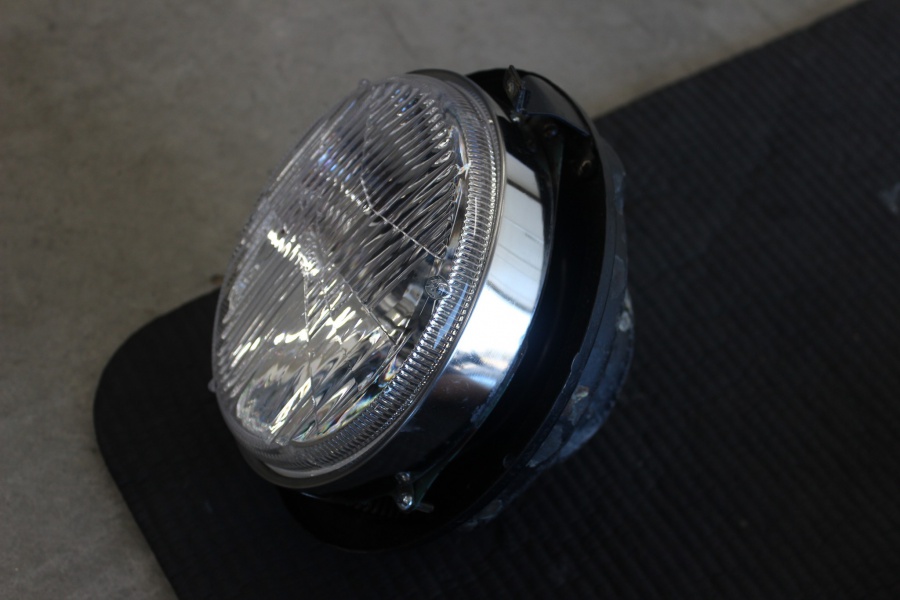
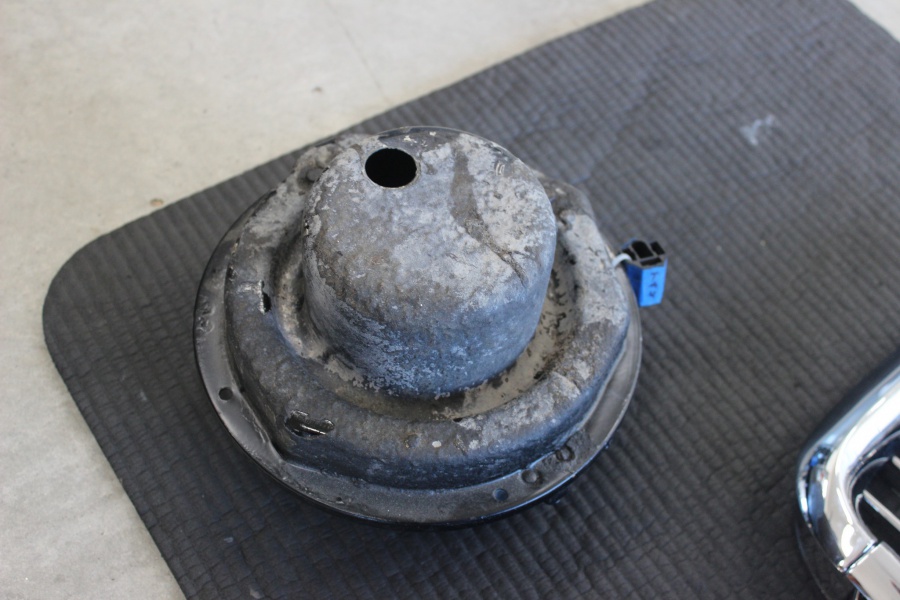
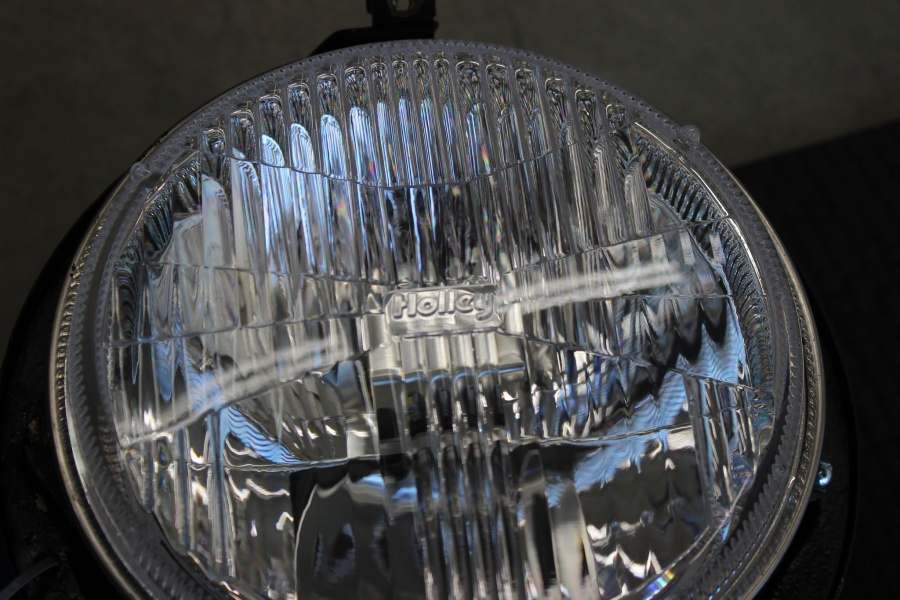
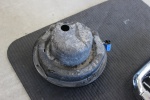
Under those were the new turn signal assemblies and lenses we had picked up from Classic Industries. Side note – we’ve found them to have just about everything you could possibly need for this Tri-Five. These turn signals bolt right in, but one trick we’ve learned is that they ground using the body. So what we’ve done is added our own ground wire to ground the assembly separately so we won’t have any issues there.
Shine ‘er Up!
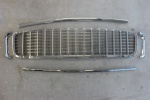
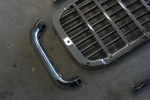
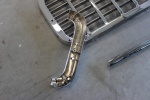
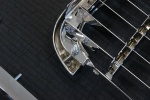
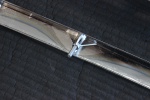
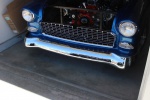
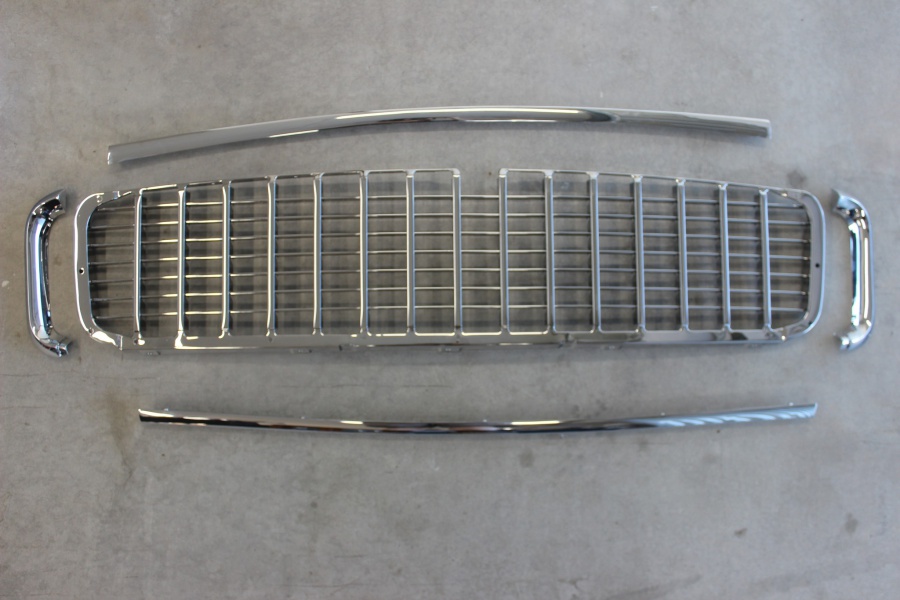
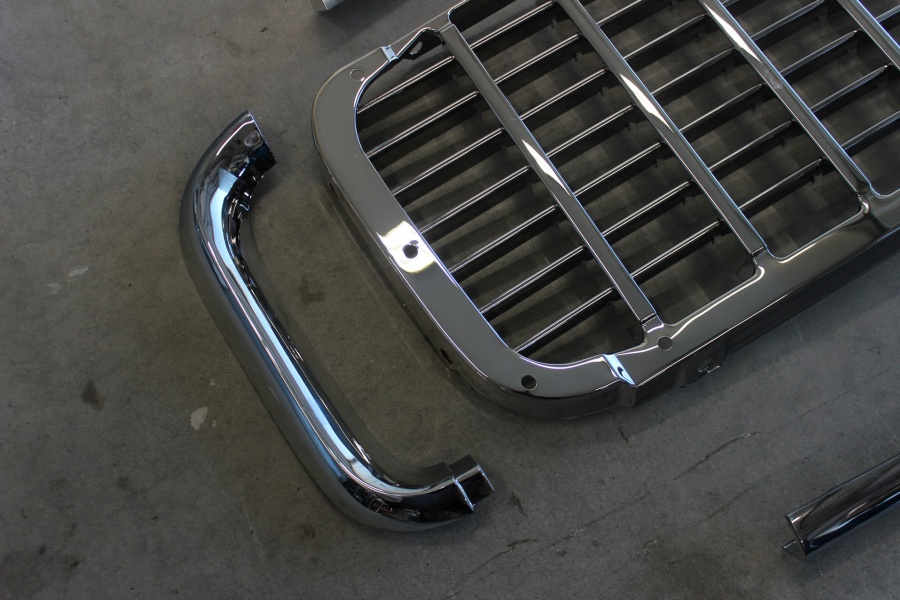
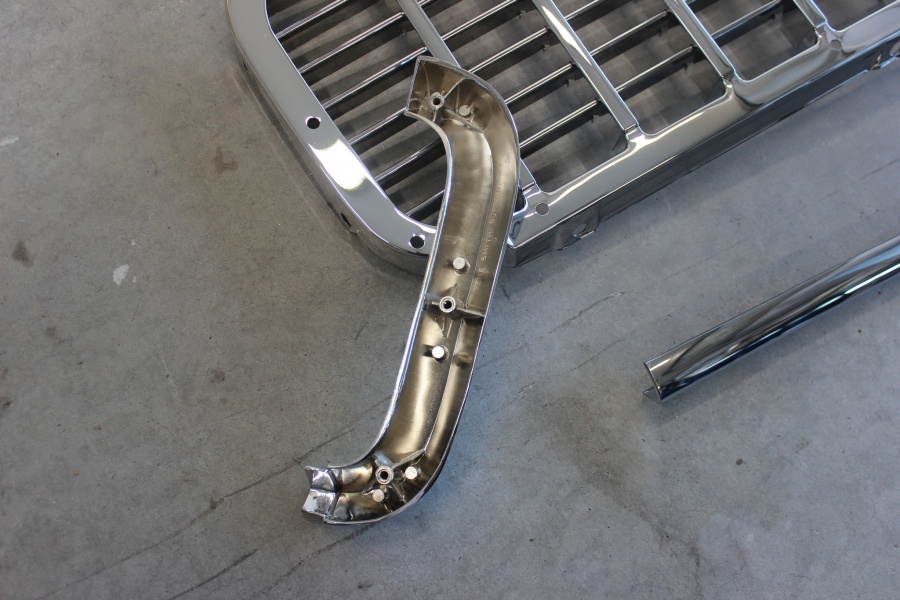
Then we moved onto the shiny work. The grill has three outer molding pieces that bolt to it, with the top piece being bolted to the hood. We assembled the grill and then it slid right into the front of the car perfectly. Again – all these nice pieces we picked up from Classic Industries.
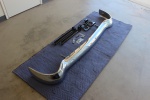
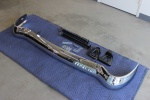
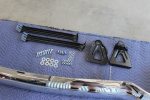
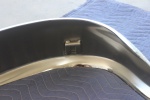
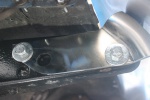
One of the last pieces to tidy up the front end was the front bumper. There’s several versions available from Classic Industries: one piece, three piece, and smoothie. Since we did the smoothie on the rear, we wanted to do the smoothie on the front. The smoothie is a one piece design that has mounting spots welded to it so there’s no exposed hardware.
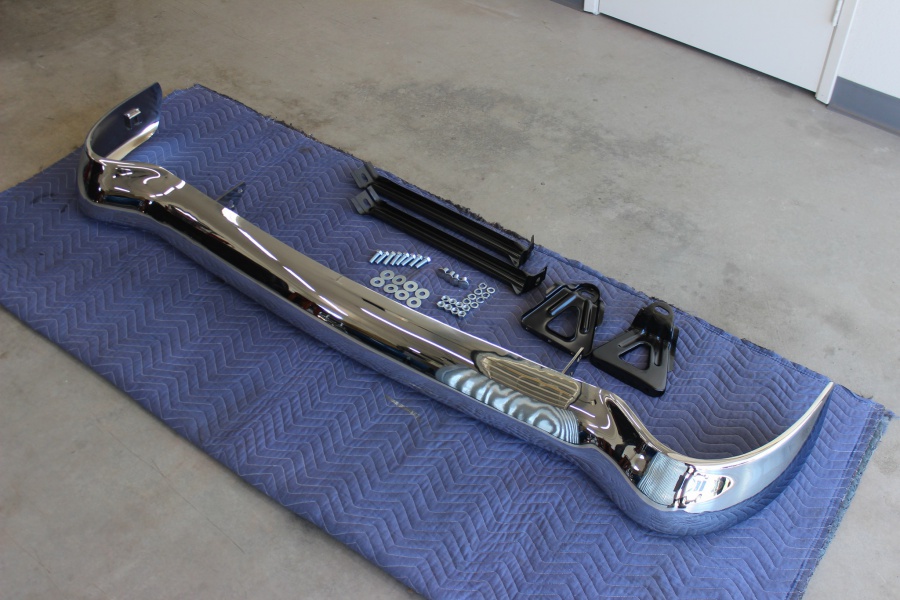
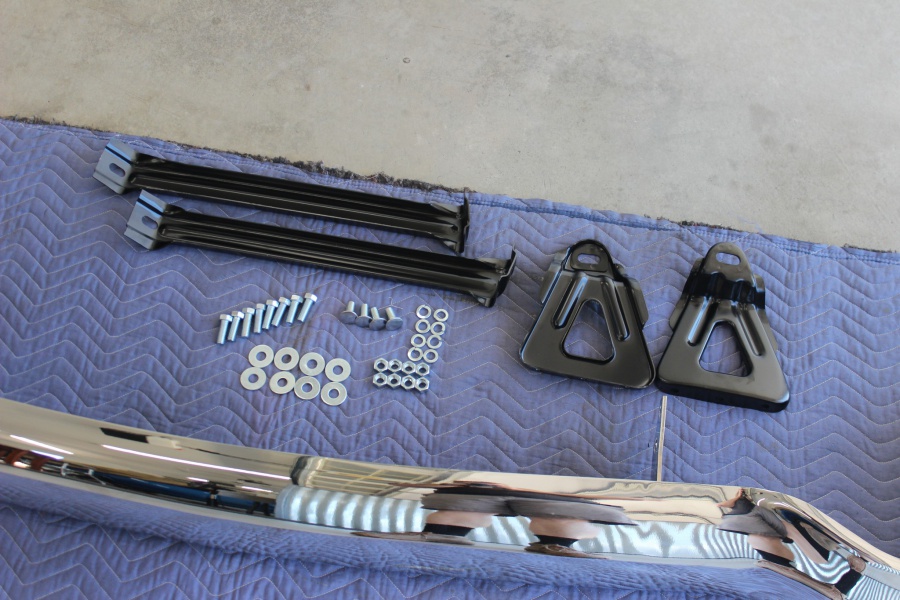
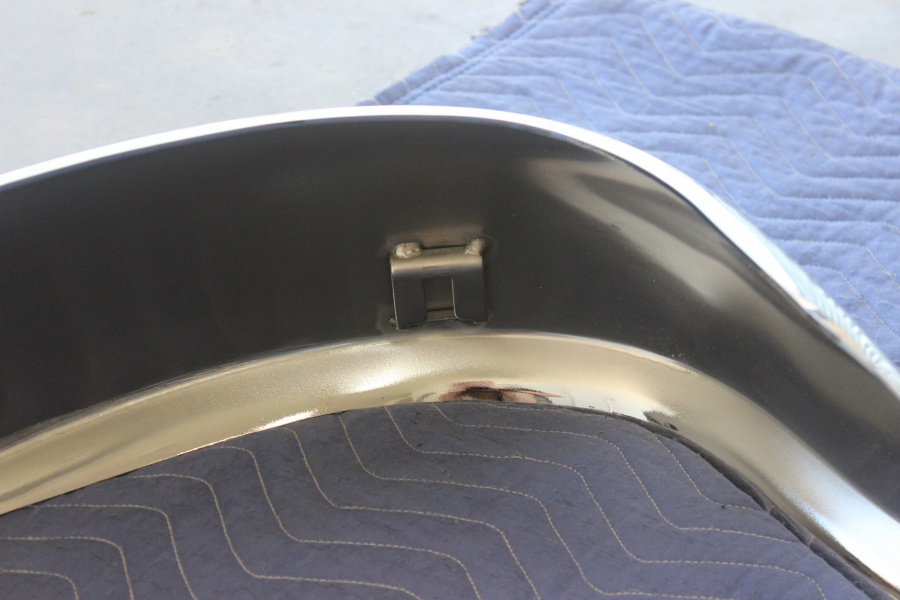
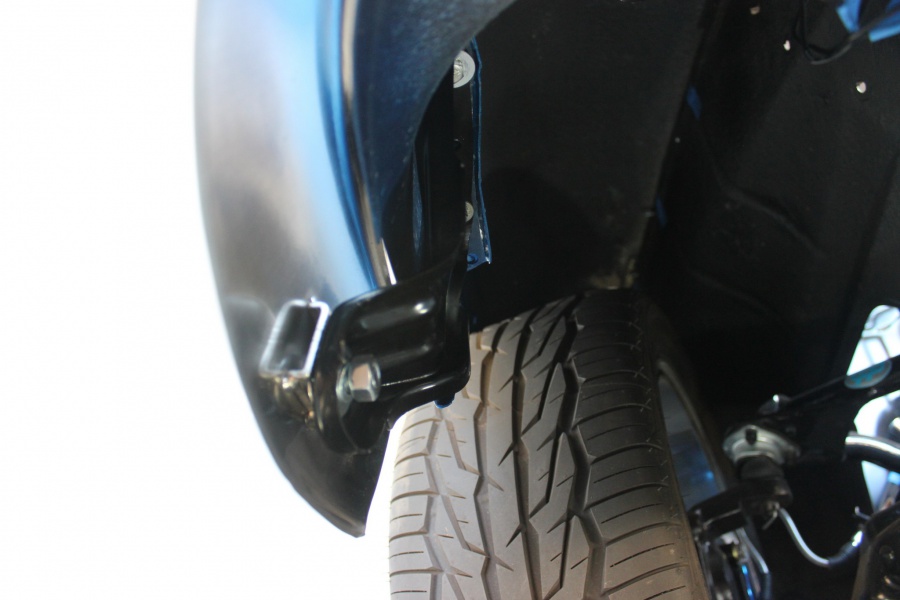
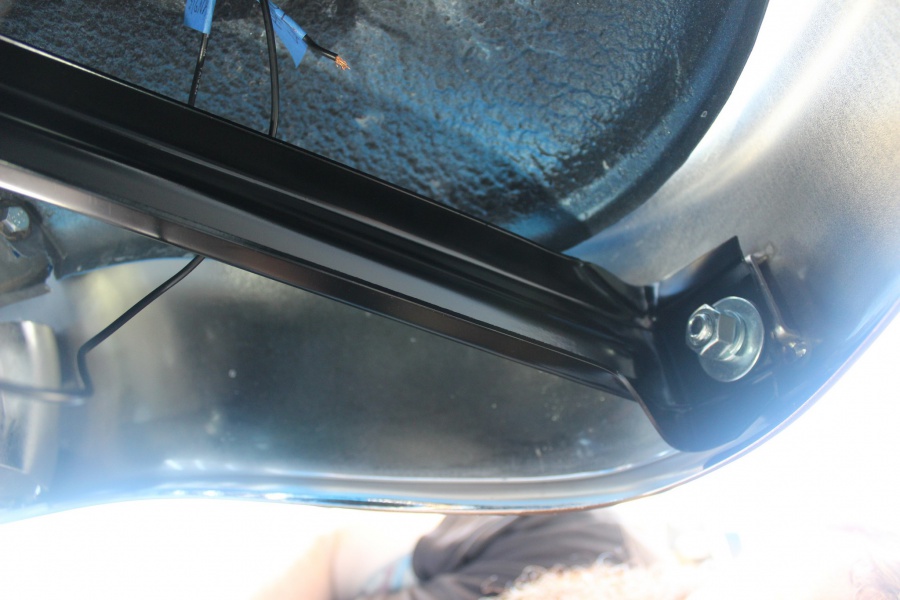
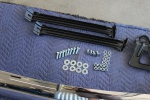
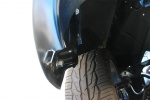
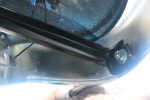
The kit comes with all the bolts and brackets needed to bolt it into place. What we did first was slide the bumper into position and put some bolts through where the bumper bolts to the frame rails. This held it in place while we bolted up the outer brackets. One bracket kicks off at a 45-degree angle to the corner. The other bracket holds the “wings” of the bumper to the bottom of the fender. After everything was loosely bolted together, we tightened everything down. Honestly the whole installation took less than an hour for the bumper and fit amazing! We were impressed.
Cool ‘er Off!
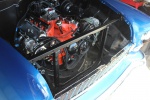
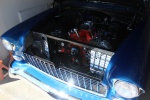
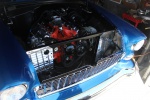
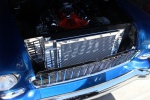
Our last step was to install our new Champion Cooling radiator set up. We installed one in our other ’55 and it’s worked so great, we just had to put one in this car as well. The installation of these is really easy and a completely bolt-in process.
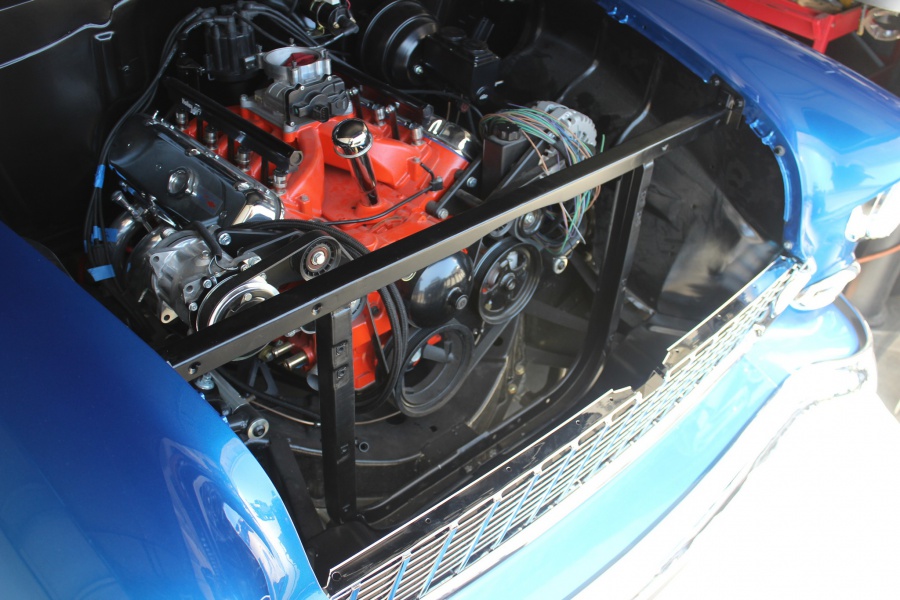
The first step for it is to install their radiator support panels. These are drilled to allow the radiator hoses, petcock and mounting bolts to pass through. Then we mounted the condenser to the radiator with four bolts, and bolted the cooling fans to the shroud on the backside.
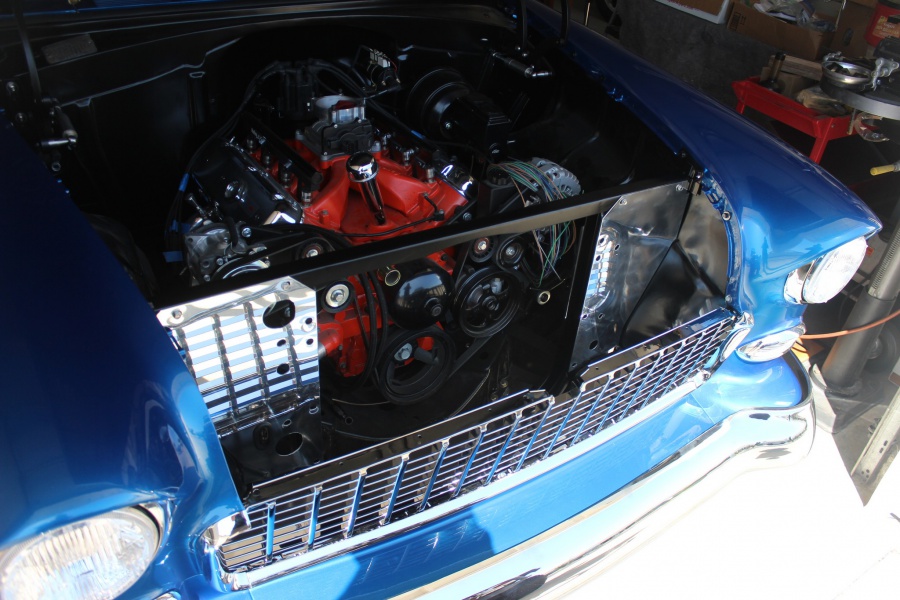
From there we slid the whole unit in place and installed with four bolts. We still have to find some hoses at our local auto parts store and wire up the fan relays, but they made installation SIMPLE! No custom making brackets or anything like that.
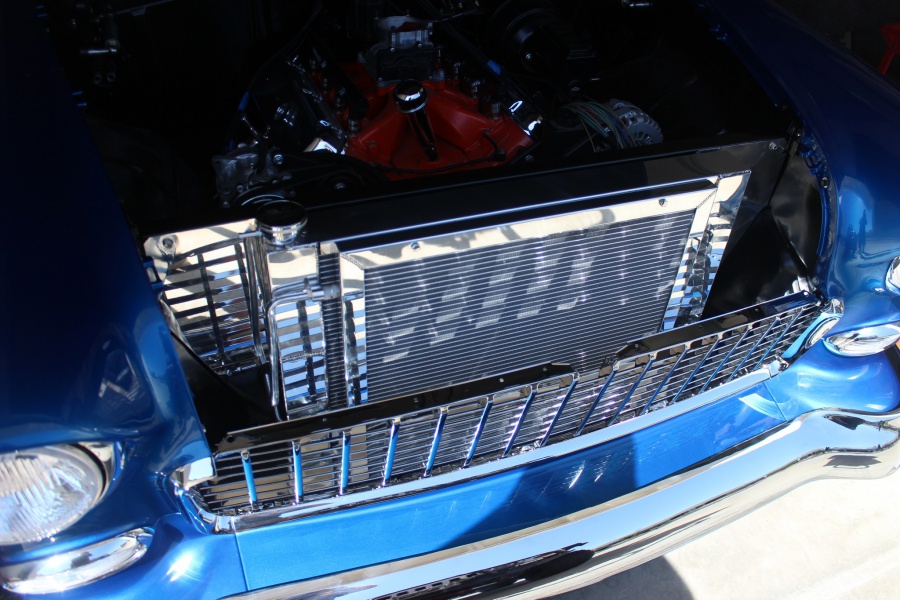
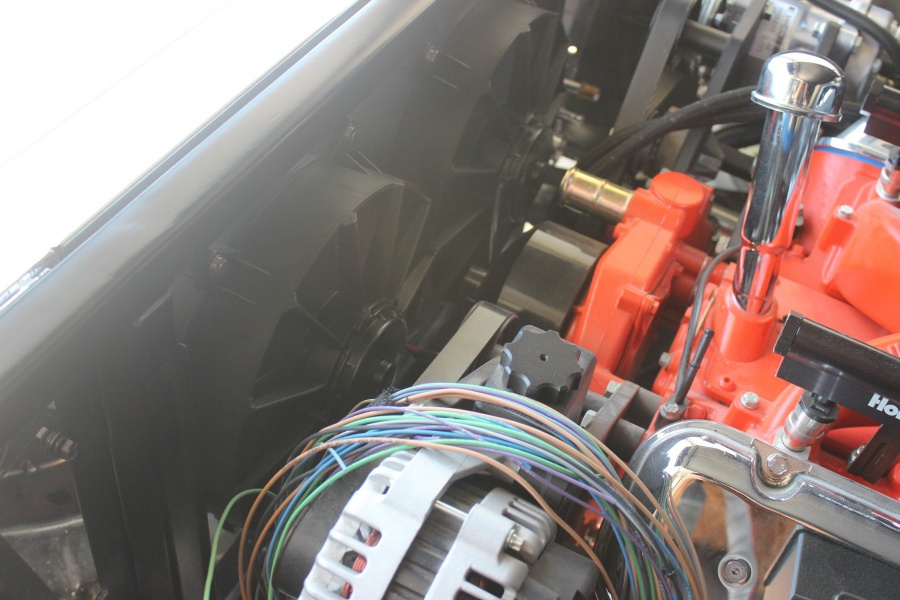
With the front end together, we switched our focus to the dash – check back for the install of the Painless Performance wiring harness and Dakota Digital gauges!
