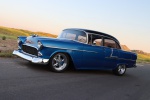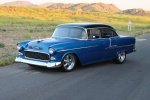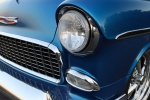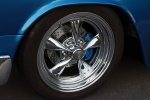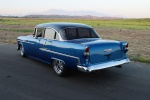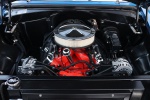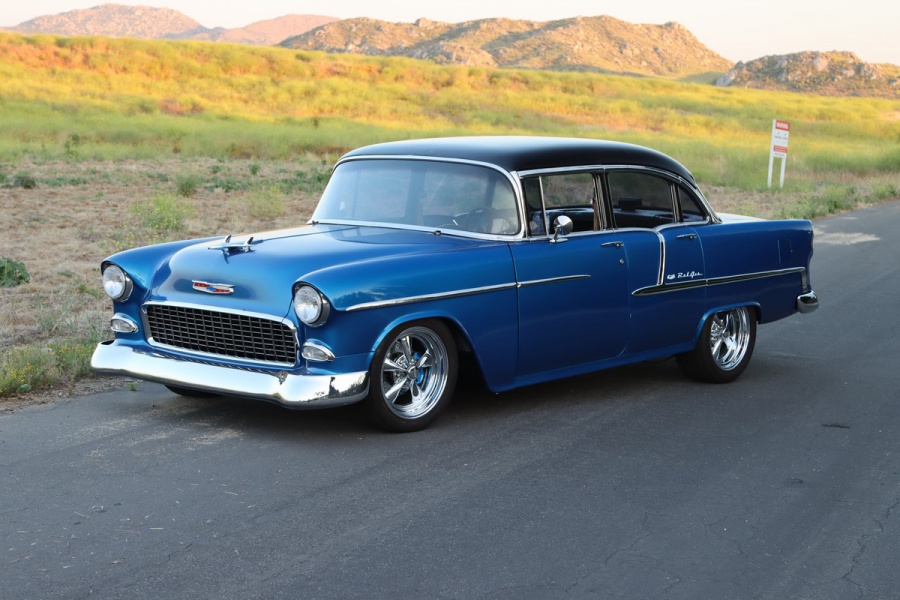
Our 1955 Bel Air project now moves under it’s own power! From a bare frame, all the way to driving is a massive accomplishment and one that’s been years in the making. Now we didn’t go very far, to the end of the driveway and then down the street for some pictures, but it’s a start.
There still isn’t an interior in the car, so we drove it sitting on the bottom of the factory bench seat. In order to even get to this point though we had a few other items to install.
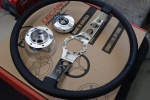
Lecarra Steering Wheel
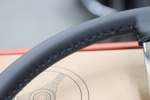
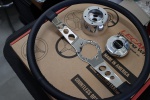
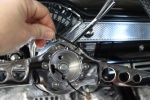
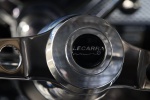
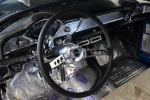
For starters, we needed a steering wheel. Our CPP column was already installed but we didn’t want to install a steering wheel while we were working on the dash. With all that out of the way, we had called up Lokar and ordered up one of their Lecarra steering wheels. For this build we wanted something pretty old-school or original appearing, but with a modern touch. Just like the rest of the car is.
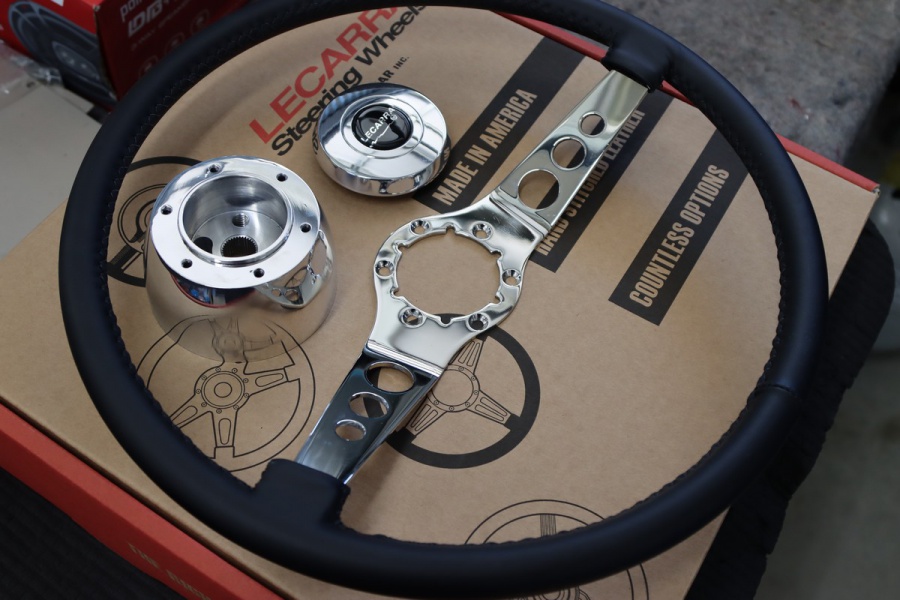
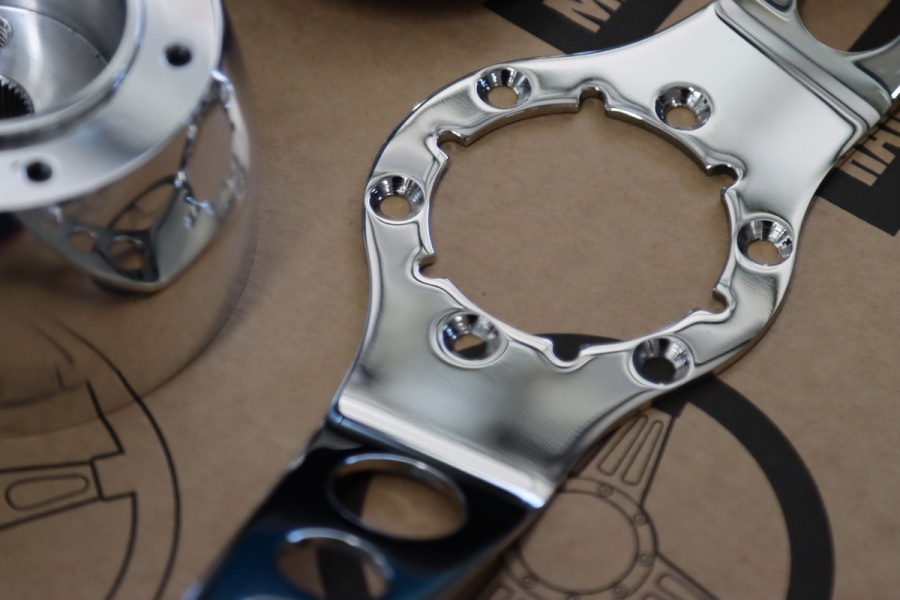
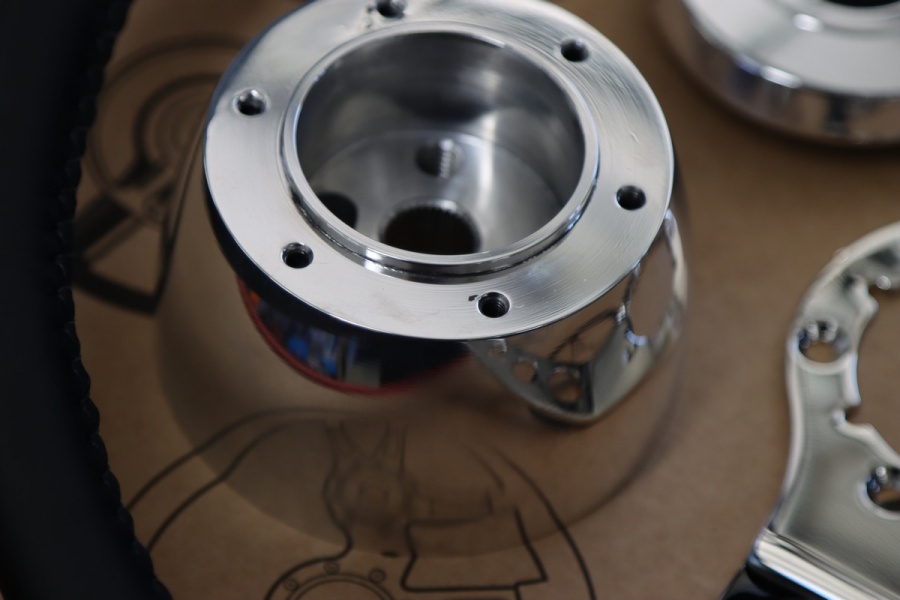


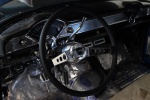
What we opted for was the “SS-Polished” wheel, wrapped in black leather. There are a dozen different leather colors to choose from and they even sell the wheels with a thin grip, standard grip, or thick grip. Plus with 10 different wheel designs, they had lots of options.
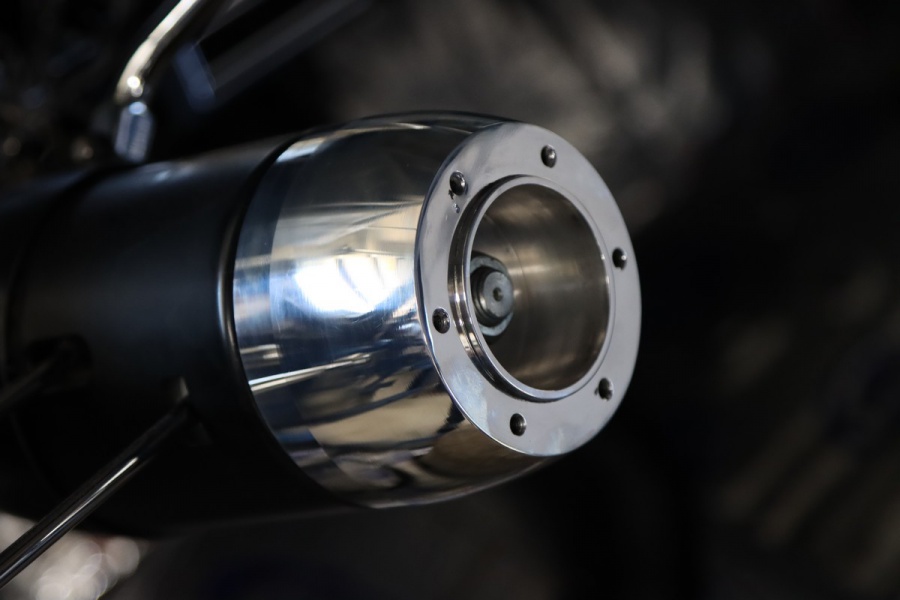

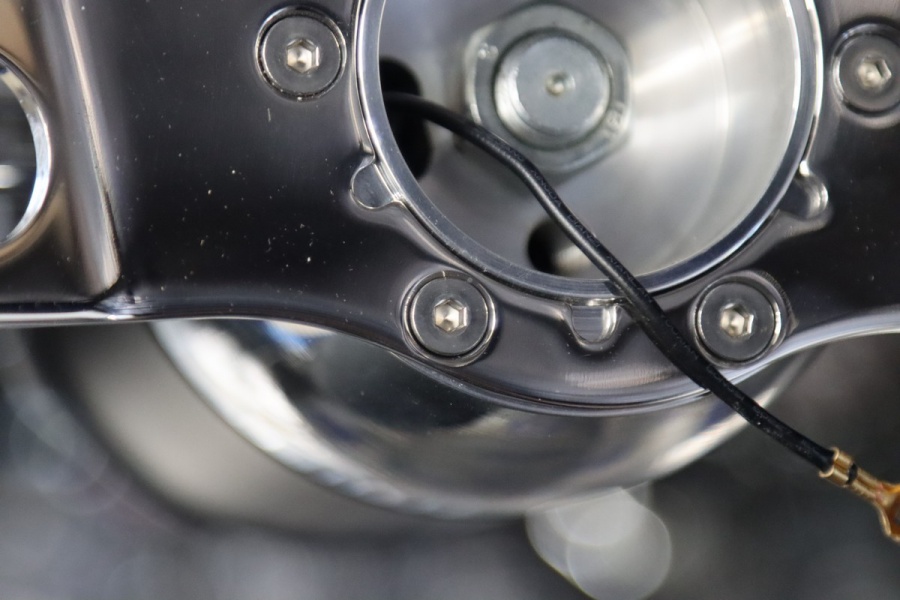
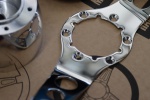
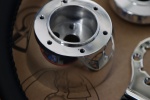
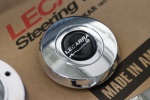
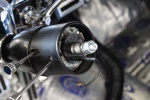
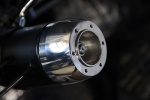
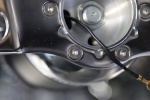
As with anything from Lokar, the steering wheel is top-notch quality. Great packaging and the polishing on it was so good you’d swear it was chrome. Installation was a piece of cake really – we bolted the adapter to the CPP column, then bolted the wheel to the adapter, popped on the horn cap and we were done.

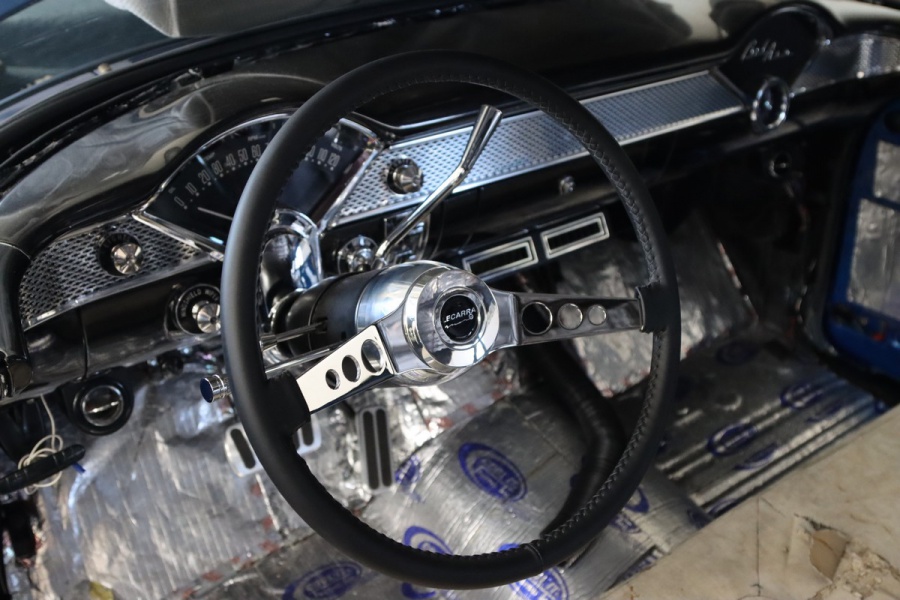
Under hand the wheel feels great. The leather is smooth as butter and the wheel is strong and not flimsy. We can’t wait to put some miles on the road with this new Lecarra wheel!
Turn Signal Mirrors
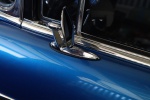
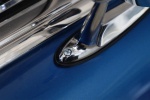
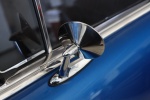
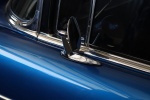
One of the last details on the outside of the car was the turn signal mirrors. We didn’t want to place these until the wing windows were installed. For one, we didn’t want them to hit the mirrors. And two, we didn’t want the wing windows to obstruct the view of the mirrors as well.
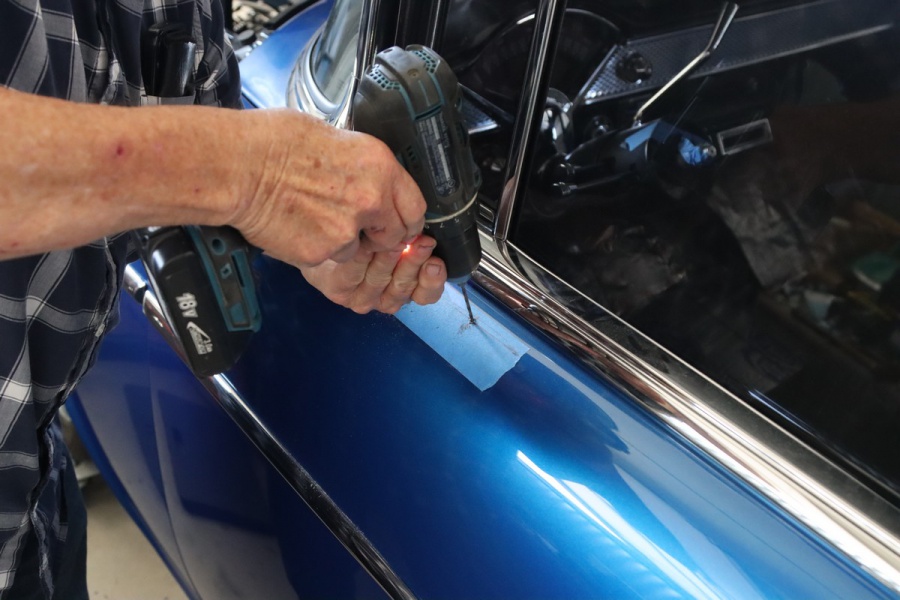
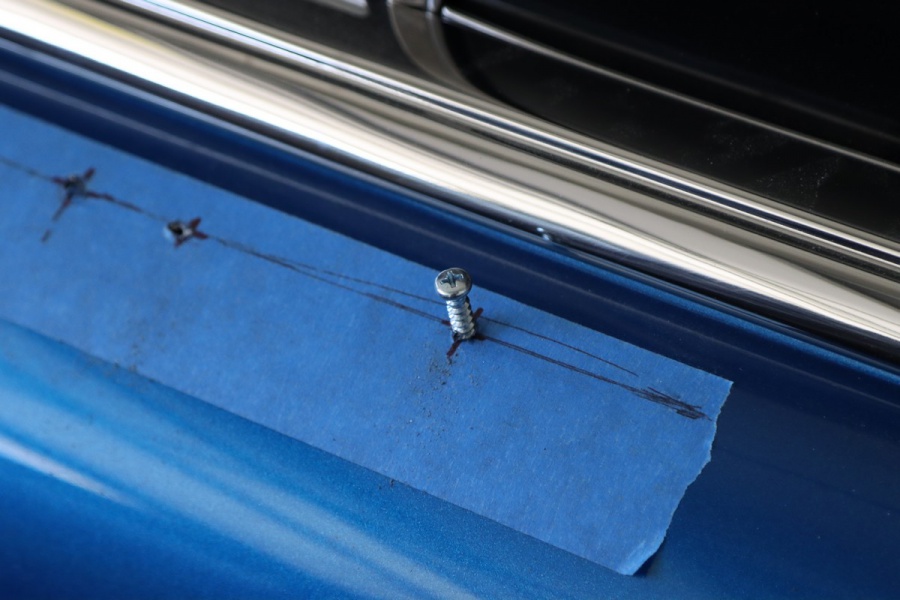
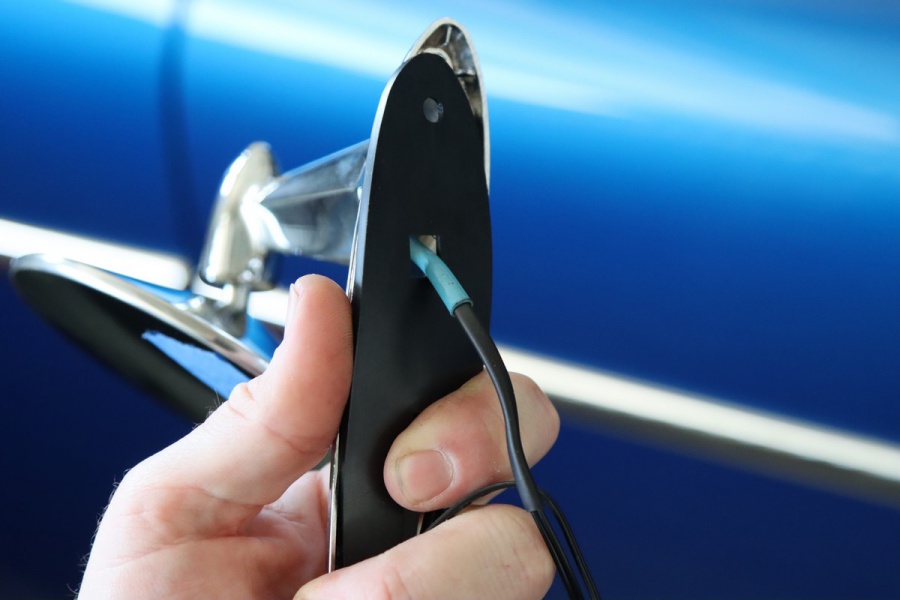

These aren’t just ordinary side view mirrors though. We picked these up from Classic Industries, and they actually have LED turn signals built into them. Our plan is to pretty much daily drive this car, so we figure the more lights and notice we can give other drivers, the safer we will be.
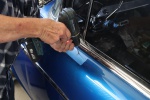
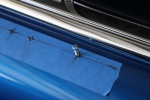
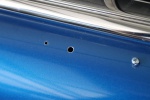
Installation was pretty easy on these as well. We had to drill three holes for each mirror. Two for mounting screws, and one for the wires to go into. We decided to make the one with wires a little on the large side. We did this and then put several layers of heat shrink over the wires to prevent chaffing and cutting of the wires while driving down the road.


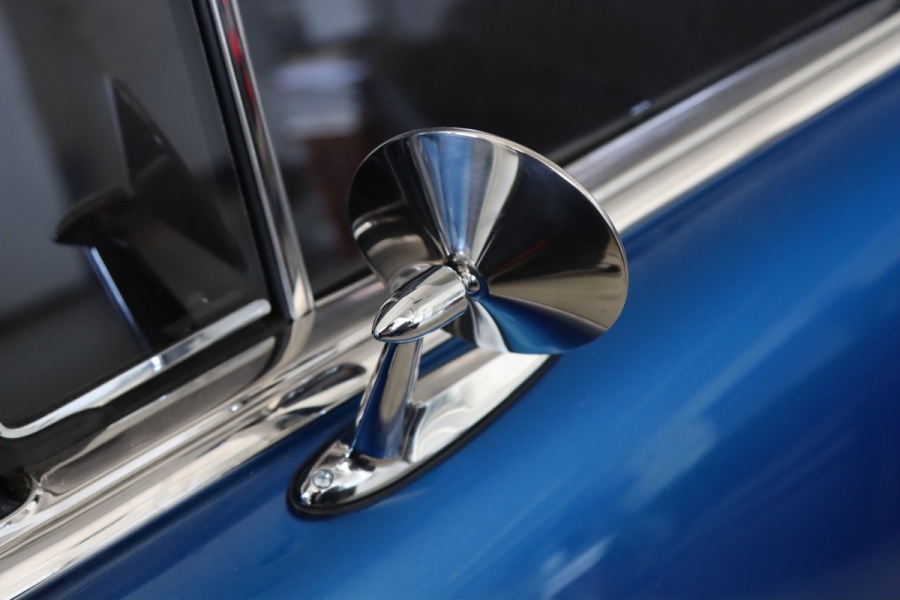
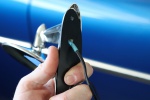
The mirror has two screws. One goes into the door and acts as a stud of sorts, and the mirror has a slot for it. Once you install the gasket and slide the mirror into that stud, then you can screw down the front. On the inside of the doors, we used some double sided tape with plastic holders to keep the wires out of the way. When we were wiring up the Painless Performance harness, we went ahead and added wiring into the doors for these turn signal mirrors.
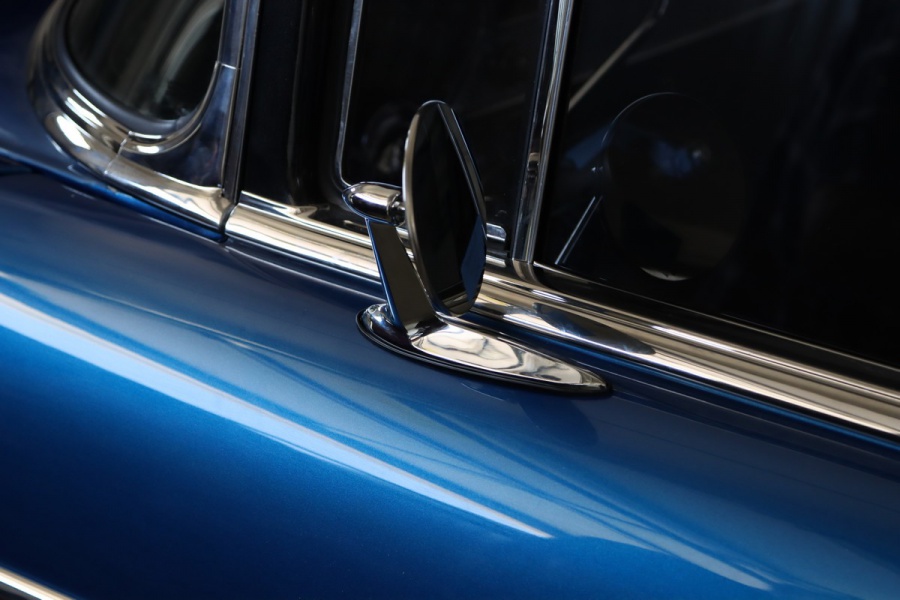
The result is they are super bright and highly visible, but they don’t blind the driver. A simple upgrade that will help others know exactly where you’re headed.
With that done, the time came for the big driving test! Our first goal was to see if the car would go to the end of the driveway. Putting the car in gear, it idled right out with no issue. We even gave it a little bit of a power brake to see if it’d do a burnout, and it did.
Later with the sun setting, we drove a quarter mile or so down the road to snap a few pictures and run the drone around to show y’all this ’55! As we mentioned the last piece of the puzzle is interior, which will be another month or two. Can’t wait to see the finished product!


